9 Tips to Use a Landscape Rake for Smooth Exterior Prep
The smell of damp, disturbed earth signals the beginning of any serious site preparation. When the soil reaches peak friable texture, it yields to the tines with a distinct crunch; this indicates that the moisture content is low enough to avoid compaction but high enough to maintain structural integrity. Using a rake for exterior design is the critical bridge between raw excavation and a refined planting bed. It is not merely a cosmetic exercise. Proper raking manages the micro-topography of the rhizosphere, ensuring that water infiltration is uniform across the entire plot. A surface that is uneven or contains large clods of earth will lead to localized dry spots or anaerobic pockets where water pools. By manipulating the surface tension of the soil and leveling the grade, the horticulturist creates a stable environment for seed germination and root expansion. Achieving a smooth finish requires a mechanical understanding of soil shear and the physical force needed to break down heavy aggregates into a fine, workable tilth.
Materials:
The ideal substrate for exterior design is a friable loam with a **Cation Exchange Capacity (CEC) between 15 and 25 milliequivalents per 100 grams**. This measurement ensures the soil can retain and exchange essential nutrients like calcium, magnesium, and potassium. Before the first pass of the rake, the soil pH must be stabilized between **6.0 and 7.0** for most ornamental and turf species. If the pH is below 5.5, incorporate pelletized lime at a rate of **50 pounds per 1,000 square feet**.
For baseline nutrient loading, integrate a slow release fertilizer with an NPK ratio of 10-10-10 or a specialized starter formula of 5-10-5 to prioritize phosphorus for root development. The physical texture should consist of approximately 40 percent sand, 40 percent silt, and 20 percent clay. This balance prevents the soil from becoming a monolithic block when dry. When using a rake for exterior design, the goal is to eliminate any stones or debris larger than 0.5 inches in diameter, as these obstructions interfere with the capillary action of water rising through the soil profile.
Timing:
Timing is dictated by the thermal properties of the soil and the specific Hardiness Zone. In Zones 5 through 7, the window for major exterior grading opens when soil temperatures consistently reach 50 degrees Fahrenheit. Use a soil thermometer at a depth of 4 inches to confirm this. Attempting to rake saturated, cold soil leads to "smearing," which destroys soil structure and reduces pore space.
The biological clock of the site must be considered. For cool season grasses or perennials, the ideal window is the transition from the late summer heat to the cooler autumn nights. This period reduces the transpiration stress on new plants. In Zones 8 through 10, the window is often earlier in the spring to avoid the high evaporation rates of mid-summer. You must complete all grading and raking at least three weeks before the first projected frost date to allow the soil to settle and any applied amendments to begin their chemical integration into the soil matrix.
Phases:

Sowing
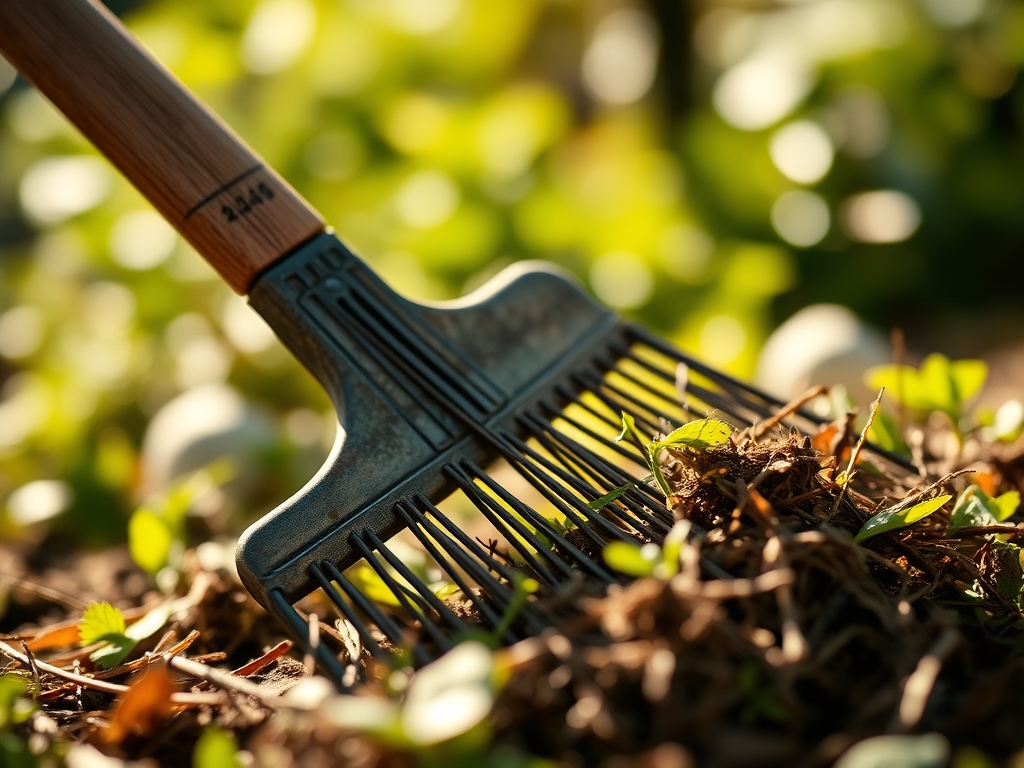
The first phase involves the "Rough Grade." Use the flip side of a 36 inch aluminum landscape rake to push and pull soil into low spots. Maintain a 2 percent slope away from any hardscapes or foundations to facilitate drainage. Once the grade is set, use the tine side to create shallow furrows.
Pro-Tip: Proper furrowing increases the surface area for seed to soil contact. This maximizes imbibition, the process where the seed coat absorbs water to trigger metabolic activity. Without this contact, the seed remains dormant or desiccates.
Transplanting
When preparing an area for larger nursery stock, the rake is used to blend organic matter into the top 6 inches of the backfill. Ensure the area around the planting hole is raked flat to prevent "basin irrigation" errors where water settles too deeply against the root flare, causing crown rot.
Pro-Tip: Avoid over-pulverizing the soil. Maintaining small granular aggregates preserves macropores, which are essential for oxygen diffusion to the roots. This prevents the suppression of aerobic microbes that facilitate mycorrhizal symbiosis.
Establishing
The final phase is the "Finish Rake." This is a light, rhythmic motion designed to remove the smallest pebbles and create a "table-top" finish. The soil should feel firm underfoot but not compressed. A person walking across the site should leave a footprint no deeper than 0.25 inches.
Pro-Tip: This smooth surface prevents the "shadowing" effect during the early stages of phototropism. An even surface ensures that emerging seedlings receive uniform light distribution, preventing them from leaning or becoming leggy as they compete for solar radiation.
The Clinic:
Physiological disorders often stem from poor site preparation. If you observe Nitrogen Chlorosis, characterized by the yellowing of older leaves while veins remain green, the soil likely has poor drainage or insufficient NPK levels. Apply a water soluble 20-20-20 fertilizer to provide an immediate boost.
If the plants exhibit leaf curl or wilting despite adequate moisture, check for soil compaction. A landscape rake used improperly can create a "hardpan" layer just below the surface. Use a garden fork to aerate the area and re-rake to break the surface tension. For phosphorus deficiency, which manifests as purple or dark green foliage, incorporate bone meal or a 0-20-0 superphosphate into the top layer of soil during the raking phase. This ensures the nutrient is placed directly in the path of expanding root systems.
Maintenance:
Post-design maintenance requires precision. Most newly established landscapes require 1.5 inches of water per week, delivered at the drip line rather than the foliage to prevent fungal pathogens. Use a soil moisture meter daily to check the top 3 inches of the profile. If the meter reads below 30 percent volumetric water content, irrigation is required.
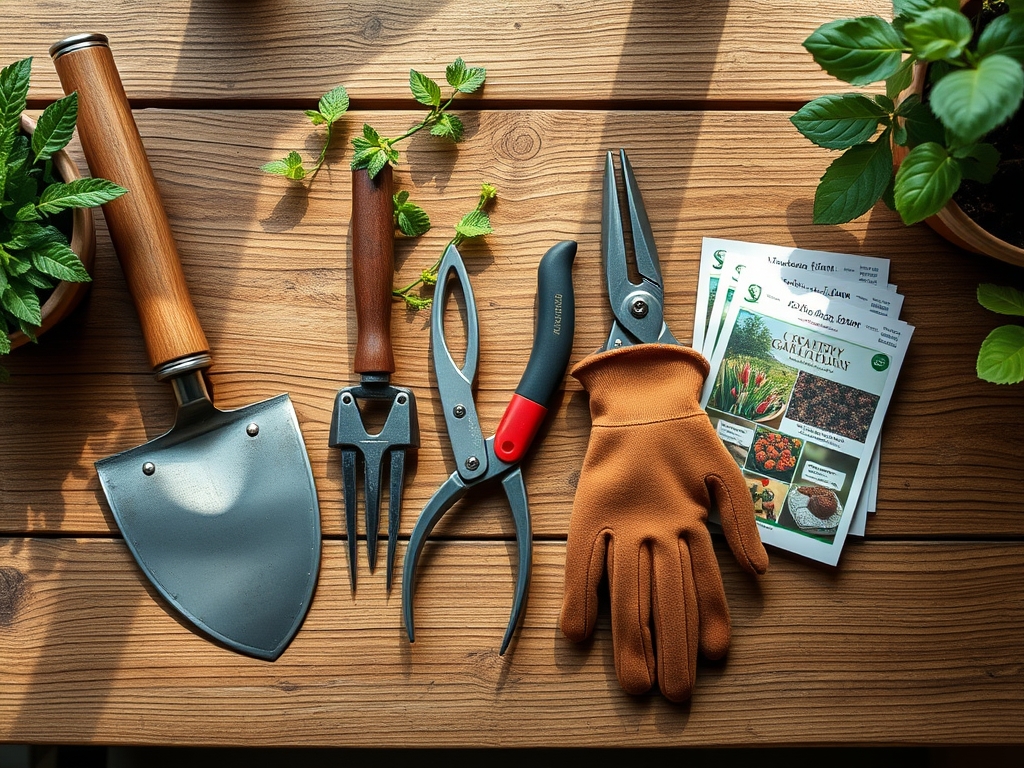
Keep a hori-hori knife sharpened for removing deep rooted weeds that emerge in the newly raked soil; pulling them by hand can disturb the established grade. Use bypass pruners to remove any dead or "senescent" tissue from plants to redirect energy toward root establishment. Re-check the grade after heavy rain events. If "rills" or small erosion channels form, use a hand rake to gently pull surrounding soil back into the channel and tamp it down to reset the surface tension.
The Yield:
For those incorporating cut flowers or edible crops into their exterior design, harvest timing is a science of turgor pressure. Harvest in the early morning, specifically between 6:00 AM and 8:00 AM, when the plant cells are at maximum hydration. Use a clean, sharp blade to make a 45 degree angle cut, which maximizes the surface area for water uptake.
Immediately plunge the stems into water buffered to a pH of 3.5 to 4.5. This acidity improves water flow through the xylem. For woody stems, a slight crush of the base can further enhance hydration. Store the harvest in a cool, dark location at 34 to 38 degrees Fahrenheit to slow the rate of respiration and preserve "day-one" freshness for as long as possible.
FAQ:
How do I prevent soil compaction while raking?
Work backward toward the exit of the plot to avoid stepping on freshly leveled soil. Use wide-set tines to distribute pressure and only rake when soil moisture is at 25 percent or less to maintain pore space.
What is the best rake for heavy clay soil?
Use a heavy duty steel bow rake. The rigid tines provide the mechanical leverage needed to break down dense clay aggregates. Follow this with a wider aluminum landscape rake to achieve the final level grade.
How deep should I rake for new grass seed?
Rake to a depth of 0.5 to 1 inch. This creates a loose "seedbed" that allows for easy root penetration while ensuring the seed is not buried too deep to reach the surface after germination.
Can I rake in fertilizer and lime at the same time?
Yes. This is the most efficient way to ensure homogenous distribution through the top 2 inches of soil. Use a landscape rake to blend the amendments thoroughly, ensuring the NPK and pH adjusters reach the root zone.