7 Steps to Clean a Garden Fork After Use
The scent of damp, anaerobic earth clinging to forged steel signals the end of a productive session in the rhizosphere. When a garden fork enters the soil, it disrupts the structural integrity of the substrate; it also becomes a vector for pathogens and corrosive moisture. Neglecting the steps for cleaning a garden fork after use allows for the oxidation of the metal and the transmission of soil-borne fungi like Fusarium or Phytophthora. Maintaining tool hygiene ensures that the tines remain sharp enough to penetrate compacted clay without compromising the turgor pressure of nearby root systems. A clean tool is a surgical instrument for the soil. It prevents the unintended inoculation of healthy beds with dormant weed seeds or dormant spores. Precision in maintenance reflects precision in cultivation. By following a rigorous decontamination protocol, the horticulturist preserves the mechanical leverage of the tool and the biological health of the garden.
Materials:
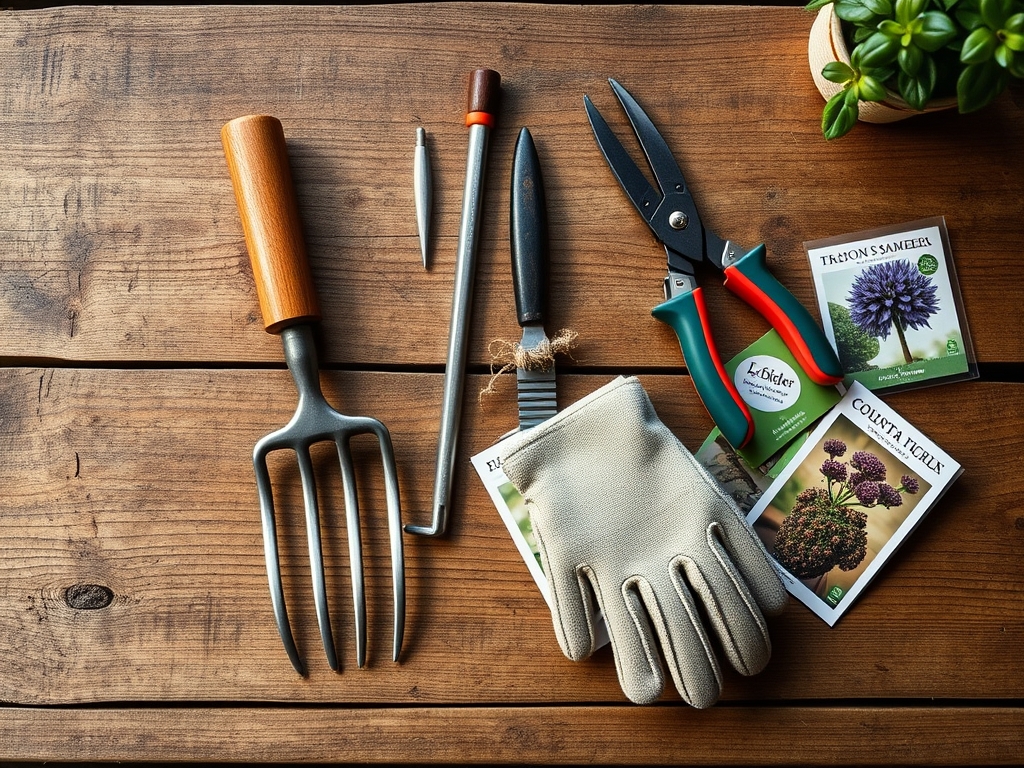
Effective tool maintenance requires an understanding of the environment where the fork operates. Most high-performance gardens utilize a **friable loam** with a **Soil Cation Exchange Capacity (CEC) between 15 and 25 meq/100g**. This soil type, while ideal for nutrient retention, often holds onto moisture that accelerates rust. To counteract this, you need a cleaning station equipped with a stiff-bristled brush, a bucket of coarse silica sand mixed with **SAE 30 motor oil or linseed oil**, and a 10 percent bleach solution or 70 percent isopropyl alcohol. For soil amendment during the cleaning process, keep a supply of **balanced 10-10-10 NPK fertilizer** nearby to treat the beds you just turned. If your soil pH is below 6.0, the increased acidity will corrode steel faster; in these high-acid environments, a neutralizing rinse of water and baking soda is mandatory before oiling.
Timing:
Maintenance must occur within the "Golden Hour" after the tool leaves the soil. In Hardiness Zones 5 through 8, the window for major soil work typically falls between the last spring frost and the first hard freeze of autumn. During the transition from the vegetative stage to the reproductive stage of your primary crops, soil microbial activity is at its peak. Cleaning the fork immediately after use prevents the "Biological Clock" of the soil from ticking away on your tool. If mud dries on the tines, it traps moisture against the metal, initiating an electrochemical reaction that leads to pitting. In humid climates, the rate of oxidation doubles for every 10-degree Celsius increase in ambient temperature. Perform your cleaning rituals before the dew point rises in the evening to ensure the metal remains dry and stable.
Phases:

Sowing the Routine: Mechanical Removal
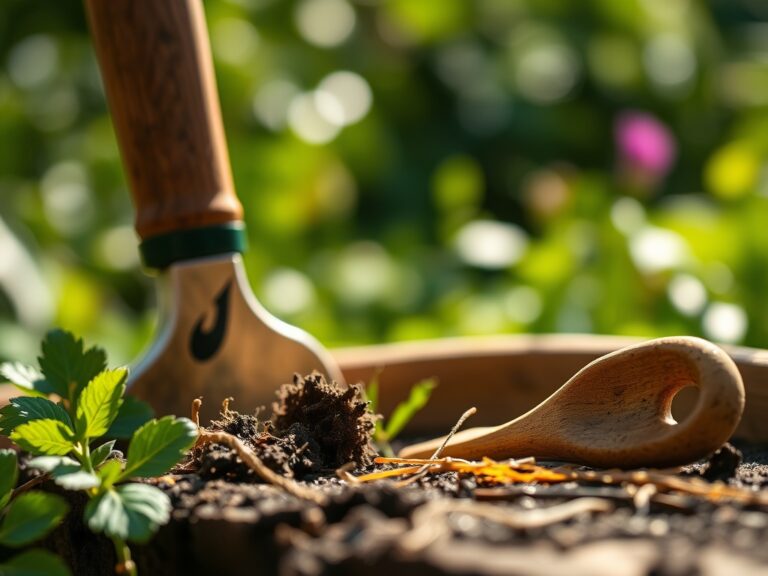
The first phase involves the physical removal of macro-debris. Use a high-pressure hose to blast away clods of earth from the tines and the "D" handle. Focus on the junction where the metal socket meets the wooden or fiberglass shaft. This area is a primary site for fungal incubation.
Pro-Tip: Removing soil immediately prevents the desiccation of beneficial mycorrhizal fungi on the tool, which, if left to rot, can attract saprophytic organisms that eventually degrade the wooden handle.
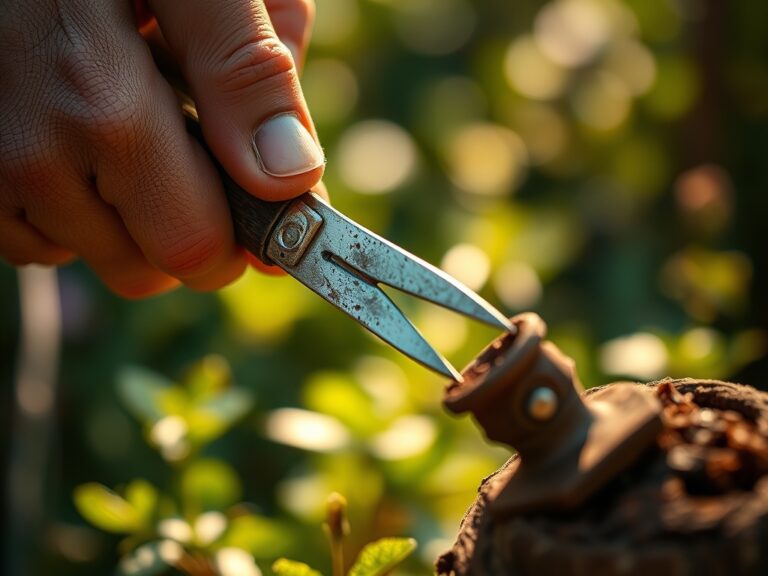
Transplanting Care: Chemical Disinfection
Once the tool is visually clean, it must be biologically sterile. Wipe the tines with a cloth soaked in 70 percent isopropyl alcohol. This step is critical if you have been working near plants showing signs of systemic infection or wilt.
Pro-Tip: Disinfection prevents the mechanical transmission of pathogens. This is vital because auxin suppression can occur in plants stressed by viral loads introduced through contaminated metal surfaces.
Establishing Longevity: The Oil Bath
The final phase is the protective seal. Plunge the tines into a bucket of oiled sand five to ten times. The sand acts as an abrasive to polish the metal, while the oil creates a hydrophobic barrier.
Pro-Tip: The oil barrier prevents oxygen from reaching the iron atoms in the steel. This halts the formation of iron oxide, maintaining the tool's ability to slice through soil without disrupting the capillary action of the surrounding earth.
The Clinic:
Even with regular cleaning, tools and the plants they service can show signs of distress. Monitor your garden fork and your crops for these physiological indicators.
- Symptom: Orange, flaky scales on the tines.
Solution: This is oxidation. Use a wire brush or steel wool to remove the rust, then apply a coating of boiled linseed oil. - Symptom: Interveinal yellowing on leaves in the beds where the fork was used.
Solution: This is Nitrogen chlorosis. The fork may have compacted the soil, limiting oxygen to the roots. Aerate the area and apply a high-nitrogen (20-0-0) liquid feed. - Symptom: Pitting or deep grooves in the metal.
Solution: Chemical corrosion from high-acid fertilizers. Rinse tools thoroughly after applying ammonium sulfate or sulfur-based amendments. - Symptom: Brittle or cracking wooden handles.
Solution: Desiccation of the cellulose fibers. Sand the handle lightly and rub with linseed oil to restore flexibility and strength.
Maintenance:
A garden fork is only as effective as the soil it penetrates. Maintain your beds by providing 1.5 inches of water per week at the drip line, monitored by a soil moisture meter. When using the fork, avoid prying against large rocks, which can bend the tines and compromise the tool's temper. Keep a hori-hori knife and bypass pruners in your tool belt to handle roots and heavy stalks that the fork is not designed to cut. Check the tightness of the bolts on the fork's collar every 30 days of use. If the handle wobbles, the mechanical advantage is lost, and the risk of handle failure increases under heavy loads.
The Yield:
When the soil is properly prepared with a clean, sharp fork, the harvest reflects the effort. For root crops like carrots or parsnips, use the fork to loosen the soil 4 inches away from the crown to avoid piercing the taproot. Harvest during the cool of the morning, typically before 9:00 AM, when turgor pressure is at its maximum. This ensures the produce remains crisp. Post-harvest, move the crops immediately to a shaded area with high humidity to slow down senescence. A well-maintained fork allows for a clean lift, minimizing bruising and extending the shelf life of the yield.
FAQ:
How often should I oil my garden fork?
Oil your fork after every heavy use or at least once a month during the growing season. Use a mixture of sand and linseed oil to provide both abrasion and a moisture-resistant coating to the steel tines.
Can I use motor oil for my garden tools?
While effective for rust prevention, new motor oil is preferred over used oil to avoid introducing heavy metals into the rhizosphere. Linseed oil is a superior, biodegradable alternative that will not negatively impact soil microbial life or pH levels.
What is the best way to remove dried sap from a fork?
Apply a small amount of turpentine or mineral spirits to a rag and scrub the affected area. Sap contains resins that can harden and trap moisture, leading to localized corrosion if not removed before the oiling phase.
Why is my garden fork handle turning grey?
Grey wood indicates UV degradation and moisture loss in the cellulose. Sand the handle with 120-grit sandpaper and apply multiple coats of linseed oil to restore the protective barrier and prevent the wood from becoming brittle and snapping.