7 Steps to Install a Decorative Garden Gate and Hardware
Crushing the damp, friable loam between your fingers reveals the structural integrity of a garden's foundation. The scent of geosmin rises from the earth, signaling a healthy rhizosphere ready for structural intervention. Establishing a perimeter requires more than aesthetic intuition; it demands a rigorous understanding of soil load-bearing capacity and structural physics. Mastering the steps for installing a garden gate ensures that your botanical sanctuary remains secure while maintaining the precise turgor pressure of your perimeter plantings. A gate is not merely a portal. It is a mechanical extension of the garden's skeleton. Failure to calculate the frost heave or the shear strength of the post-hole substrate results in sagging hinges and compromised root zones. We approach this installation with the same technical precision used to calibrate a fertigation system. Every measurement must be absolute. Every post must be plumb. The following protocol outlines the professional methodology for integrating hardware into a living landscape without disrupting the delicate balance of the surrounding ecosystem.
Materials:
The success of a gate installation begins with the substrate chemistry. The ideal soil for post-setting is a well-drained sandy loam with a Cation Exchange Capacity (CEC) between 15 and 25 milliequivalents per 100 grams. This range ensures that minerals do not leach too quickly, which can lead to the corrosion of galvanized hardware.
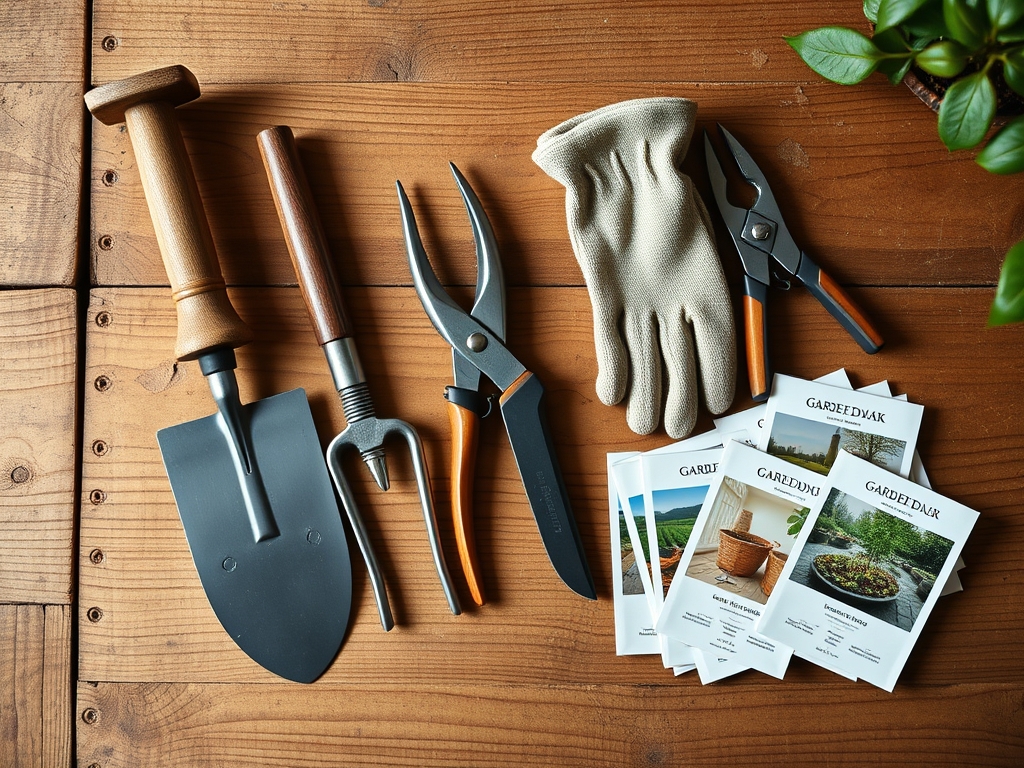
For the surrounding vegetation, maintain a soil pH of 6.2 to 6.8 to optimize nutrient bioavailability. Before digging, incorporate a balanced 10-10-10 NPK fertilizer into the top six inches of the adjacent soil to mitigate the stress of root pruning during excavation. You will require two 4×4 pressure-treated timber posts, high-grade stainless steel strap hinges, and a gravity latch. Ensure you have 80 pounds of fast-setting concrete per post, rated for a compressive strength of at least 4,000 PSI. Tools must include a post-hole auger, a six-foot level, and a soil moisture meter to verify that the ground is not oversaturated before pouring.
Timing:
Installation must align with the physiological state of your landscape. In Hardiness Zones 5 through 7, the optimal window is late autumn or early spring when plants are in a state of senescence or dormancy. Avoid installation during the peak of the photoperiod in mid-summer; high transpiration rates make surrounding flora vulnerable to moisture stress if roots are disturbed.
The "Biological Clock" of your garden dictates that structural work should occur when the soil temperature is consistently between 45 and 55 degrees Fahrenheit. At these temperatures, microbial activity is slowed, reducing the risk of fungal pathogens like Phytophthora entering root wounds created during the digging process. Observe the vernalization requirements of your perennials before scheduling the heavy foot traffic associated with gate construction.
Phases:

Sowing the Foundation
The first of the steps for installing a garden gate is the excavation of the post holes. Dig to a depth of at least 36 inches, or 6 inches below the local frost line, to prevent seasonal shifting. The diameter of the hole must be three times the width of the post.
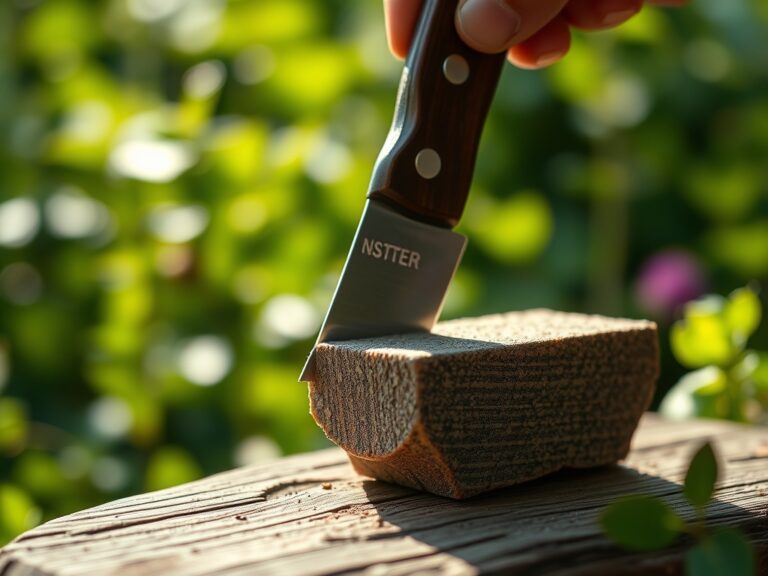
Pro-Tip: When digging near existing hedges, use a sharp hori-hori knife to make clean cuts on any encroaching roots. Clean cuts trigger a wound-response mechanism that stimulates the production of callus tissue, preventing systemic decay that jagged tears might invite.
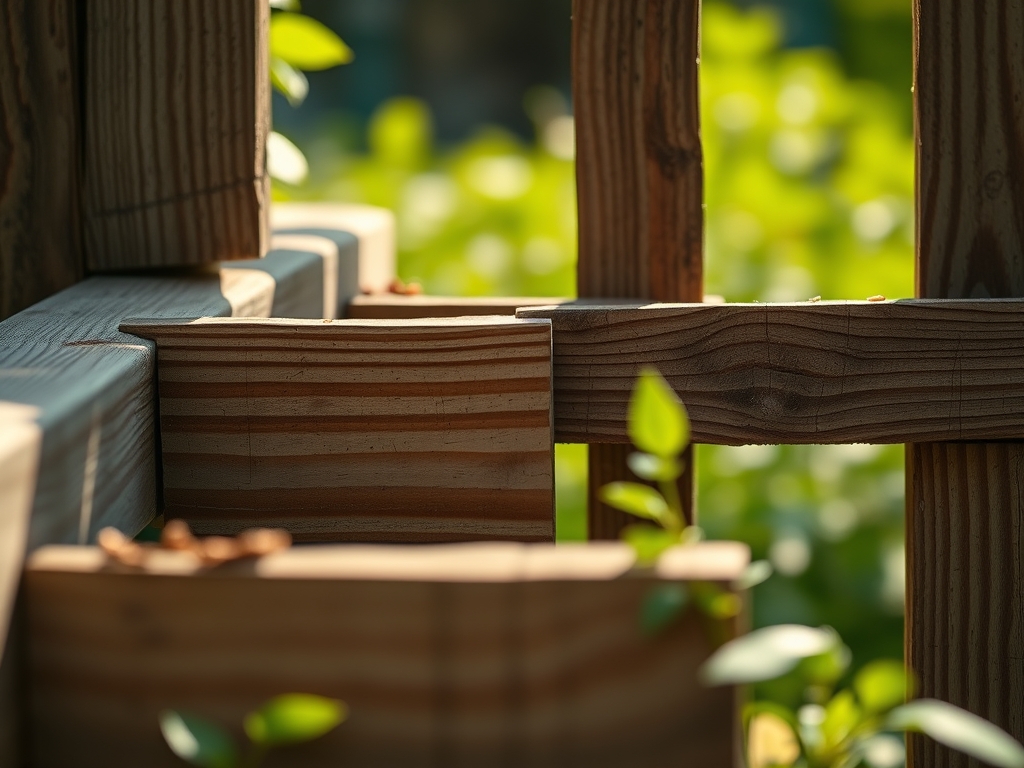
Transplanting the Structure
Position the posts and brace them with scrap lumber. Use a level to ensure they are perfectly vertical on both the X and Y axes. Pour the concrete mix, stopping 4 inches below the soil surface. This gap allows for a "living mulch" layer to cover the concrete, maintaining aesthetic continuity.
Pro-Tip: Angle the top of the concrete "collar" away from the post. This utilizes gravitational hydraulic pressure to shed water away from the wood, preventing localized anaerobic conditions that foster wood-rotting fungi at the soil-to-air interface.
Establishing the Hardware
Once the concrete has cured for 48 to 72 hours, mount the hardware. Pilot holes are mandatory to prevent the wood fibers from splitting. Attach the hinges to the gate first, then to the post, maintaining a 2-inch clearance at the bottom to allow for airflow and detritus clearance.
Pro-Tip: Leave a 1/4-inch gap on the hinge side to account for the hygroscopic expansion of the wood. Wood cells expand as they absorb atmospheric moisture; failing to provide this clearance will result in mechanical binding during periods of high humidity.
The Clinic:
Structural installation often reveals underlying physiological disorders in the nearby flora. Monitor these symptoms closely following the disturbance.
- Symptom: Marginal necrosis (browning leaf edges) on nearby shrubs.
- Solution: This indicates transpiration stress due to root loss. Apply a 3-inch layer of organic mulch to the root zone to stabilize soil temperature and moisture.
- Symptom: Interveinal chlorosis (yellowing leaves with green veins).
- Solution: This is a Manganese or Iron deficiency, often caused by a pH spike from concrete runoff. Apply a chelated iron foliar spray and check the soil pH.
- Symptom: Epinasty (downward curling of leaves).
- Solution: Likely soil compaction from heavy foot traffic during installation. Use a broadfork to gently aerate the soil 12 inches away from the gate posts.
Fix-It for Nitrogen Chlorosis: If the entire leaf turns pale yellow, the plant is scavenging nitrogen to repair roots. Apply a quick-release high-nitrogen fertilizer (21-0-0) at a rate of 0.5 lbs per 100 square feet to restore chlorophyll synthesis.
Maintenance:
A garden gate requires consistent mechanical and horticultural upkeep. Lubricate hinges every six months with a dry graphite spray to avoid attracting grit. For the surrounding soil, ensure the plants receive 1.5 inches of water per week at the drip line, measured with a soil moisture meter at a depth of 6 inches.
Prune any encroaching branches using bypass pruners to maintain a 12-inch clearance around the hardware. This prevents physical abrasion of the gate finish and ensures adequate sunlight reaches the base of the posts, which helps keep the area dry and discourages moss growth. Inspect the post-to-soil contact point annually for signs of macro-fauna interference or structural degradation.
The Yield:
If your gate serves as an entry to a cutting garden or orchard, timing the harvest is as critical as the installation. Harvest flowers like Zinnia or Rosa when the turgor pressure is highest, typically before 9:00 AM. Use a sterilized hori-hori knife for thick-stemmed varieties to ensure a clean vascular cut.
For edible yields, harvest when the fruit reaches its peak Brix level (sugar content). Post-harvest, immediately submerge stems in 40-degree Fahrenheit water to arrest the senescence process. This rapid cooling preserves the cellular integrity and ensures "day-one" freshness for the duration of the display.
FAQ:
How deep should I set my gate posts?
Set posts at least 36 inches deep or 6 inches below the frost line. This depth prevents frost heave from displacing the structure. A deeper post provides better leverage against the gravitational pull of a heavy gate.
Can I use concrete near acid-loving plants?
Concrete is highly alkaline and can raise soil pH. If planting Ericaceous species like Azaleas nearby, line the post hole with a heavy plastic barrier to prevent lime leaching from the concrete into the surrounding rhizosphere.
What is the best wood for a garden gate?
Use Western Red Cedar or Black Locust. These species contain natural phenolic compounds and tannins that resist rot and insect infestation. They maintain structural integrity better than pine when exposed to constant soil moisture and varying UV levels.
How do I stop my gate from sagging?
Install a cross-brace running diagonally from the bottom hinge corner to the top latch corner. This transfers the weight of the gate back to the lower hinge through compressive force, preventing the rectangular frame from deforming into a parallelogram.