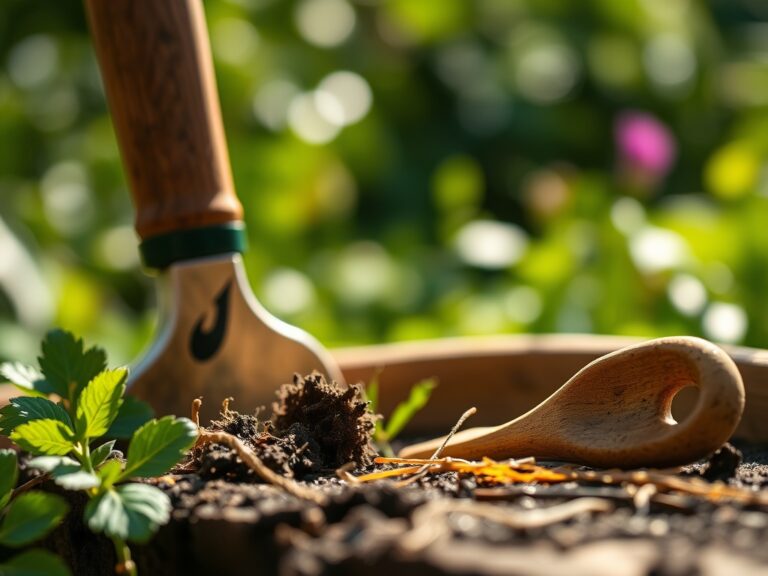
8 Steps to Prepare for a Structural Retaining Wall
The smell of damp earth after a heavy rain signals more than just a change in weather; it indicates the saturation point where pore spaces in the soil are filled, displacing oxygen and increasing hydrostatic pressure against existing slopes. When learning how to prepare a garden for a wall, you must first address the turgor pressure of the surrounding vegetation and the structural integrity of the rhizosphere. A failure to stabilize the grade results in soil creep, which shears delicate root systems and leads to plant senescence. Proper preparation requires a clinical understanding of soil mechanics and hydraulic conductivity to ensure that your masonry or timber intervention supports, rather than stifles, the biological life of the landscape. You are not merely moving dirt; you are re-engineering a living ecosystem to prevent erosion while maintaining the gas exchange necessary for root respiration.
Materials:

Before the first stone is set, you must analyze the substrate. The ideal backfill for a retaining wall is a **friable loam** with high porosity to prevent water pooling. Your soil should ideally test at a **pH of 6.0 to 7.0** to ensure maximum nutrient availability. For the planting pockets above and below the wall, incorporate organic matter to achieve a Cation Exchange Capacity (CEC) above **15 meq/100g**.
Specific nutrient amendments are required based on the intended vegetation. For woody perennials that will anchor the soil, use a slow-release fertilizer with an NPK ratio of 10-10-10. If you are planting nitrogen-fixing cover crops to stabilize the soil during construction, look for a 5-10-10 ratio to prioritize root development over lush foliage. You will also need ASTM D448 No. 57 crushed stone for the drainage chimney behind the wall to facilitate a high rate of hydraulic conductivity.
Timing:
The biological clock of your garden dictates the construction schedule. In Hardiness Zones 4 through 7, the ideal window for wall preparation is late autumn or early spring when plants are in a state of dormancy. This minimizes the risk of transplant shock. You must complete heavy excavation at least three weeks before the first frost date to allow the soil to settle and prevent frost heave from displacing your foundation.
During the transition from vegetative to reproductive stages, plants redirect energy from root expansion to seed production. Attempting to prepare a garden for a wall during the height of the summer heat (July and August in the Northern Hemisphere) leads to rapid desiccation. The high evapotranspiration rates during this period mean that any root disturbance can lead to permanent wilting point status within hours. Schedule your site clearing when the soil temperature is between 45 and 55 degrees Fahrenheit to ensure microbial activity is low but the soil remains workable.
Phases:

Sowing
If using the wall to create new tiered beds, sow a nurse crop of annual rye or clover immediately after grading. This prevents the loss of topsoil via wind erosion. Seed at a rate of 5 pounds per 1,000 square feet.
Pro-Tip: Fast-germinating cover crops utilize mycorrhizal symbiosis to create a fungal network that binds soil particles together, significantly increasing the shear strength of the slope before the wall is even built.
Transplanting
When moving existing specimens to accommodate the wall footprint, maintain a root ball diameter of at least 12 inches for every 1 inch of trunk caliper. Use a sharp spade to clean-cut roots, preventing the jagged tears that invite fungal pathogens.
Pro-Tip: When pruning roots during a transplant, you trigger auxin suppression in the root tips. This hormonal shift encourages the plant to develop lateral roots, which eventually provides better stabilization for the new soil grade.
Establishing
Once the wall is complete, backfill with the specified friable loam and water in stages to eliminate air pockets. Ensure the soil is compacted to 95 percent of its maximum dry density in the structural areas, but remain loose in the planting zones to allow for oxygen diffusion.
Pro-Tip: Plants exhibit phototropism as they adjust to the new vertical structures. Position taller shrubs at the base of the wall to prevent them from leaning outward in search of light, which could destabilize the wall over time.
The Clinic:
Physiological disorders often manifest shortly after the soil grade is altered. Observe the root structure in the step-by-step photos below to identify early warning signs.
- Symptom: Interveinal chlorosis (yellowing leaves with green veins) on new growth.
- Solution: This indicates an iron deficiency, often caused by a pH spike above 7.5 due to lime leaching from new concrete or mortar. Apply chelated iron and acidify the soil with elemental sulfur.
- Symptom: Marginal leaf burn or browning edges.
- Solution: This is a sign of salt accumulation or drought stress. Increase irrigation to 2 inches per week to leach excess salts from the root zone.
- Symptom: Nitrogen chlorosis (uniform yellowing of older leaves).
- Fix-It: Apply a high-nitrogen liquid fertilizer with a 20-0-0 ratio to provide an immediate boost to the plant's chlorophyll production.
- Symptom: Stem pitting or stunted terminal growth.
- Solution: Check for soil compaction. Use a soil moisture meter to ensure water is penetrating at least 8 inches deep; if not, aerate the rhizosphere.
Maintenance:
Post-construction care is a game of precision. Use a soil moisture meter daily for the first month. Your goal is to maintain a consistent moisture level of 1.5 inches of water per week at the drip line. Avoid spraying the foliage; use a soaker hose to deliver water directly to the soil to prevent fungal spores from proliferating.
Keep a hori-hori knife sharpened for weeding the crevices of the wall; invasive species can exert enough pressure to crack mortar if left unchecked. Use bypass pruners to remove any dead or crossing branches (senescence) that could harbor pests. Inspect the wall for "weep holes" every quarter to ensure they are not clogged with silt, as blocked drainage is the primary cause of structural failure in garden walls.
The Yield:
For those incorporating edible crops or cut flowers into their retaining wall design, timing the harvest is critical for "day-one" freshness. Harvest leafy greens and herbs in the early morning when turgor pressure is at its peak. This ensures the cells are fully hydrated, preventing wilting.
Use a sterilized blade to make a clean diagonal cut, which increases the surface area for water uptake post-harvest. Immediately plunge the stems into 40-degree Fahrenheit water to slow the metabolic rate and delay senescence. For flowering species, harvest when the first two petals begin to unfurl to ensure the longest vase life.
FAQ:
How deep should the foundation be for a garden wall?
The trench should be at least 12 to 24 inches deep, depending on the frost line in your region. Always place the first course of blocks entirely below the finished grade to prevent lateral shifting and ensure structural stability.
Can I use the existing garden soil for backfill?
Only if the soil is well-draining. Heavy clay retains too much water, creating hydrostatic pressure that can collapse the wall. Mix existing soil with 50 percent crushed stone or coarse sand to improve hydraulic conductivity and drainage.
What is the best way to prevent weeds in wall crevices?
Apply a geotextile filter fabric behind the wall during construction. This prevents fine soil particles from migrating into the stone gaps. For existing walls, use a narrow hori-hori knife to remove weeds by the root to prevent regrowth.
How do I know if my wall is failing?
Look for "leaning" or "bowing" in the center of the wall. If you notice cracks wider than 1/4 inch or if the weep holes are consistently dry after a heavy rain, the internal drainage system is likely compromised.
What plants are best for stabilizing soil above a wall?
Choose species with fibrous root systems rather than taproots. Creeping phlox, sedum, and certain ornamental grasses create a dense mat that holds the topsoil in place while minimizing the weight load on the wall's structural face.