8 Tips to Use a Specialized Tool Repair Kit
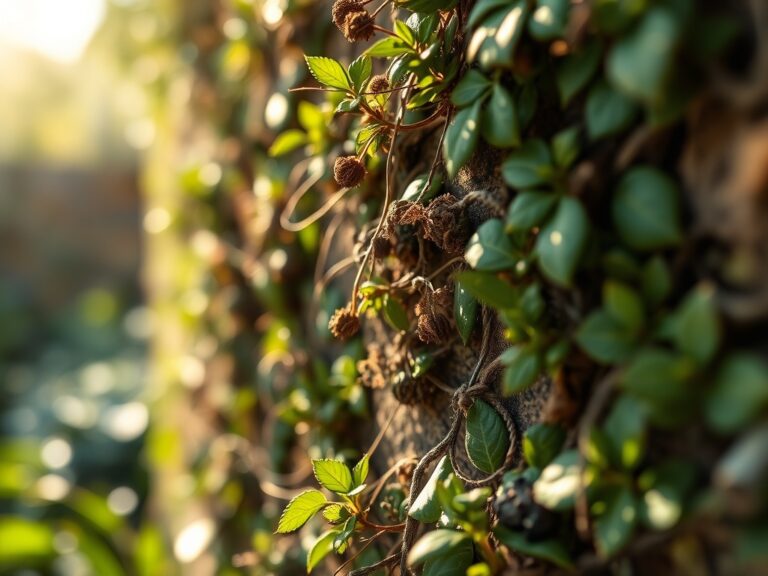
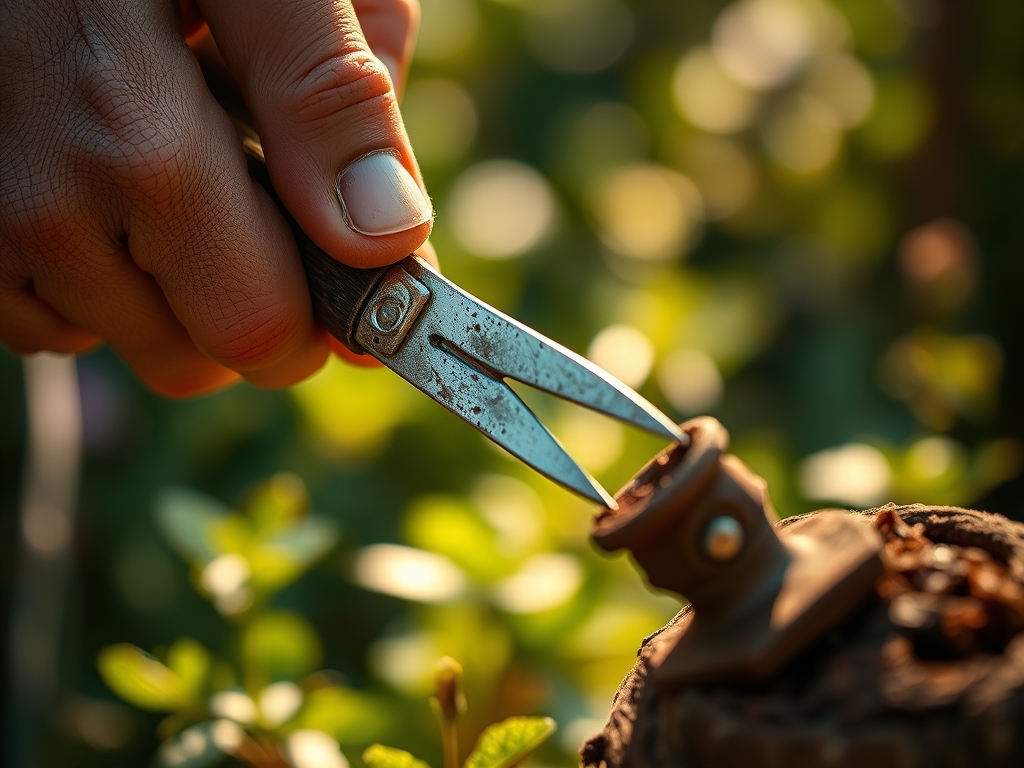
The smell of damp earth and the high turgor pressure of a healthy leaf signify a garden in peak physiological performance. Maintaining this state requires more than just water and light; it demands precision instruments that function without mechanical failure. Using a repair kit for garden tools is a fundamental skill for any serious horticulturist who understands that a dull blade or a loose handle compromises the structural integrity of the plant. A jagged cut from a blunt bypass pruner creates a ragged wound that invites pathogens and slows the healing process of the vascular cambium. By maintaining your equipment, you ensure clean, surgical incisions that promote rapid callus formation and minimize the risk of systemic infection. Proper tool maintenance is not merely about longevity of the steel; it is about protecting the rhizosphere and the overall health of the botanical specimens under your care. A well-stocked kit allows for the immediate restoration of edge geometry and structural stability, ensuring that every interaction with the plant is deliberate and scientifically sound.
Materials:
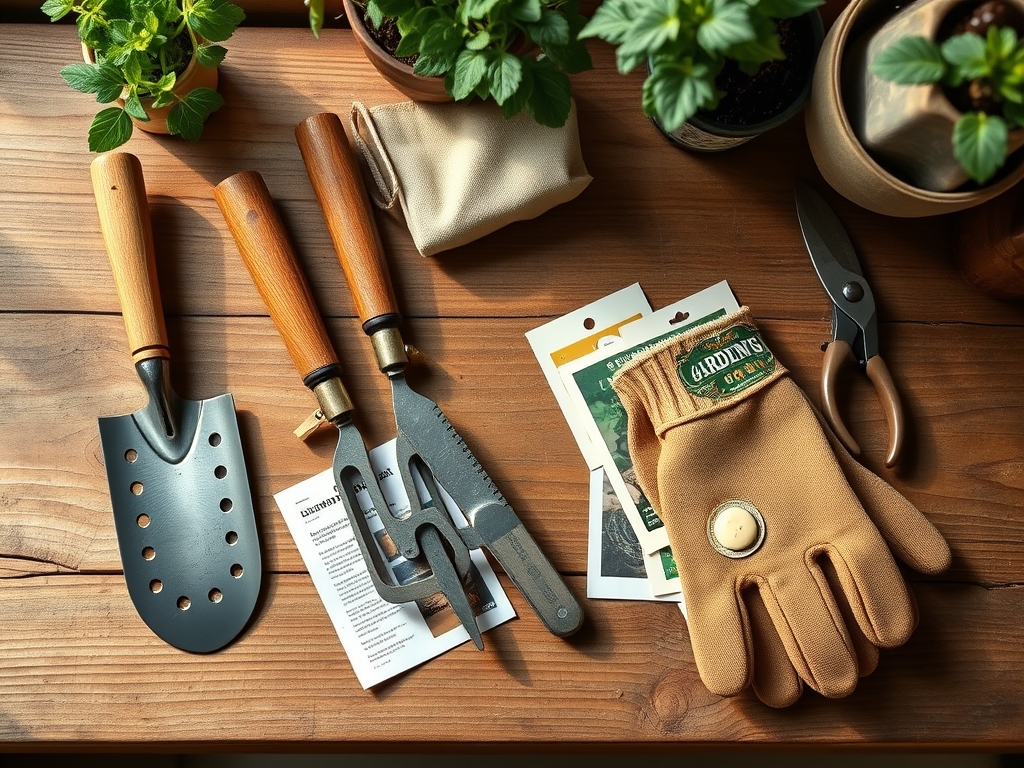
A specialized repair kit must include medium and fine-grit diamond files, linseed oil, and steel wool. Beyond the tools themselves, the environment where you work must be optimized for the plants you serve. Most temperate garden species thrive in a **friable loam** with a **pH between 6.0 and 7.0**. This substrate density allows for maximum root penetration and high **Cation Exchange Capacity (CEC)**. When preparing your workspace, consider the nutritional requirements of the plants that these tools will manage. For vegetative growth, a fertilizer with an **NPK ratio of 10-5-5** provides the necessary nitrogen for chlorophyll production. For flowering and fruit set, transition to a **5-10-10 ratio** to support phosphorus-heavy reproductive processes. The soil texture should be crumbly to the touch, indicating a healthy balance of sand, silt, and clay that facilitates gas exchange within the root zone.
Timing:
Tool maintenance should align with the biological clock of your garden. In Hardiness Zones 5 through 7, the primary window for heavy tool repair is the dormant season, typically between the first hard frost in October and the final frost in April. This period coincides with the senescence of deciduous perennials, meaning the plants are less vulnerable to the effects of maintenance delays. As plants transition from the vegetative stage to the reproductive stage, the demand for precision pruning increases. You must ensure your kit is ready before the spring flush, when auxin levels rise and rapid cell division begins. Performing repairs during the heat of the summer is less ideal, as high humidity can lead to rapid oxidation of exposed steel surfaces. Monitor the photoperiod; as days shorten, prioritize the sharpening of harvesting tools to ensure clean separation of fruit from the parent plant.
Phases:

Sowing
Before the first seed hits the soil, use your kit to calibrate your planting depth gauges and sharpen your hori-hori knife. A sharp edge ensures that you can slice through compacted soil without disrupting the delicate fungal hyphae present in the top layer.
Pro-Tip: Maintaining sharp edges on sowing tools prevents soil compaction. Compacted soil reduces the available oxygen in the rhizosphere, which can lead to anaerobic conditions and inhibit seed germination.
Transplanting
When moving seedlings from a controlled environment to the field, use the kit to ensure your spades and trowels are free of rust and burrs. A smooth surface reduces friction and minimizes root trauma during the transition.
Pro-Tip: Minimize the time the root ball is exposed to air to prevent the loss of turgor pressure. Smooth, well-maintained tools allow for faster movement, reducing the risk of transplant shock caused by the desiccation of fine root hairs.
Establishing
As the plant enters its rapid growth phase, use the repair kit to maintain the tension on your bypass pruners. Proper tension ensures that the blades pass closely enough to shear the tissue rather than crushing it.
Pro-Tip: Clean, sharp cuts stimulate the plant's natural defense mechanisms. This triggers the production of secondary metabolites that protect the wound site from opportunistic fungal spores while the plant redirects energy to upward growth via phototropism.
The Clinic:
Physiological disorders often stem from poor tool hygiene or mechanical damage.
- Symptom: Ragged, brown edges on pruned stems. Solution: Use the diamond file in your kit to restore a 20-degree bevel to your pruner blades.
- Symptom: Interveinal chlorosis (yellowing between leaf veins). Solution: This is often a Magnesium deficiency. While the kit fixes the tool, the soil requires an application of Epsom salts (magnesium sulfate) to restore chlorophyll function.
- Symptom: Stunted growth and pale green leaves. Solution: This indicates Nitrogen chlorosis. Apply a high-nitrogen organic amendment and ensure your soil aerators are sharp to improve oxygenation.
- Symptom: Tip burn on new growth. Solution: Often caused by Calcium deficiency or inconsistent watering. Use your soil moisture meter to ensure the root zone remains consistently hydrated.
Maintenance:
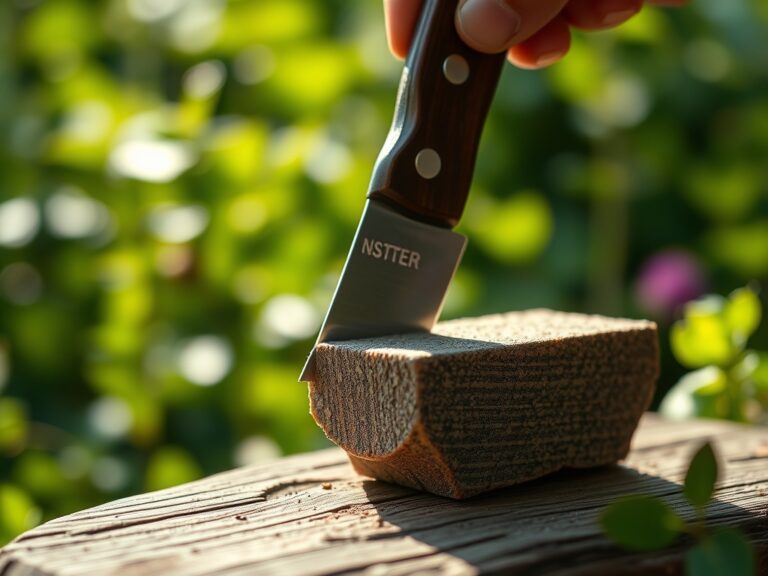
Precision in maintenance dictates the success of the harvest. Deliver exactly 1.5 inches of water per week at the drip line of your plants; do not water the foliage, as this encourages mildew. Use your soil moisture meter daily at a depth of 6 inches to verify hydration levels. After every use, wipe your bypass pruners with a cloth soaked in 70% isopropyl alcohol to prevent the spread of soil-borne pathogens. Apply a thin layer of mineral oil to all metal surfaces to prevent oxidation. If a wooden handle on a shovel shows signs of drying, sand it with 120-grit sandpaper and apply two coats of boiled linseed oil to maintain structural integrity and prevent splintering.
The Yield:
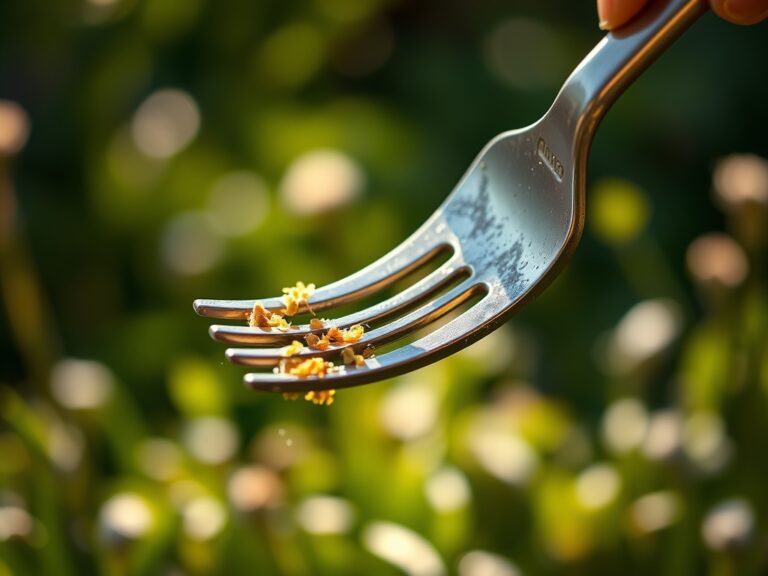
Harvesting is the culmination of the plant's reproductive cycle. For most fruiting crops, harvest in the early morning when turgor pressure is at its highest. This ensures the produce remains crisp and has a longer shelf life. Use a sharpened knife from your kit to cut the peduncle, leaving a small stub attached to the fruit to prevent moisture loss. For leafy greens, use shears to harvest the outer leaves first, allowing the central meristem to continue producing. Post-harvest, immediately move the yield to a cool, shaded area to reduce the rate of respiration and preserve the sugars and nutrients within the plant tissue.
FAQ:
How often should I sharpen my pruning shears?
Sharpen blades after every 100 cuts or at the end of each work session. Using a diamond file from your repair kit ensures the edge geometry remains consistent, preventing tissue crushing and promoting rapid plant healing.
What is the best way to remove rust from old tools?
Use grade 00 steel wool and a penetrating oil to scrub the surface. Once the oxidation is removed, apply a protective coating of linseed oil to prevent further moisture contact with the high-carbon steel.
Why is my plant wilting despite regular watering?
This may be a sign of root rot or over-saturation. Use a soil moisture meter to check the depth of hydration. If the soil is waterlogged, the roots cannot perform gas exchange, leading to a loss of turgor.
Can I use any oil to lubricate my garden tools?
Use food-grade mineral oil or linseed oil. Avoid petroleum-based lubricants on surfaces that contact soil or plant tissue, as these can introduce contaminants into the rhizosphere and negatively impact soil microbial life.