9 Steps to Prepare a Helpful Garden Tool Care Guide
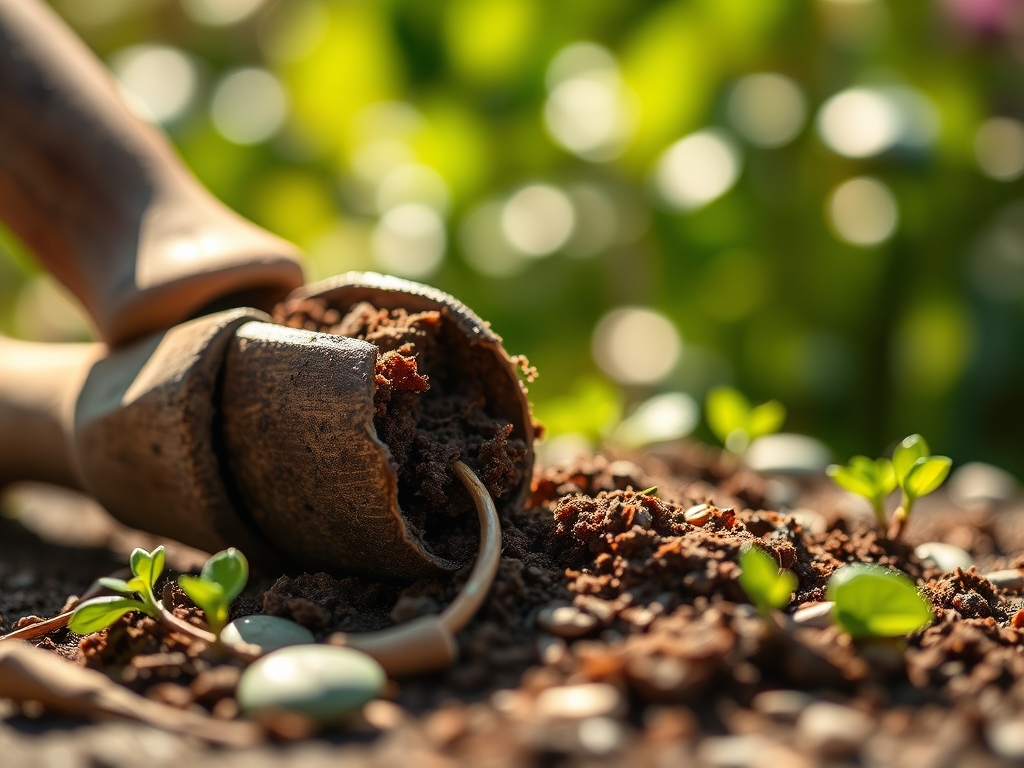
The smell of damp earth after a heavy rain indicates the presence of geosmin; this organic compound signals a healthy microbial population within the rhizosphere. When a leaf maintains high turgor pressure, its cells are fully hydrated and the plant functions at peak metabolic efficiency. Understanding these biological markers is essential when you learn how to prepare a garden for a tool care guide. Proper soil preparation and site management ensure that your implements encounter consistent resistance levels during cultivation. If the soil is compacted or the organic matter is depleted, even the highest quality carbon steel blades will suffer premature wear and oxidation. A well prepared plot reduces mechanical stress on your equipment while maximizing the physiological health of the flora. Maintaining an organized workspace allows for the systematic cleaning and sharpening of tools after every session. This technical approach treats the garden as a living laboratory where soil chemistry and mechanical engineering intersect.
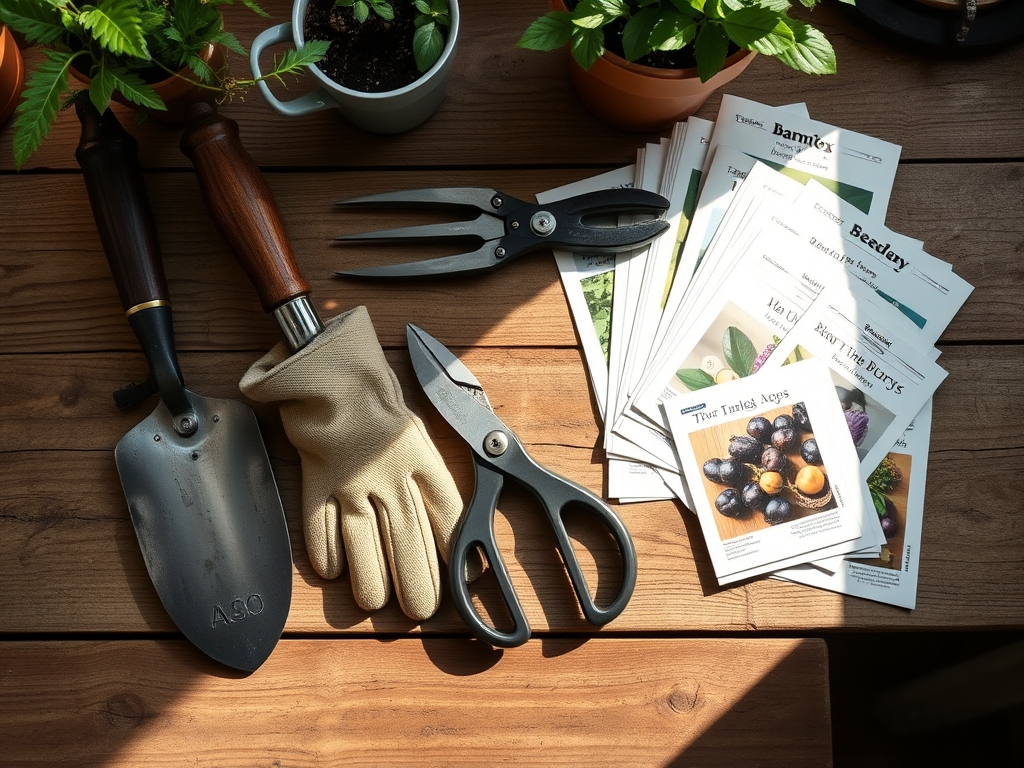
Materials:
Successful cultivation begins with a **pH level between 6.2 and 6.8**. This range ensures optimal bioavailability of macronutrients. The ideal substrate is a **friable loam**, consisting of roughly **40 percent sand, 40 percent silt, and 20 percent clay**. This texture provides a high Cation Exchange Capacity (CEC), allowing the soil to hold onto positively charged ions like calcium and magnesium.
For the vegetative stage, use a fertilizer with an NPK ratio of 10-5-5. The high nitrogen content supports chlorophyll production and leaf expansion. Transition to a 5-10-10 ratio during the reproductive phase to stimulate root development and floral initiation. Incorporate organic matter to achieve a bulk density of approximately 1.1 to 1.3 grams per cubic centimeter. This density allows for adequate gas exchange while providing enough structural integrity to support the root architecture of heavy feeders.
Timing:
Timing is dictated by the United States Department of Agriculture (USDA) Hardiness Zones. In Zone 7, the average last frost occurs in mid April; in Zone 5, this window shifts to late May. You must monitor the 10 centimeter soil temperature. Most temperate crops require a minimum of 15 degrees Celsius (60 degrees Fahrenheit) for successful germination.
The biological clock of the plant is governed by the photoperiod. Long day plants require more than 12 hours of light to transition from vegetative growth to the reproductive stage. Conversely, short day plants begin senescence or flowering when daylight hours decrease. Observe the transition from the juvenile phase to adult vegetative phase by tracking the complexity of leaf morphology. Early season preparation ensures that your tools are sharpened and sterilized before the surge in metabolic activity requires frequent pruning and cultivation.
Phases:

Sowing
Direct sow seeds at a depth three times the diameter of the seed. Maintain a consistent moisture level to ensure the seed coat softens and allows the radicle to emerge. Use a soil moisture meter to verify that the substrate remains at 70 percent field capacity.
Pro-Tip: Proper sowing depth facilitates photomorphogenesis. If seeds are too deep, they exhaust their endosperm reserves before reaching the surface for photosynthesis.
Transplanting
When moving seedlings, minimize root disturbance to prevent transplant shock. Ensure the hole is twice the width of the root ball. Water immediately with a diluted seaweed extract to encourage the establishment of mycorrhizal symbiosis.
Pro-Tip: Mycorrhizal fungi extend the reach of the root system. This symbiotic relationship increases the surface area for phosphorus absorption by up to 1,000 percent.
Establishing
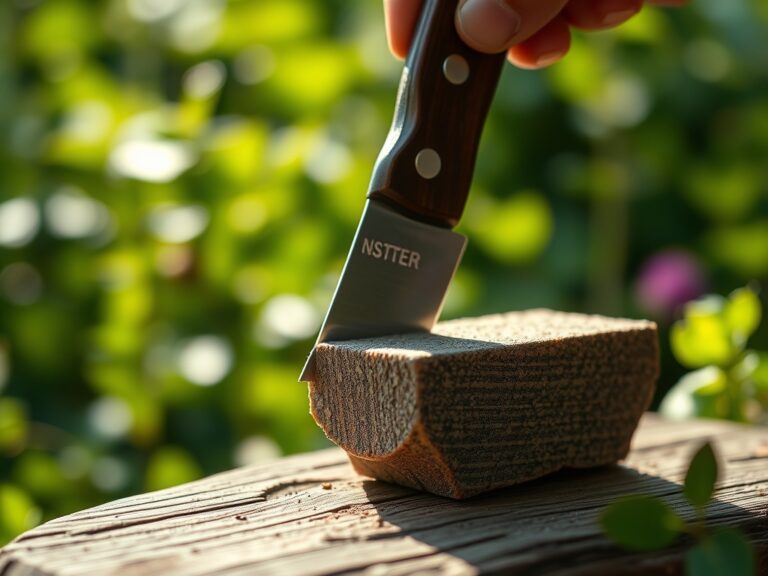
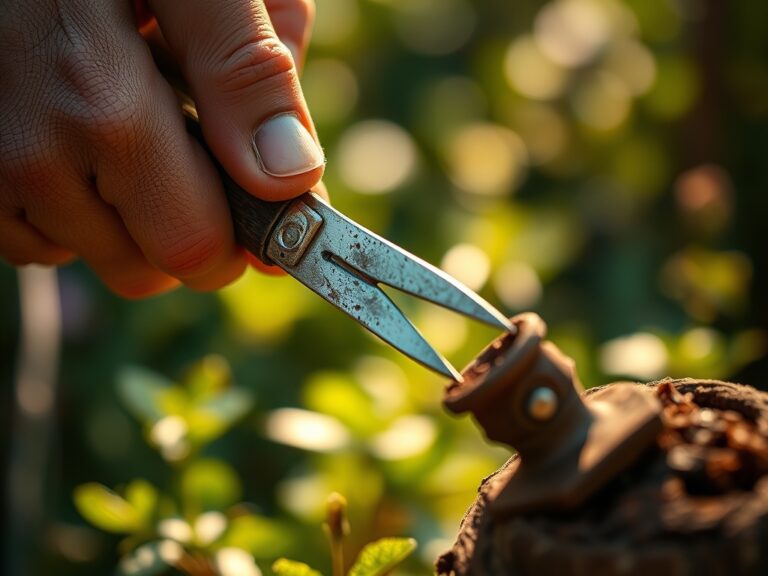
As the plant enters its rapid growth phase, monitor for structural integrity. Use a hori-hori knife to remove deep rooted weeds that compete for nitrogen. Maintain a mulch layer of 2 to 3 inches to regulate soil temperature and prevent moisture evaporation.
Pro-Tip: Pruning the apical meristem suppresses auxin production. This hormonal shift encourages lateral branching through axillary bud activation, resulting in a bushier and more productive plant.
The Clinic:
Physiological disorders often mimic pathogen attacks but result from environmental or nutritional imbalances.
Symptom: Interveinal chlorosis on young leaves.
Solution: This indicates an Iron (Fe) deficiency, often caused by a pH above 7.0. Apply chelated iron and lower the pH using elemental sulfur.
Symptom: Blossom end rot on fruit.
Solution: This is a Calcium (Ca) transport issue. Ensure consistent irrigation to facilitate the movement of calcium through the xylem.
Symptom: Purpling of the lower foliage.
Solution: Phosphorus (P) deficiency. This often occurs in cold soils where microbial activity is low. Apply a high phosphorus starter fertilizer.
Fix-It for Nitrogen Chlorosis: If older leaves turn uniform pale yellow, the plant is scavenging nitrogen for new growth. Apply a quick release nitrate-based fertilizer to restore nitrogen levels within the leaf tissue.
Maintenance:
Precision is the hallmark of professional horticulture. Apply 1.5 inches of water per week directly at the drip line. Avoid overhead irrigation to reduce the risk of foliar diseases. Use bypass pruners for clean cuts on living tissue; anvil pruners should be reserved for dead wood as they crush the vascular cambium.
Every 30 days, inspect your soil moisture meter for calibration. Clean your hori-hori knife with a 70 percent isopropyl alcohol solution after working with diseased plants to prevent cross contamination. Sharpen blades at a 20 degree angle using a whetstone to maintain surgical precision. Store all metal implements in a bucket of sand mixed with mineral oil to prevent oxidation during periods of high humidity.
The Yield:
Harvesting should occur during the "cool of the day," typically just after sunrise when turgor pressure is at its peak. For leafy greens, harvest when the leaves are young and succulent. For fruiting bodies, wait until the fruit reaches the "mature green" or fully ripe stage depending on the species.
Use a sharp, sterilized blade to make a clean incision, leaving a small portion of the pedicel attached. This technique prevents mechanical damage to the main stem and reduces the entry points for opportunistic fungi. Post-harvest, immediately move the produce to a shaded area. Rapidly cooling the crop to 4 degrees Celsius (40 degrees Fahrenheit) slows down the respiration rate. This preservation of sugars and moisture ensures day-one freshness and extends the shelf life of the harvest.
FAQ:
How do I fix compacted garden soil?
Aerate the soil using a broadfork or core aerator to a depth of 8 to 10 inches. Incorporate organic matter like compost to improve the pore space and lower the bulk density below 1.4 g/cm3.
What is the best way to clean rusty tools?
Submerge the metal parts in a 50/50 vinegar and water solution for 24 hours. Scrub with steel wool, dry thoroughly, and apply a thin coat of linseed oil to create a protective moisture barrier.
When should I sharpen my bypass pruners?
Sharpen blades after every 10 to 15 hours of use or whenever you notice the tool is tearing rather than slicing the tissue. A clean cut is vital for the plant to seal the wound quickly.
Why are my plant leaves turning yellow?
Yellowing, or chlorosis, is often a sign of nitrogen deficiency or overwatering. Check the soil moisture with a meter. If the soil is dry, apply a high nitrogen fertilizer to the rhizosphere.