6 Steps to Build a Custom Shade and Style Pergola
The sharp scent of crushed pine needles and the cool humidity of damp earth signal the start of a structural project. Success depends on the turgor pressure of the surrounding flora; if your garden is wilting, the soil is too unstable for heavy footings. Mastering the steps for building a garden pergola requires more than carpentry. It demands a deep understanding of how a permanent structure alters the microclimate, light penetration, and root zone health of the existing landscape.
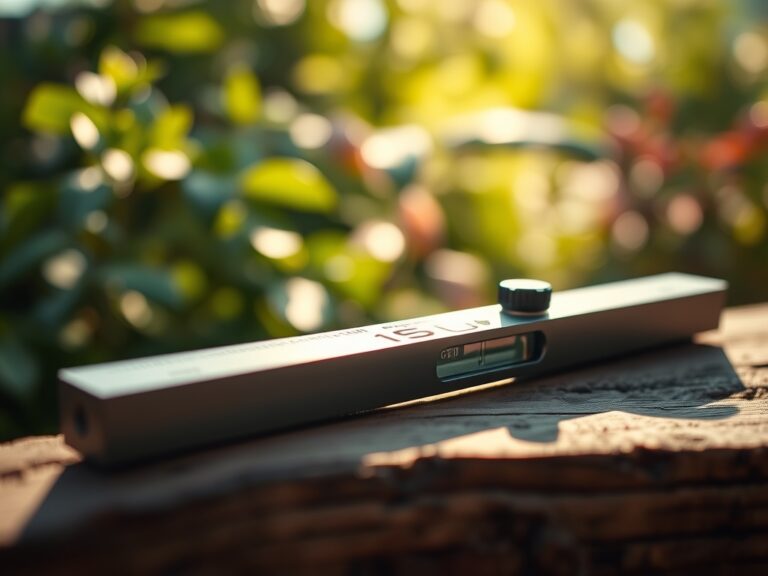
Proper site preparation begins with assessing the load-bearing capacity of the soil. A pergola is a heavy architectural addition that can compact the rhizosphere, the narrow region of soil influenced by root secretions and microorganisms. You must calculate the structural weight against the soil density to prevent sinking or shifting during seasonal freeze-thaw cycles. This guide treats the pergola as a biological scaffold, integrating wood and steel into a living ecosystem.
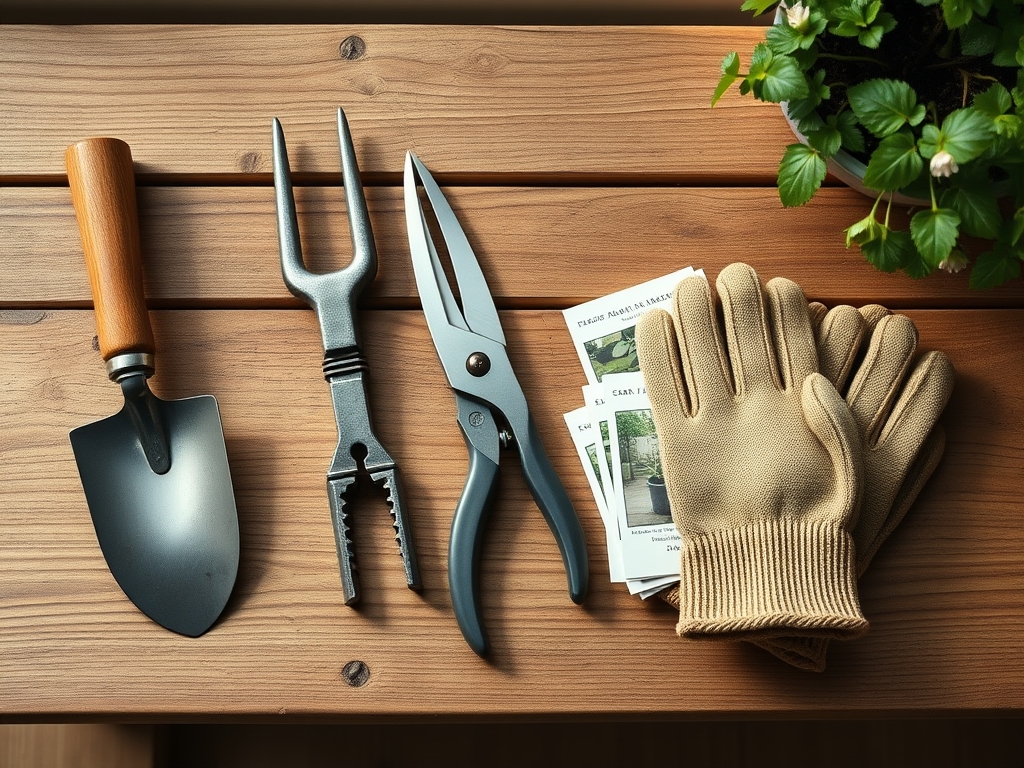
Materials:
Before setting posts, analyze the substrate. The ideal ground for a pergola is a **friable loam** with a **Cation Exchange Capacity (CEC) between 15 and 25**. High CEC indicates the soil can hold onto essential nutrients like calcium and magnesium, which are vital if you plan to grow heavy vines like Wisteria or Vitis vinifera on the structure.
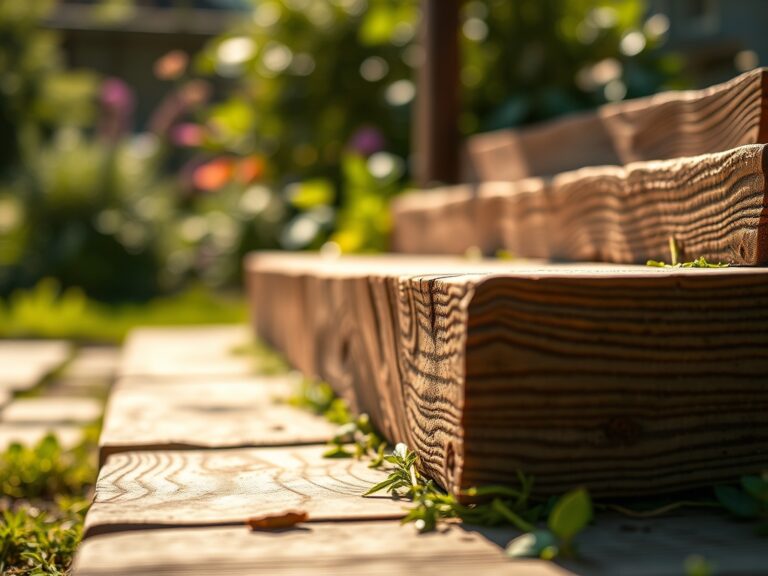
Ensure the soil pH is stabilized between 6.0 and 7.0. If the soil is too acidic, apply pelletized lime; if too alkaline, use elemental sulfur. For the surrounding planting beds, incorporate a slow-release fertilizer with an NPK ratio of 5-10-5. This phosphorus-heavy ratio encourages strong root development without forcing excessive top growth that might interfere with construction. Use pressure-treated lumber rated for ground contact or naturally rot-resistant species like Western Red Cedar or Black Locust.
Timing:
The construction window is dictated by your local Hardiness Zone. In Zones 4 through 7, the ideal time to dig footings is late spring, once the soil has thawed and the risk of "frost heave" has passed. Frost heave occurs when water in the soil freezes and expands, capable of displacing concrete footings that are not set below the frost line, which can be as deep as 48 inches in northern latitudes.
Monitor the biological clock of your garden. Avoid heavy construction during the transition from vegetative to reproductive stages of nearby perennials. This is typically when auxin levels are highest, and the plants are most sensitive to root disturbance. Aim for a period of dormancy or early spring emergence to minimize transplant shock if you must relocate specimens to accommodate the pergola footprint.
Phases:

Sowing the Foundation
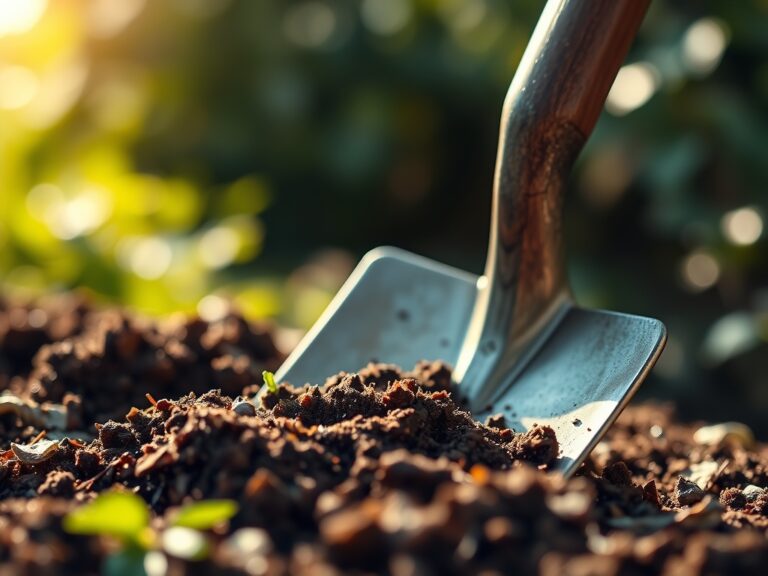
The first of the steps for building a garden pergola is the excavation. Dig holes to a depth of at least 36 inches, or 12 inches below the local frost line. Use a post-hole digger to maintain a consistent diameter. Clear all organic debris to prevent fungal pathogens from colonizing the wood-soil interface.
Pro-Tip: When backfilling with concrete, slightly slope the surface away from the post. This prevents water from pooling at the base, which would otherwise trigger lignin degradation through fungal saprobes.
Transplanting and Structural Integration
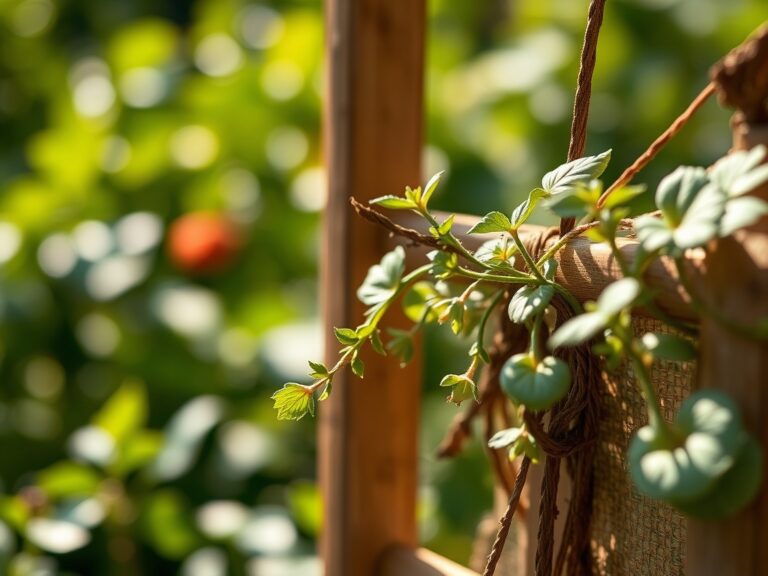
Once the posts are cured, install the headers and rafters. If you are integrating climbing plants, install them at least 18 inches away from the wooden posts. This distance prevents the root ball from competing with the concrete footing for space and moisture.
Pro-Tip: Use a hori-hori knife to prune any circling roots before planting. This stimulates lateral root growth through apical dominance suppression, forcing the plant to establish a wider, more stable base.
Establishing the Canopy
The final phase involves training the vegetation. Use soft ties to guide new shoots toward the rafters. Ensure the slats are spaced 12 to 16 inches apart to allow for adequate airflow and light penetration to the lower leaf tiers.
Pro-Tip: Understand phototropism. Plants will naturally grow toward the light. By angling your rafters north-to-south, you maximize the duration of solar exposure for the plants while providing consistent shade for the patio area below.
The Clinic:
Structural and botanical health are linked. Monitor your plants and the structure for these physiological disorders:
- Nitrogen Chlorosis: Symptoms include yellowing of older leaves while veins remain green. Fix-It: Apply a water-soluble fertilizer with a high first number (N) to restore chlorophyll production.
- Iron Deficiency: New growth appears bleached or white. This often occurs in high pH soils where iron becomes "locked." Fix-It: Apply chelated iron to the rhizosphere.
- Bacterial Wilt: Sudden drooping of foliage despite adequate soil moisture. This is often caused by restricted xylem flow. Fix-It: Sterilize your bypass pruners with 70 percent isopropyl alcohol and remove infected limbs immediately.
- Wood Rot: Dark, soft spots at the base of the pergola posts. Fix-It: Improve drainage by adding a layer of 3/4-inch crushed stone around the base to increase aeration.
Maintenance:
A pergola requires precise hydration management. Plants climbing the structure often experience higher transpiration rates due to increased wind exposure. Provide 1.5 inches of water per week at the drip line. Use a soil moisture meter to ensure the root zone stays at a consistent 20 to 30 percent moisture content.
Check structural fasteners annually. Wood expands and contracts based on relative humidity. Use your bypass pruners to thin out dead wood (senescence) in the fall. This reduces the weight load on the rafters before snow accumulation. If you notice localized soil compaction near the posts, use a garden fork to aerate the soil, improving the oxygen diffusion rate to the roots.
The Yield:
If your pergola supports edible crops like grapes or hops, timing the harvest is critical. For grapes, monitor the Brix level (sugar content) using a refractometer. Harvest when the fruit reaches 18 to 22 percent Brix. Use sharp shears to cut the clusters, leaving a small portion of the peduncle attached. To maintain "day-one" freshness, immediately move the harvest to a cool, dark environment with high humidity to slow down the metabolic rate and prevent moisture loss.
FAQ:
How deep should pergola posts be buried?
Posts must be buried at least 36 inches deep or 12 inches below the local frost line. This depth prevents shifting caused by soil expansion during freeze-thaw cycles and provides the necessary leverage to support the overhead weight.
Which wood is best for a garden pergola?
Western Red Cedar and Black Locust are superior choices due to their natural resistance to decay and insects. If using pressure-treated lumber, ensure it is rated for ground contact (UC4A) to prevent premature structural failure.
How do I prevent my climbing plants from damaging the wood?
Maintain a 2-inch gap between the vine and the wood using a wire trellis system. This allows for airflow, reducing the risk of trapped moisture which leads to fungal growth and wood rot on the pergola frame.
What is the best NPK ratio for pergola vines?
Use a 10-10-10 balanced fertilizer in early spring to support overall growth. Switch to a 5-10-5 ratio if the plant is a flowering species, as higher phosphorus levels promote bloom production over excessive leaf development.