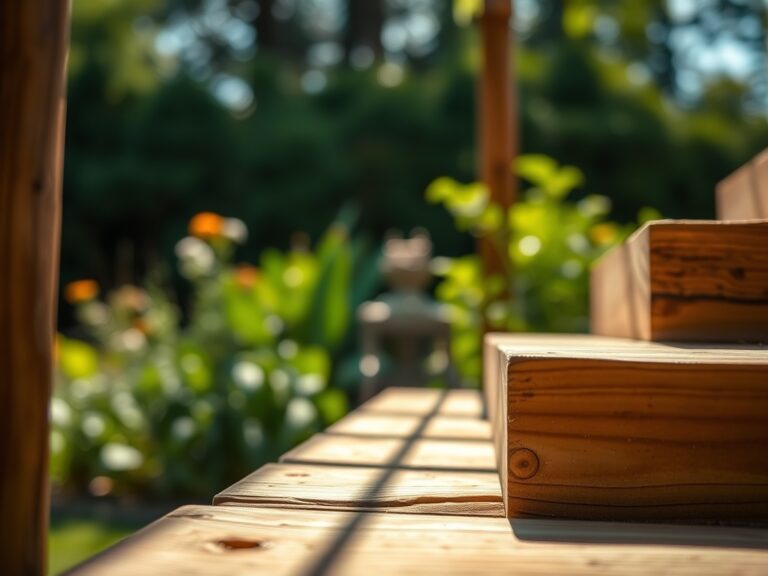
7 Steps to Build a Professional Natural Paver Patio
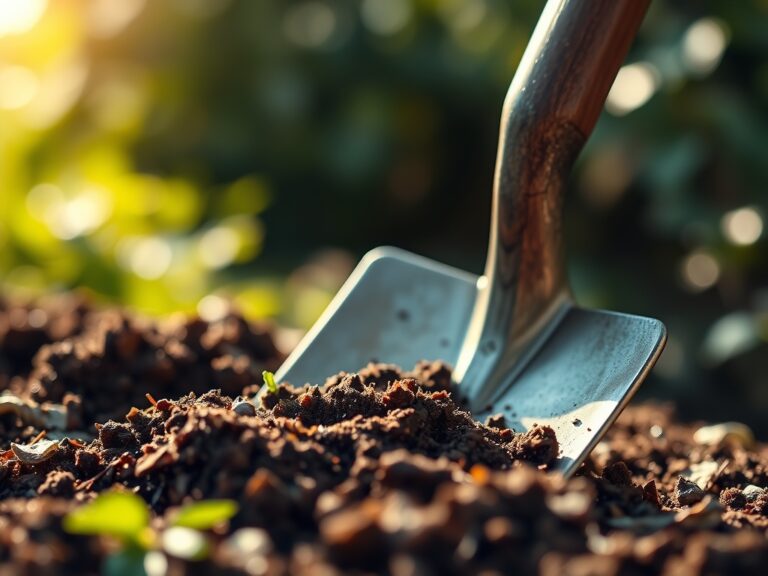
Damp earth releases a sharp, geosmin-heavy scent when the shovel first breaks the O-horizon. A successful installation requires more than aesthetic placement; it demands an understanding of soil physics and structural integrity. Following the correct steps for building a garden patio ensures the finished surface resists the frost heave that plagues amateur masonry. You are not merely laying stone. You are managing the hydrological pressure and load-bearing capacity of the local rhizosphere while creating a stable microclimate for the surrounding flora.
The structural success of a patio depends on the interaction between the substrate and the paving material. When the soil reaches a state of field capacity, any excess weight can lead to compaction, which destroys the pore space necessary for gas exchange in nearby root systems. Professional installation requires a minimum excavation depth of eight inches to accommodate a four-inch sub-base of crushed stone. This layer provides the necessary drainage to prevent water from pooling against the foundations of the home or the root collars of specimen trees. Proper grading, typically a two percent slope away from structures, prevents anaerobic conditions in the soil that lead to root rot and fungal pathogens.
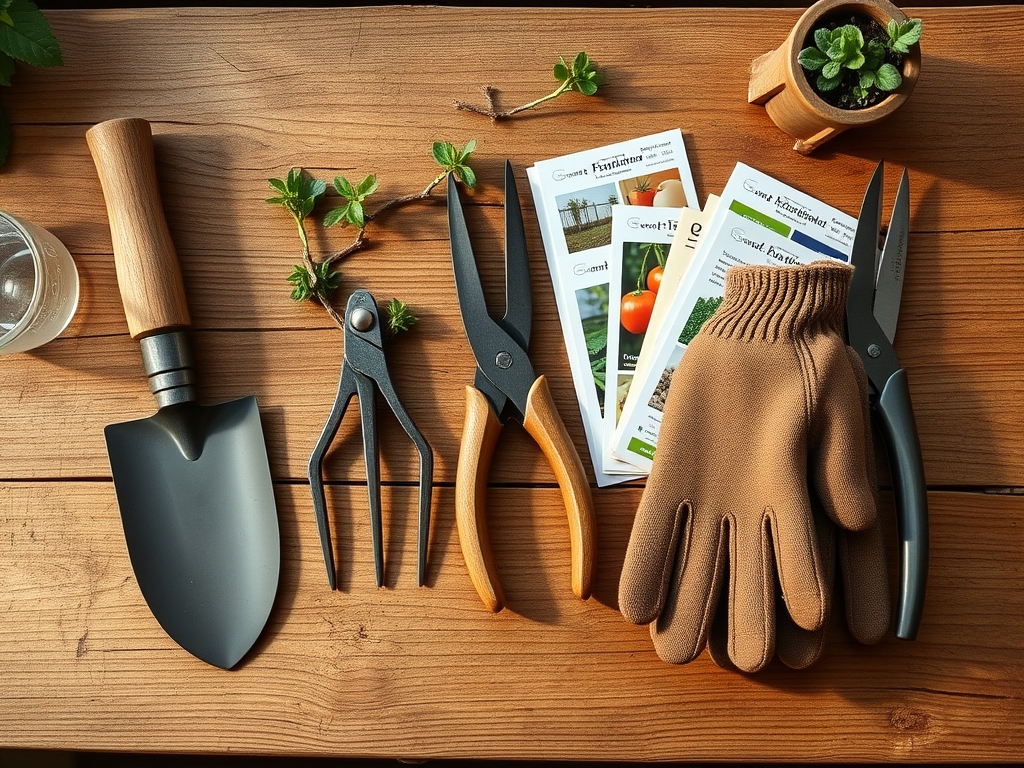
Materials:
The foundation of a patio is a geological exercise. You must analyze the soil texture before procurement. A friable loam with a balanced Cation Exchange Capacity (CEC) of 15 to 25 is ideal for the perimeter plantings, but the patio footprint requires a non-organic mineral base.
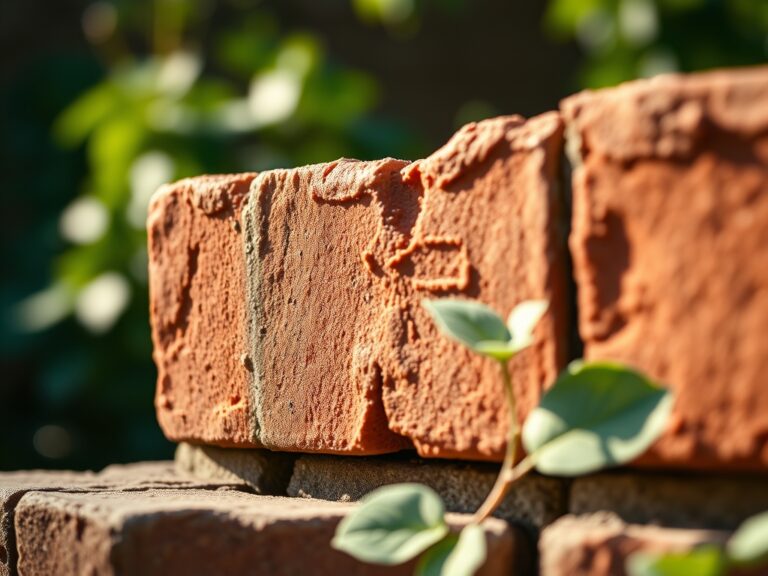
- Sub-base: 21A or 3/4-inch minus crushed limestone. This material provides the structural skeleton.
- Bedding Layer: Coarse washed concrete sand. Avoid fine masonry sand as it lacks the angularity needed for interlocking.
- Jointing Material: Polymeric sand or stone dust, depending on the desired permeability.
- Soil Amendments: For the surrounding beds, target an NPK ratio of 5-10-5 to encourage root development without overstimulating succulent vegetative growth.
- pH Adjustment: Maintain a pH of 6.2 to 6.8 to ensure nutrient bioavailability for the ornamental borders. Use pelletized lime to raise pH or elemental sulfur to lower it based on a standard slurry test.
Timing:
Hardiness Zones 4 through 7 require strict adherence to the frost-date window. Construction should commence only after the ground has thawed and the soil moisture has decreased enough to prevent "puddling" during compaction. In Zone 6, this typically occurs between late April and early October.
The biological clock of your garden dictates the installation schedule. Avoid heavy excavation during the "bud break" or the peak vegetative stage of nearby perennials, as the increased transpiration rates make plants highly susceptible to root stress. The ideal window is during the early autumn senescence, when plants are translocating carbohydrates to their root systems and are less sensitive to minor disturbances in the rhizosphere.
Phases:

Sowing the Foundation
Excavate the area to a depth of 20.3 centimeters. Remove all organic matter, including sod and roots, to prevent future settling as the material decomposes. Compact the sub-grade using a plate compactor until it reaches 95 percent Proctor density.
Pro-Tip: Compaction is vital because it reduces the macro-pore space. This prevents the "wicking" of capillary water which, through freeze-thaw cycles, would otherwise exert upward pressure and displace the pavers.
Transplanting the Hardscape
Install a geotextile fabric over the compacted soil to separate the sub-grade from the crushed stone base. Spread 10 centimeters of crushed stone, followed by 2.5 centimeters of coarse sand. Screed the sand to a perfectly level surface, accounting for the predetermined slope.
Pro-Tip: Use a mycorrhizal inoculant in the backfill of any peripheral plantings. This encourages a symbiotic relationship between the fungi and the plant roots, significantly increasing the surface area for water and nutrient absorption during the recovery phase.
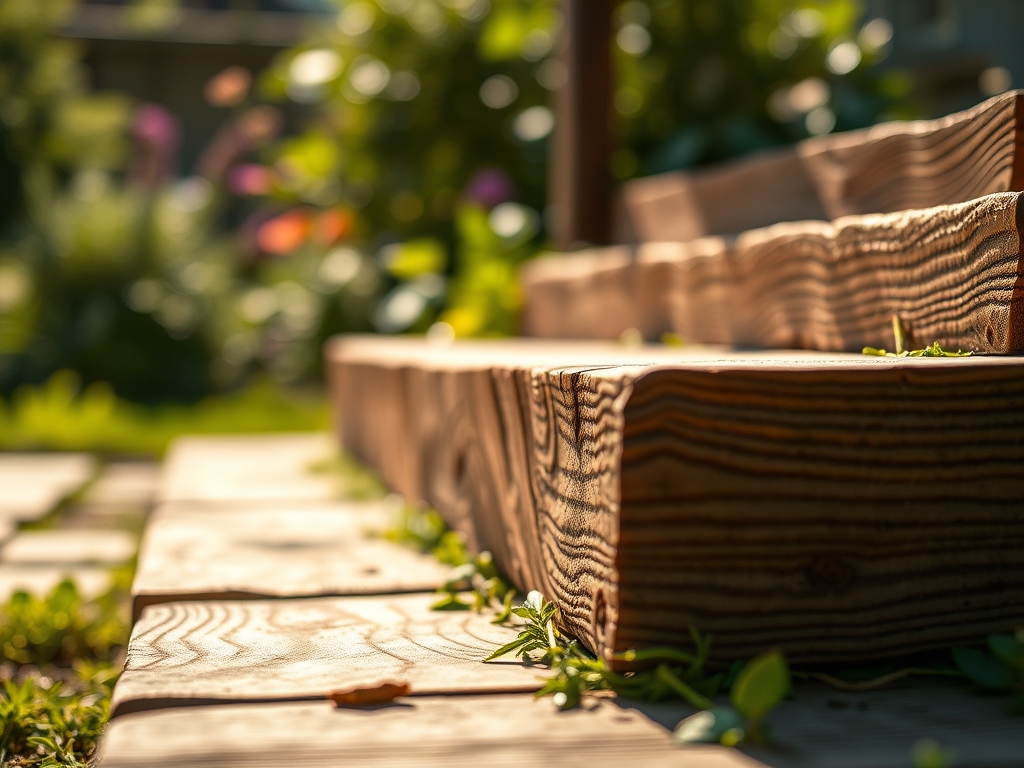
Establishing the Surface
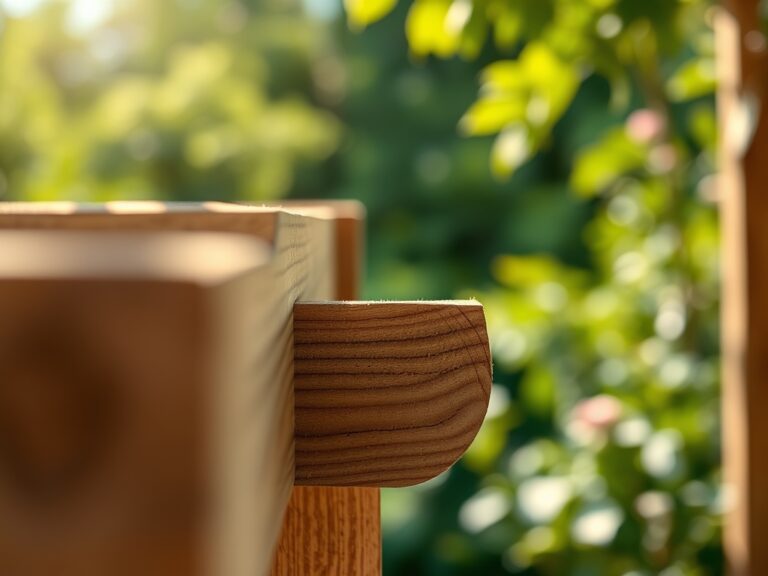
Set the pavers in the desired pattern, ensuring tight joints. Once the stones are set, sweep polymeric sand into the gaps. Mist the surface with water to activate the binding polymers. This creates a semi-permeable barrier that inhibits weed seed germination and prevents ant colonization.
Pro-Tip: When planting around the patio edge, avoid burying the root flare of woody shrubs. Deep planting triggers auxin suppression in the lower trunk, which can lead to adventitious root growth and eventually girdle the plant, causing premature death.
The Clinic:
Physiological disorders in the patio-adjacent garden often stem from mechanical damage or altered drainage patterns.
- Symptom: Interveinal chlorosis on new growth.
Solution: This indicates a micronutrient deficiency, often Iron (Fe) or Manganese (Mn), caused by high alkalinity from concrete runoff. Apply a chelated iron foliar spray and monitor soil pH. - Symptom: Marginal leaf scorch on nearby shrubs.
Solution: This is a sign of "drought stress" caused by root pruning during excavation. Increase irrigation frequency to maintain turgor pressure. - Symptom: Nitrogen Chlorosis (yellowing of older leaves).
Fix-It: Apply a high-nitrogen fertilizer with a 20-10-10 NPK ratio. Nitrogen is highly mobile; if the patio construction diverted water flow, it likely leached the available nitrates out of the root zone. - Symptom: Epinasty (downward twisting of leaves).
Solution: This suggests soil compaction and oxygen deprivation in the rhizosphere. Use a core aerator around the patio perimeter to restore gas exchange.
Maintenance:
Precision is the hallmark of professional maintenance. Use a soil moisture meter to ensure the surrounding landscape receives exactly 1.5 inches of water per week at the drip line. Do not water the foliage; apply water directly to the soil to prevent fungal spores from proliferating.
Keep a sharp hori-hori knife for weeding the perimeter and removing any volunteer seedlings that attempt to breach the paver joints. For woody ornamentals, use bypass pruners to make clean, slanted cuts that shed water and promote rapid callousing. Check the integrity of the jointing sand annually. If erosion is detected, replenish the sand to prevent the pavers from shifting under lateral loads.
The Yield:
If your patio border includes edible cultivars like Rosmarinus officinalis or Lavandula, harvest during the morning hours after the dew has evaporated but before the sun reaches its zenith. This is when essential oil concentration is at its peak. Use sharp shears to cut just above a node, leaving at least four inches of green growth to ensure the plant can continue photosynthesis. For flowers, immediately place stems in 100-degree Fahrenheit water to maintain hydraulic turgor and prevent air embolisms in the xylem, ensuring "day-one" freshness for indoor displays.
FAQ:
How deep should I dig for a paver patio?
Excavate to a minimum depth of 8 inches (20 cm). This allows for a 4-inch compacted stone base, a 1-inch sand bedding layer, and the thickness of the paver. Proper depth prevents shifting and ensures long-term structural stability.
What is the best sand for patio joints?
Use polymeric sand for most residential patios. It contains chemical binders that harden when wetted, preventing weed growth and erosion. For high-drainage areas, use a No. 9 angular crushed stone to maintain permeability and reduce runoff.
Can I lay pavers directly on dirt?
No. Placing pavers on native soil leads to uneven settling and rapid failure. Soil lacks the load-bearing capacity and drainage of a mineral base. Without a compacted aggregate foundation, frost heave will displace the stones within one season.
How do I prevent weeds between pavers?
Maintain the integrity of the polymeric sand joints. If cracks appear, clean the joint with a stiff brush and reapply sand. Maintaining a slightly acidic soil pH in the surrounding garden also discourages many common alkaline-loving weed species from establishing nearby.