6 Steps to Prepare a Secure Heavy Garden Statue Base
The smell of damp, anaerobic mud and the sharp scent of crushed pine needles signal a site ready for intervention. When you handle a healthy leaf, you feel the turgor pressure; the internal fluid pushing against cell walls to maintain structural integrity. A garden statue requires a similar structural rigor. Learning how to prepare a site for a garden statue prevents the inevitable sinking and tilting caused by soil compaction and hydraulic pressure. You are not just placing an object; you are engineering a foundation within a living ecosystem.
Soil stability begins with understanding the Cation Exchange Capacity (CEC) of your substrate. High-clay soils expand and contract with moisture, while sandy soils lack the cohesion to support heavy loads. To ensure a permanent installation, the site must be excavated to reach a stable subsoil layer, bypassing the organic "O" horizon where decomposition causes shifting. A statue weighing over 200 pounds exerts significant downward force. Without a compacted gravel base and a leveled concrete or stone plinth, the statue will settle unevenly, potentially cracking the material or damaging the surrounding rhizosphere. Precision at the start prevents the catastrophic failure of the sculpture during the first heavy freeze-thaw cycle of the winter.
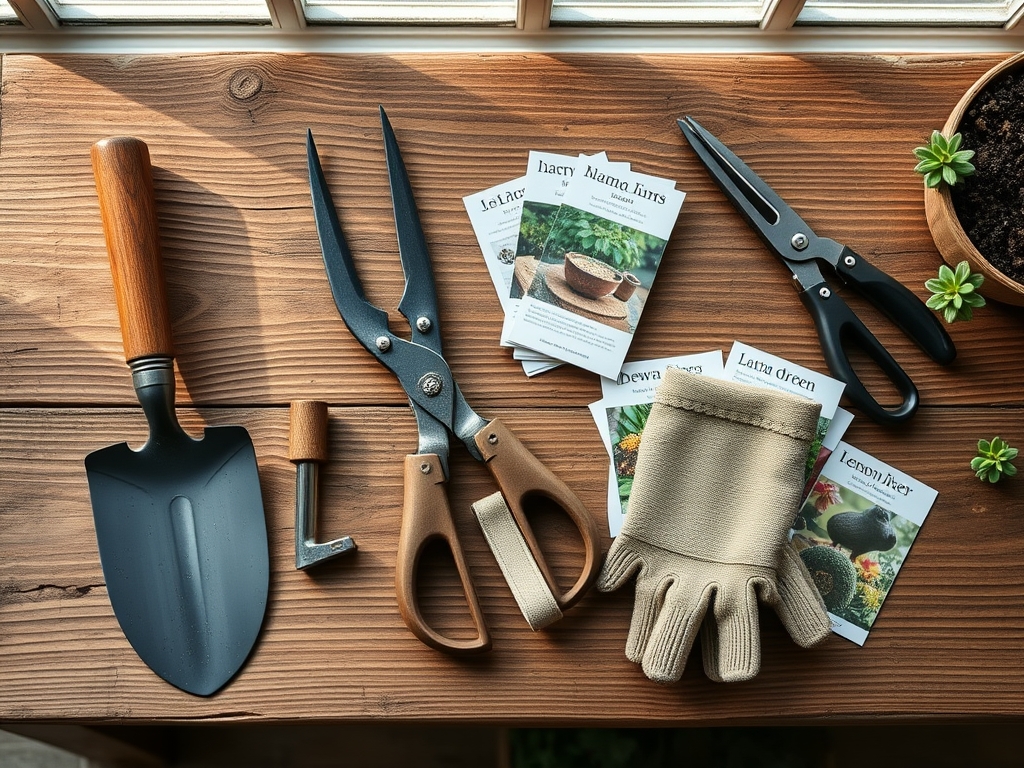
Materials:
The ideal substrate for the surrounding area is a friable loam with a pH of 6.5 to 7.0. This acidity level ensures that any surrounding ornamental plantings have maximum nutrient availability. Before installation, test the soil for Nitrogen (N), Phosphorus (P), and Potassium (K). A balanced 10-10-10 NPK ratio is standard for general site preparation, but if you are planting heavy feeders like roses around the base, aim for a 5-10-5 ratio to encourage root development over excessive foliage.
For the foundation itself, you require crushed limestone (3/4-inch minus) for the sub-base and Leveling sand. The physical texture of the soil should be crumbly; if it forms a hard ribbon when squeezed, the clay content is too high and requires amendment with coarse organic matter to improve drainage. High CEC levels in clay soils (above 25 meq/100g) indicate a need for gypsum to improve structure before you set your heavy stone.
Timing:
Timing is dictated by the USDA Hardiness Zones. In Zones 3 through 6, foundation work must be completed at least six weeks before the first hard frost. This allows the soil to settle and any surrounding vegetation to enter senescence naturally. The "Biological Clock" of the garden transitions from the vegetative stage (active growth) to the reproductive or dormant stages as the photoperiod shortens.
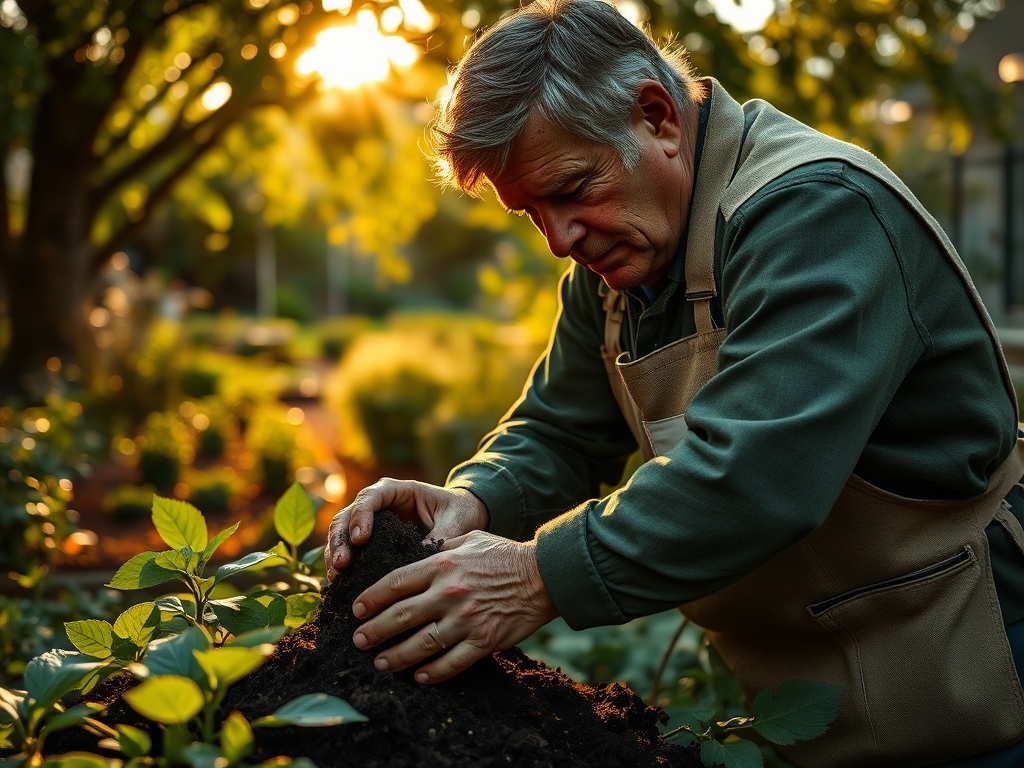
Installation should occur when the soil moisture is between 15% and 20%. Working in saturated soil causes permanent compaction, destroying the pore space necessary for oxygen to reach the roots of nearby plants. Avoid the "mud season" of early spring. Instead, target the late summer or early autumn when the soil is dry and the microbial activity is high, allowing for rapid recovery of the site's ecology.
Phases:
Sowing and Site Clearing
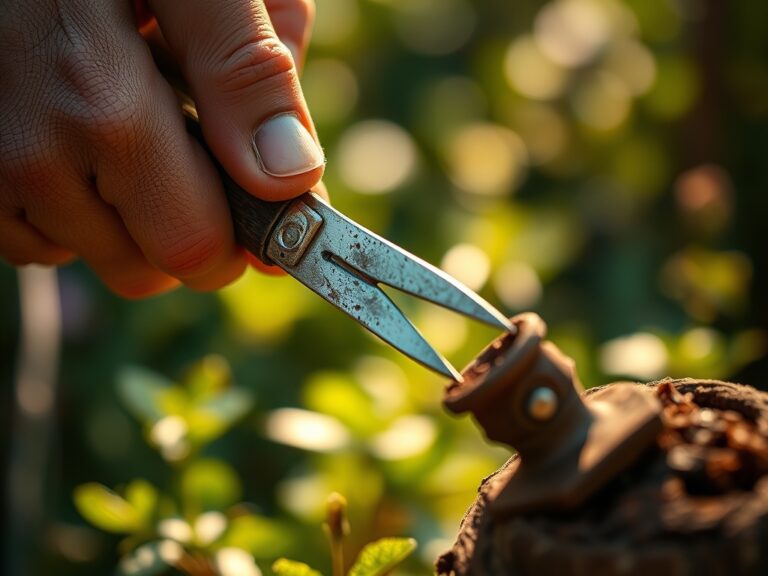
Clear a diameter twice the width of the statue base. Use a hori-hori knife to slice through the sod, ensuring you do not tear the lateral roots of adjacent perennials. Excavate to a depth of 8 to 12 inches.
Pro-Tip: Removing the "O" horizon prevents the buildup of carbon dioxide in the soil. High CO2 levels can lead to auxin suppression in nearby roots, stunted growth, and localized plant death.
Transplanting and Leveling
Fill the excavation with 6 inches of crushed stone. Compact this in 2-inch lifts using a hand tamper. Add a 2-inch layer of sand to allow for micro-leveling. Ensure the site is perfectly level using a 4-foot carpenter's level.
Pro-Tip: Maintaining a level surface prevents uneven weight distribution. This avoids phototropism issues in surrounding plants, as an unlevel statue can cast unexpected shadows that force plants to grow at awkward angles toward the light.
Establishing the Surroundings
Backfill the edges with the amended friable loam. If you are adding groundcover, ensure the root balls are level with the existing grade to prevent crown rot. Mulch with 2 inches of shredded bark to maintain moisture.
Pro-Tip: Inoculate the backfill with mycorrhizal fungi. This symbiosis extends the root system's reach, allowing plants to scavenge for phosphorus and water more efficiently in the disturbed soil.
The Clinic:
Symptom: Leaf margins turning yellow while veins remain green (Interveinal Chlorosis).
Solution: This indicates an iron deficiency, often caused by high soil pH (above 7.5) near concrete bases. Apply chelated iron to the soil.
Symptom: Stunted growth and purple-tinted leaves on new plantings.
Solution: Phosphorus deficiency. The soil is likely too cold or the pH is below 5.5. Incorporate bone meal or a 0-20-0 fertilizer into the rhizosphere.
Symptom: Wilting despite moist soil.
Solution: Root rot or "damping off" caused by poor drainage under the statue base. Increase the depth of the gravel sub-base to improve hydraulic conductivity.
Fix-It for Nitrogen Chlorosis: If the entire leaf turns pale green or yellow, apply a high-nitrogen liquid fertilizer (20-0-0) for immediate uptake through the xylem.
Maintenance:
A secure site requires ongoing monitoring. Provide 1.5 inches of water per week at the drip line of any surrounding plants, especially during the first growing season. Use a soil moisture meter to check the hydration levels at a depth of 6 inches; do not rely on surface appearance.
Prune any encroaching vegetation with bypass pruners to prevent mechanical damage to the statue's finish. Check the level of the statue annually. If the base has shifted more than 1/4 inch, use a pry bar and additional leveling sand to reset the equilibrium. Clean the statue with distilled water to prevent mineral buildup from hard tap water, which can alter the soil pH over time as it runs off.
The Yield:
If your statue is a centerpiece for a cutting garden or an herb knot, the yield is the physical harvest of the surrounding flora. Harvest lavender or rosemary during the morning hours when essential oil concentration is highest. Use a sharp knife to make clean cuts above the node to encourage lateral branching. For "day-one" freshness, immediately plunge the stems into 40-degree Fahrenheit water to maintain cell turgor and slow the rate of respiration.
FAQ:
How deep should the gravel base be for a heavy statue?
Excavate at least 8 to 12 inches. Fill with 6 inches of compacted crushed stone and 2 inches of leveling sand. This depth prevents shifting during frost heaves and ensures proper drainage away from the statue base.
What is the best soil pH for plants around a statue?
Aim for a pH of 6.5 to 7.0. Concrete or stone bases can leach lime, raising the pH over time. Regular testing ensures the soil remains slightly acidic for optimal nutrient uptake and plant health.
Can I place a statue directly on the grass?
No. Placing a heavy object on turf causes soil compaction, killing the grass and the microbial life beneath it. The statue will eventually tilt as the organic matter decomposes and the soil settles unevenly.
How do I prevent weeds from growing around the base?
Install a geotextile fabric between the soil and the gravel base. This barrier prevents weed seeds from germinating in the substrate while allowing water to pass through, maintaining the hydraulic integrity of the site.
When is the best time to prepare the site?
Prepare the site in late summer or early autumn. This avoids the high moisture levels of spring and allows the ground to settle before the winter freeze-thaw cycles begin in colder Hardiness Zones.