6 Steps to Sharpen a Garden Knife with a Stone
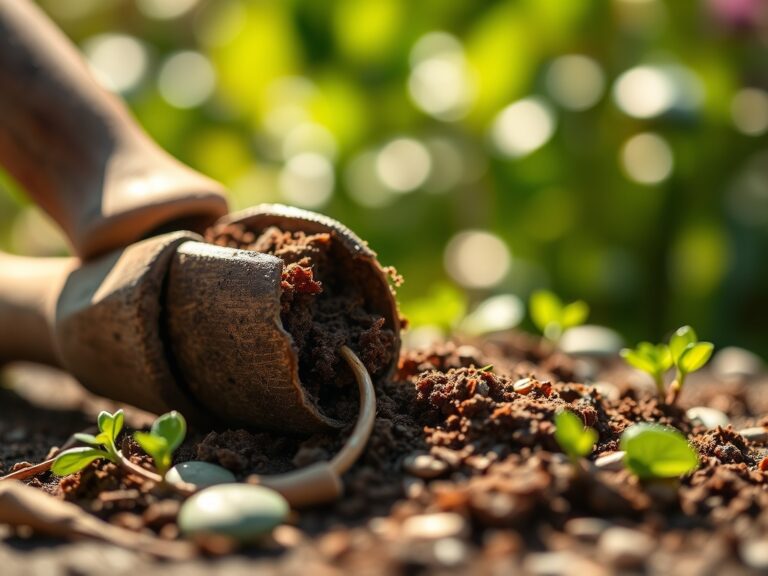
The smell of damp earth and the snap of a leaf with high turgor pressure define a productive morning in the field. When a blade is dull, it crushes the vascular tissue of the plant; this creates a jagged wound that invites pathogens into the rhizosphere. Precision cuts require a surgical edge. Mastering the steps for sharpening a garden knife with a stone ensures that every incision is clean; this promotes rapid callusing and protects the plant's hydraulic system.
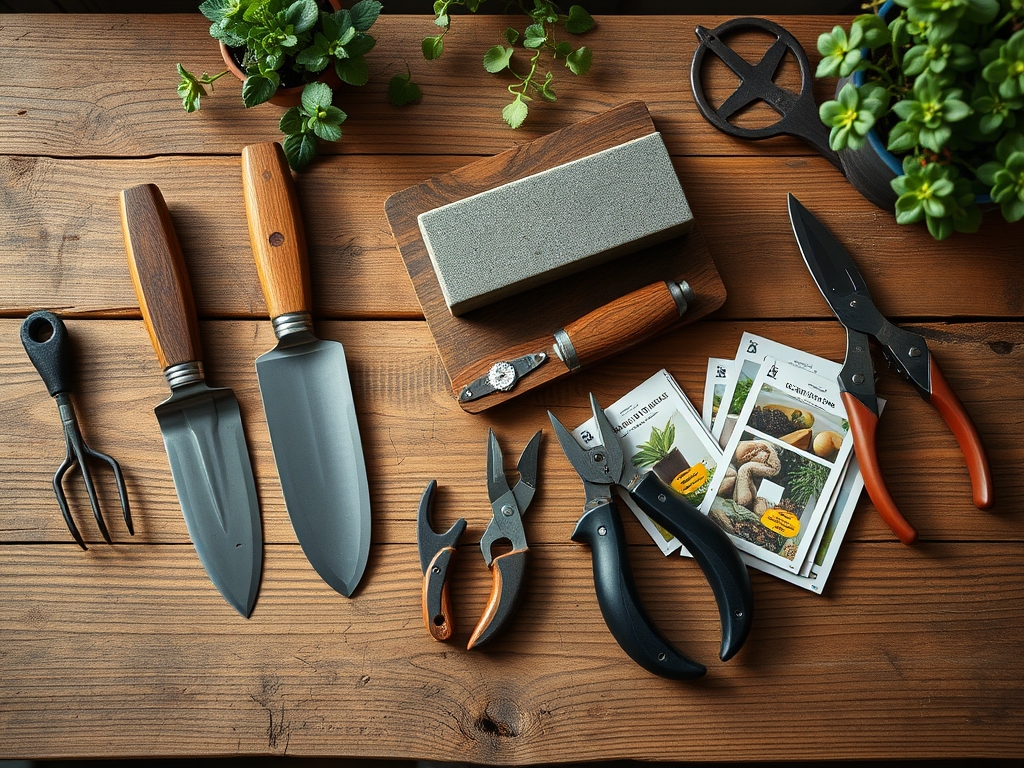
Materials:
While the blade is the focus, the environment dictates the longevity of the tool. Garden knives often interact with friable loam, a substrate characterized by a 40-40-20 balance of sand, silt, and clay. This soil typically maintains a pH between 6.0 and 7.0. Exposure to soils with a high Cation Exchange Capacity (CEC) means the blade encounters mineral salts and organic acids that can accelerate oxidation.
To maintain the tool, you must understand the chemistry of the garden. A standard 10-10-10 NPK fertilizer application increases soil salinity, which can pit carbon steel if the blade is not cleaned. You will need a dual-grit whetstone (1000/6000 grit), honing oil or water, and a clean rag. The coarse side of the stone reshapes the bevel, while the fine side polishes the edge to a microscopic finish.
Timing:
The biological clock of the garden dictates your maintenance schedule. In Hardiness Zones 5 through 7, the window between the last spring frost and the summer solstice is a period of intense vegetative growth. During this phase, plants exhibit high auxin production at the apical meristems. Pruning or harvesting during this window requires a perfectly sharp edge to prevent tearing the soft, non-lignified tissue.
Sharpening should occur before the transition from vegetative to reproductive stages. As the photoperiod shifts and plants begin flowering, their energy is diverted from structural repair to seed production. A dull cut during this sensitive transition can lead to localized senescence and reduced yields. Aim to sharpen your tools when the soil temperature reaches a consistent 55 degrees Fahrenheit, signaling the start of the active growing season.
Phases:
Executing the steps for sharpening a garden knife with a stone requires a systematic approach to metallurgy and geometry.
Sowing the Edge
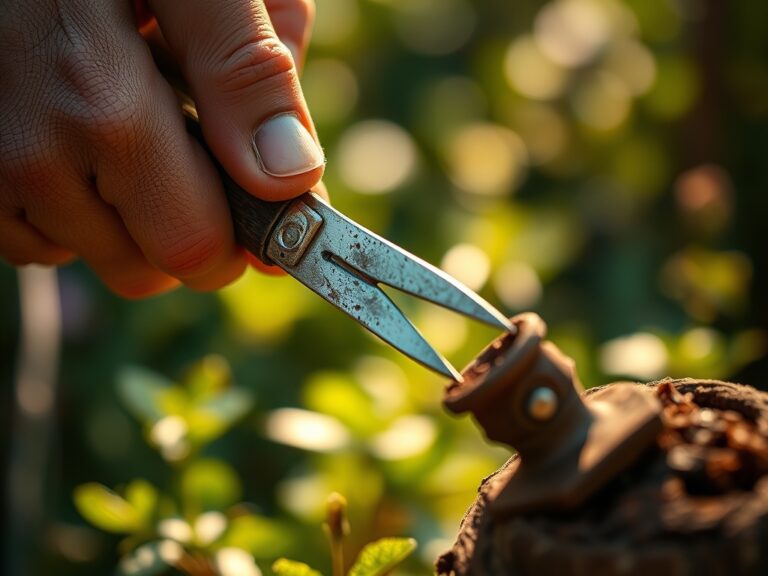
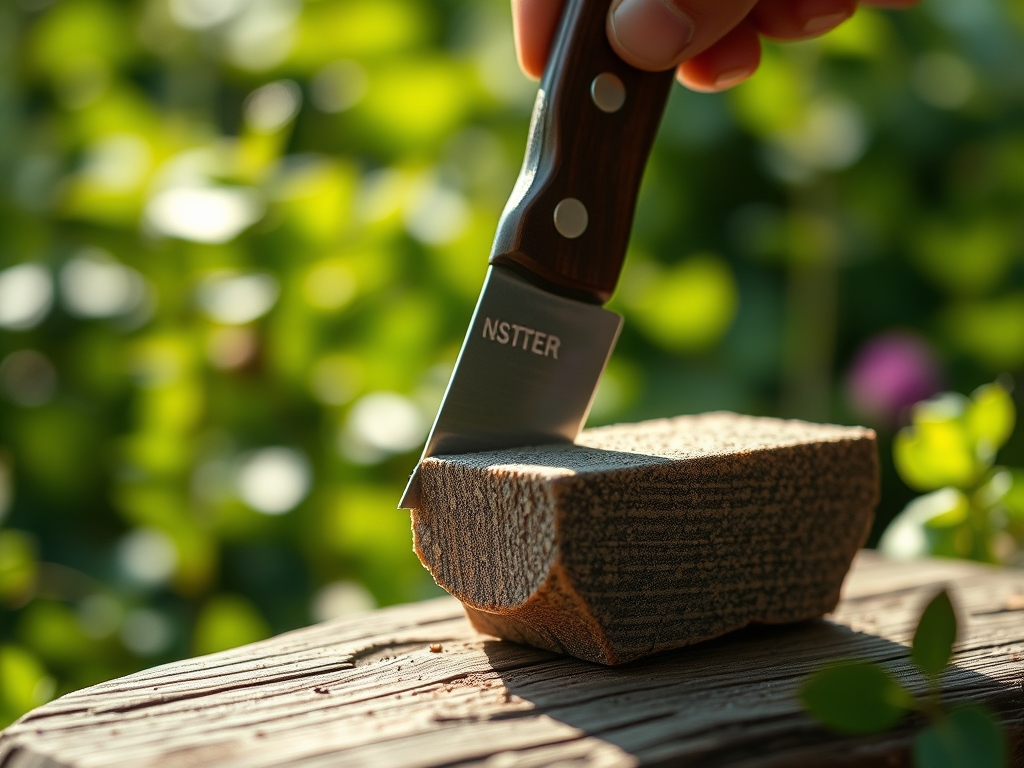
Begin by soaking your whetstone in water for 10 minutes or applying a thin layer of honing oil. Place the stone on a non-slip surface. Hold the knife at a 20-degree angle relative to the stone. Using moderate pressure, push the blade away from you in a sweeping motion, ensuring the entire length of the edge makes contact. Repeat this 15 times per side.
Pro-Tip: Maintaining a consistent angle is vital because of mechanical leverage. A precise 20-degree bevel minimizes the force required to break the plant's epidermis, reducing the risk of crushing the xylem and phloem vessels during a cut.
Transplanting the Burrs
Flip the stone to the finer grit. You will feel a "burr" or a slight lip of metal forming on the opposite side of your initial sharpening. This indicates that you have successfully removed enough material to create a new apex. Use lighter pressure on the fine grit to hone this burr away. Use long, smooth strokes that mimic the natural slicing motion of the tool.
Pro-Tip: Polishing the edge reduces surface friction at the molecular level. This allows the blade to glide through cell walls without triggering a massive ethylene response, which is the plant's hormonal signal for stress and wounding.
Establishing the Finish
The final phase involves stropping the blade on a piece of leather or a clean denim cloth. This removes the microscopic metal "teeth" left by the stone. A finished blade should be able to slice through a piece of seed-packet paper without snagging. Clean the blade with isopropyl alcohol to remove any metal filings or oil residues before it touches live plant tissue.
Pro-Tip: Sterilization prevents the mechanical transmission of tobacco mosaic virus or fungal spores. By removing microscopic grooves on the metal surface, you reduce the surface area where pathogens can adhere and colonize.
The Clinic:
Even with sharp tools, plants may exhibit physiological disorders that mimic mechanical damage.
Symptom: Interveinal chlorosis on young leaves.
Solution: This is often a sign of Iron deficiency, common in soils with a pH above 7.5.
Fix-It: Apply chelated iron to the rhizosphere to increase nutrient availability.
Symptom: Blossom end rot in Solanaceae species.
Solution: This is a Calcium transport issue, often caused by inconsistent moisture levels rather than a lack of soil Calcium.
Fix-It: Maintain a consistent irrigation schedule to ensure steady transpiration and Calcium uptake.
Symptom: Marginal leaf burn or necrosis.
Solution: Potassium deficiency or high salt accumulation from over-fertilization.
Fix-It: Flush the soil with 2.0 inches of water to leach excess salts and adjust your NPK ratio to a lower salt index formula.
Maintenance:
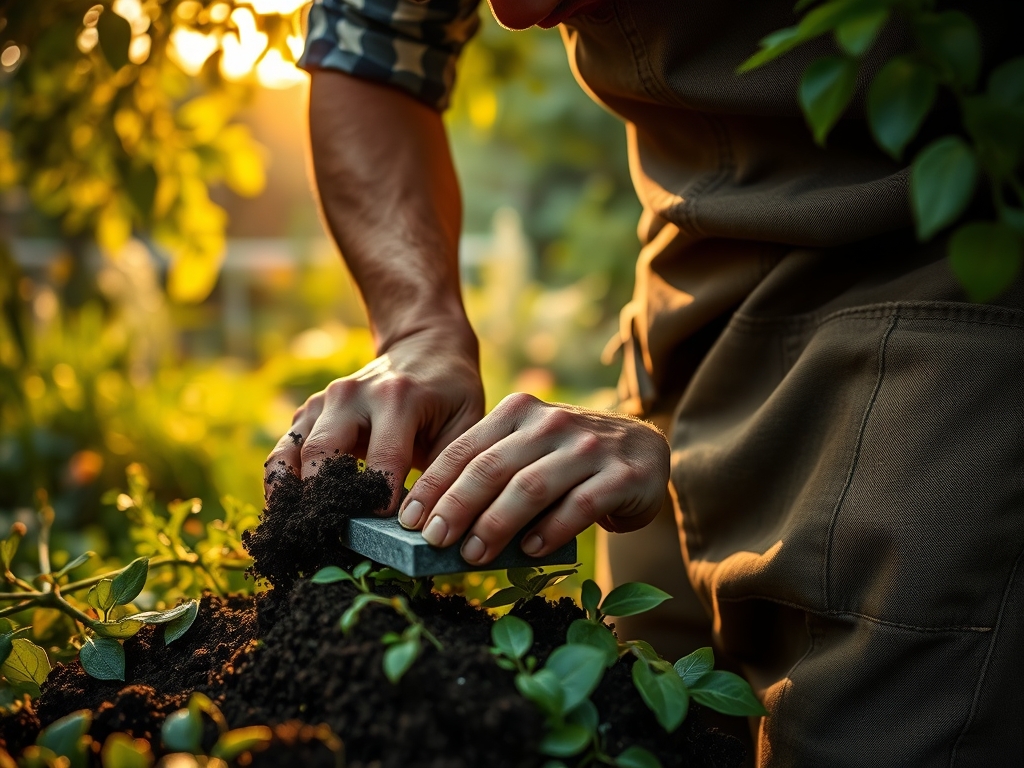
A garden knife is only as effective as the soil it works in. For optimal plant health, provide 1.5 inches of water per week at the drip line. Use a soil moisture meter to ensure the root zone stays between 20% and 40% moisture capacity. When using a hori-hori knife to weed, avoid prying against the main taproot of your primary crop to prevent root hairs from desiccation.
For woody perennials, use bypass pruners for any branch over 0.5 inches in diameter. The scissor-like action of the bypass blade is superior to anvil pruners, which crush the cambium layer. After every use, wipe your tools with a dry cloth. If you encounter resinous plants, use a solvent to prevent the buildup of organic matter that can dull the edge through friction.
The Yield:
Harvesting is the culmination of the season. For leafy greens, harvest in the early morning when turgor pressure is at its peak; this ensures the leaves are crisp and full of water. Use your sharpened garden knife to make a single, swift cut at the base of the stem.
For fruiting bodies like peppers or tomatoes, cut the pedicel 0.25 inches above the fruit. This leaves a "handle" that prevents the entry of bacteria into the fruit body. Post-harvest, immediately move the produce to a shaded area and reduce the temperature to 45 degrees Fahrenheit to slow the rate of respiration and preserve "day-one" freshness.
FAQ:
How often should I sharpen my garden knife?
Sharpen your blade every 10 to 15 hours of active use. If you encounter rocky soil or high-silica grasses, check the edge every 5 hours. A sharp blade reduces hand fatigue and ensures clean plant recovery.
Can I use a pull-through sharpener instead of a stone?
Pull-through sharpeners remove excessive metal and often create an uneven bevel. For professional results, a whetstone is required to maintain the specific 20-degree geometry necessary for delicate botanical incisions and long-term tool integrity.
What is the best way to clean a stone after use?
Wipe the stone with a damp cloth to remove "swarf," which is the mixture of metal filings and stone grit. If using oil, apply a fresh drop to lift deep particles, then wipe clean. Store in a dry environment.
Why does my knife rust even after sharpening?
Sharpening exposes fresh, unoxidized metal. If the humidity is above 60 percent, carbon steel will oxidize rapidly. Always apply a thin coat of mineral oil to the blade after sharpening to create a hydrophobic barrier against moisture.