9 Steps to Prepare for an Integrated Outdoor Light System
Crushing a handful of damp, friable loam reveals the earthy scent of geosmin; it is the primary indicator of a healthy microbial population within the rhizosphere. When the soil holds its shape but crumbles under light thumb pressure, the turgor of the surrounding vegetation is usually at its peak. Understanding how to prepare a garden for a light requires more than aesthetic placement; it demands a rigorous assessment of soil density and root architecture to ensure that trenching does not compromise the vascular system of your specimens. Improper installation can lead to root desiccation or the introduction of pathogens into fresh mechanical wounds. A master horticulturist views the garden as a living hydraulic system where every lumen of light must be balanced against the physiological needs of the plant. By integrating low voltage systems during the dormant season, you minimize stress on the xylem and phloem. This technical preparation ensures that the structural integrity of the landscape remains intact while enhancing the visibility of the botanical architecture after sunset.
Materials:
Successful integration starts with the substrate. The ideal soil for trenching and anchoring fixtures is a **friable loam with a pH between 6.0 and 7.0**. This acidity range optimizes the Cation Exchange Capacity (CEC), allowing plants to recover quickly from the minor root disturbance caused by cable installation.
You must manage the NPK ratios relative to the season of installation. For a garden entering a growth phase, use a 10-10-10 balanced fertilizer to support overall cellular repair. If you are installing in late autumn, shift to a 5-10-15 ratio. The higher potassium (K) levels strengthen cell walls and increase cold hardiness, protecting the root zone from frost heave around the new fixtures. Ensure the soil has a high organic matter content (at least 5 percent) to maintain moisture levels near the heat-emitting components of the lighting system.
Timing:
The window for installation is dictated by your USDA Hardiness Zone. In Zones 5 through 7, the optimal time is early spring after the last hard frost or late autumn before the ground freezes. Avoid installation during the peak of the reproductive stage (flowering), as the plant allocates maximum energy to gamete production and has little reserve for root repair.
The "Biological Clock" of the garden is governed by the photoperiod. As plants transition from the vegetative stage to senescence, their metabolic rate slows. Performing light installation during the dormant period (late November to February) reduces the risk of transplant shock or wilting. If you must install during the active growing season, monitor the soil temperature; it should ideally be between 55 and 70 degrees Fahrenheit to facilitate rapid root regeneration.
Phases:

Sowing and Site Mapping
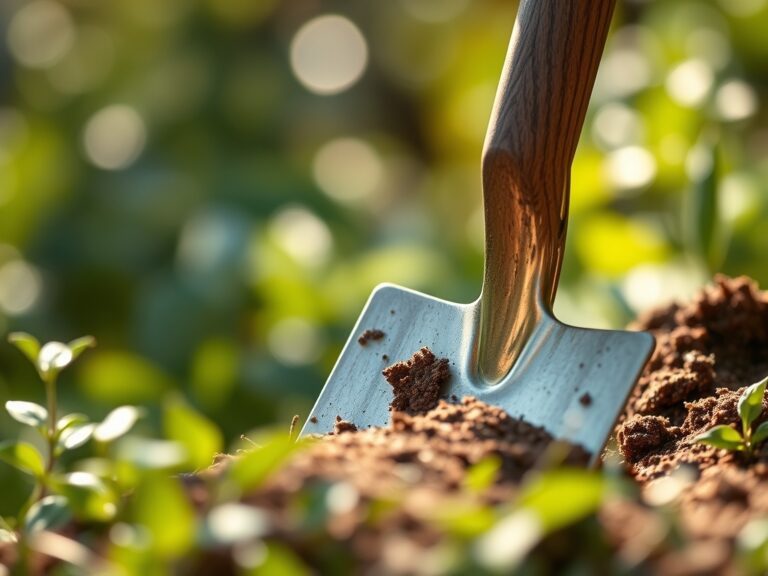
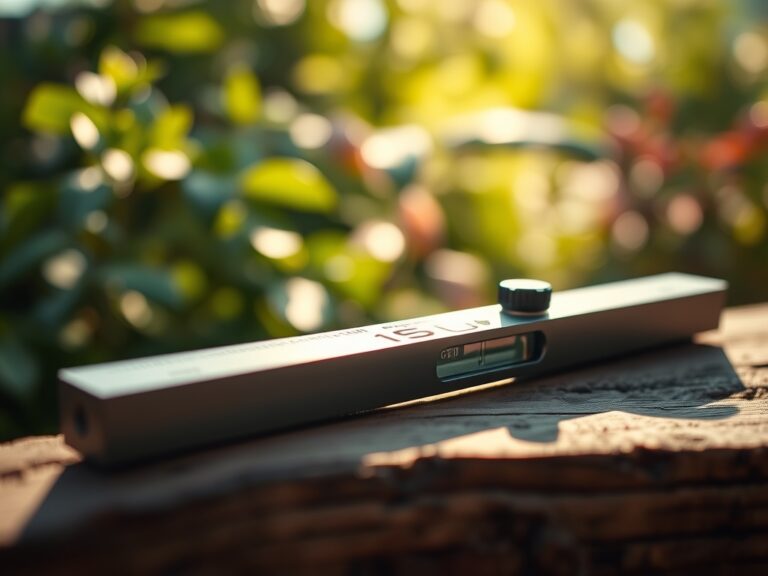
Before any soil is moved, map the location of existing root flares. Digging within the "Critical Root Zone" (CRZ), which is one foot of radius for every inch of trunk diameter, can cause significant hydraulic failure. Use a soil moisture meter to verify that the ground is at 25 percent volumetric water content before digging; this prevents soil compaction and preserves the delicate macropores required for oxygen exchange.
Pro-Tip: Maintaining the integrity of the soil structure preserves mycorrhizal symbiosis. These fungal networks extend the reach of the root system; breaking them unnecessarily reduces the plant's ability to uptake phosphorus.
Transplanting and Rerouting
If a light fixture occupies the space of an existing plant, the specimen must be moved with a root ball at least 12 inches in diameter for every 1 inch of stem caliper. When placing the plant in its new location, ensure the root flare is exactly at grade. Backfill with native soil rather than amended soil to prevent "potting effect" where roots refuse to penetrate the denser surrounding earth.
Pro-Tip: When transplanting, avoid excessive pruning of the canopy. This prevents auxin suppression. Auxins are hormones produced in the tips that signal the roots to grow; cutting the top slows the root recovery needed for the plant to stabilize in its new position.
Establishing and Anchoring
Once the lights are positioned, the soil must be settled using water rather than mechanical tamping. Apply 2 gallons of water per square foot to remove air pockets around the light stakes and the disturbed root zones. This ensures the soil makes direct contact with the roots, restoring the capillary action needed for nutrient transport.
Pro-Tip: Position lights to avoid direct "light pollution" on shade-loving species. Excessive night light can disrupt photoperiodism, the physiological reaction of organisms to the length of night or day, potentially preventing certain species from entering dormancy.
The Clinic:
Physiological disorders often arise after the mechanical stress of a lighting installation. Monitor your plants for these specific symptoms:
- Nitrogen Chlorosis: Leaves turn a pale yellow, starting with the older, lower leaves. Fix-It: Apply a water-soluble 20-0-0 fertilizer to provide an immediate nitrogen boost for chlorophyll production.
- Leaf Scorch: Brown, necrotic edges on leaves near high-output halogen or LED fixtures. Fix-It: Increase the distance between the fixture and the foliage to at least 12 inches or switch to a lower-wattage bulb to reduce heat stress.
- Interveinal Chlorosis: Yellowing between the veins of young leaves, often caused by a pH spike from disturbed limestone or concrete. Fix-It: Apply chelated iron and check the soil pH; lower it with elemental sulfur if it exceeds 7.5.
- Turgor Loss (Wilting): Even when soil is wet, the plant droops. This indicates root damage during trenching. Fix-It: Apply a seaweed-based kelp extract to stimulate root hormones and provide shade for the plant for 48 hours.
Maintenance:
Post-installation care requires technical precision. Use a soil moisture meter twice weekly to ensure the disturbed area maintains a consistent moisture level. Most established landscapes require 1.5 inches of water per week delivered at the drip line; however, newly disturbed areas may need light daily misting to prevent the top 3 inches of soil from crusting.
Keep a hori-hori knife sharp for removing any invasive weeds that emerge in the freshly turned soil of the cable trenches. Use bypass pruners to maintain a clear path for the light beams, making "thinning cuts" back to a lateral branch rather than "heading cuts" which stimulate bushy, obstructive growth. Inspect the light fixtures for heat-related debris buildup every 90 days to prevent localized soil overheating.
The Yield:
If your lighted garden includes edible perennials or flowering ornamentals, the "yield" is the successful harvest of biomass. Harvest leafy greens in the early morning when turgor pressure is highest; this ensures the cells are fully hydrated and crisp. For woody ornamentals, use a sharp blade to create a clean 45-degree angle cut, which maximizes the surface area for water uptake in the vase. To maintain "day-one" freshness, immediately submerge the stems in 40-degree Fahrenheit water to slow the rate of respiration and transpiration.
FAQ:
How deep should I bury garden light cables?
Bury low-voltage cables at least 6 inches deep. This depth protects the line from a hori-hori knife or aerators while remaining above the primary root mass of most turfgrasses and small perennials.
Can artificial light hurt my plants?
Yes, if the light is too close or too bright. Excessive night light can interfere with phytochrome signaling, potentially preventing the plant from sensing the change in seasons and failing to enter winter dormancy.
What is the best soil for filling trenches?
Use a mix of 70 percent native soil and 30 percent finished compost. This maintains the existing Cation Exchange Capacity while providing the organic matter necessary for rapid root re-establishment after the mechanical disturbance.
How do I prevent root rot near fixtures?
Ensure the soil is well-draining by incorporating perlite or coarse sand if the area is heavy clay. Use a soil moisture meter to ensure the area does not exceed 80 percent saturation for extended periods.