6 Steps to Prepare a Stable Wooden Garden Deck Site
The scent of damp, anaerobic soil often signals poor drainage, a condition that will rot a wooden subframe within three seasons. Success begins with the turgor of the surrounding turf; if the grass blades are flaccid, the water table is likely too high for a standard post-hole installation. Understanding how to prepare a site for a garden deck requires a clinical assessment of the land. You are not just building a platform; you are altering the local hydrology and the gas exchange of the rhizosphere beneath the structure. Compaction must be avoided to maintain soil porosity, while the grade must be manipulated to ensure a 2 percent slope away from any permanent structures. This prevents the accumulation of moisture that leads to fungal colonization and wood cell wall degradation. Proper site preparation ensures that the underlying earth remains biologically stable while supporting a heavy structural load.
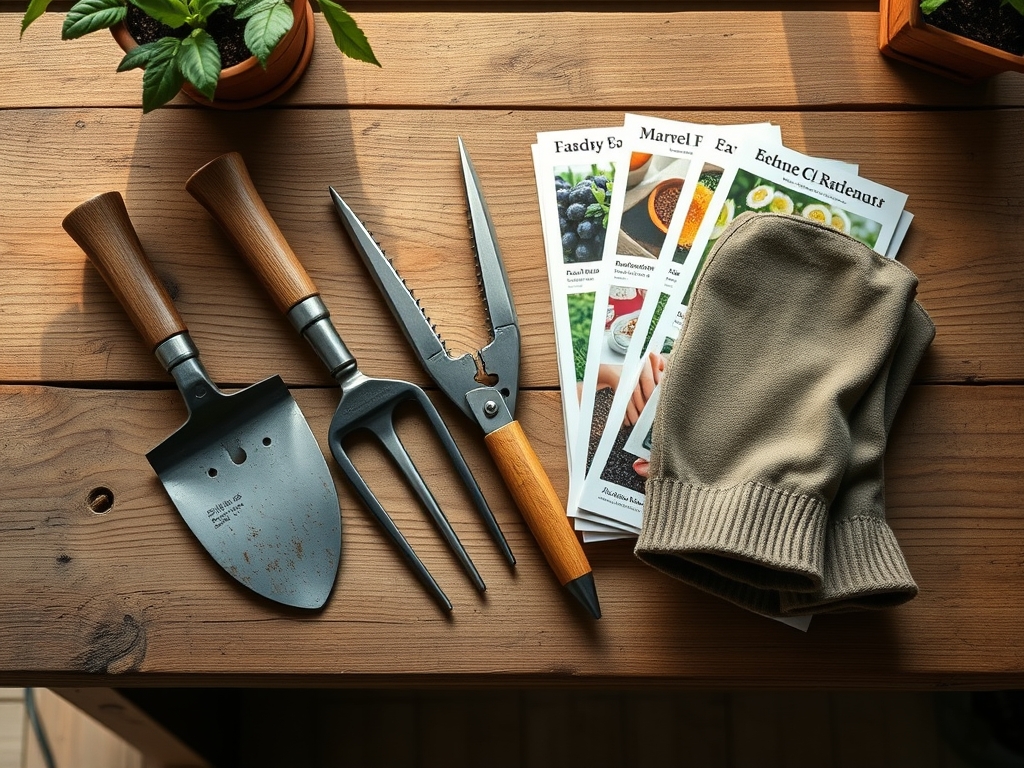
Materials:
The substrate beneath your deck should ideally be a friable loam with a pH between 6.0 and 7.0. While you are not growing a crop directly under the boards, the soil chemistry affects the rate of decay for any organic matter trapped underneath. A high Cation Exchange Capacity (CEC) indicates a soil rich in clay or organic matter, which retains more moisture and requires more aggressive drainage solutions.
For the surrounding perimeter where vegetation will remain, apply a balanced fertilizer with an NPK ratio of 10-10-10 to offset the stress of construction. If the soil is overly acidic (below 5.5 pH), incorporate dolomitic lime at a rate of 50 pounds per 1,000 square feet to stabilize the chemistry. The physical texture must be clear of large aggregates; use a 1/4 inch screen to filter out stones that could interfere with the leveling of the concrete footings.
Timing:
In Hardiness Zones 4 through 7, the window for site preparation is dictated by the frost line. Excavation must occur when the soil temperature is consistently above 45 degrees Fahrenheit to prevent the "heaving" associated with ice lens formation. Observe the biological clock of local deciduous trees; the ideal time to break ground is during the transition from dormancy to the vegetative stage, typically marked by bud break.
Avoid construction during the reproductive stage of nearby high-value perennials, as the localized compaction and dust can interfere with pollination and energy allocation. Aim for a period of at least 72 hours of dry weather before beginning excavation to ensure the soil maintains its structural integrity and does not transition into a plastic state.
Phases:

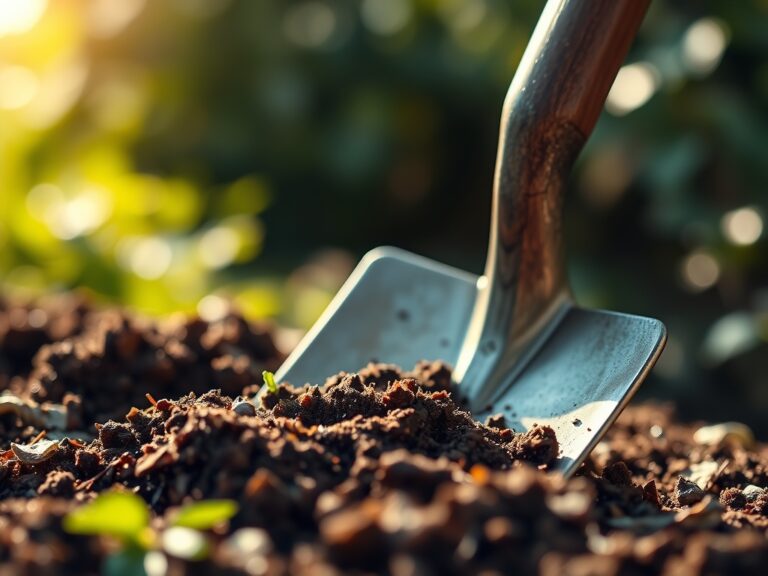
Sowing the Foundation
Clear all vegetation from the footprint. Use a mechanical sod cutter to remove the top 3 inches of organic material. This prevents the "fermentation" of buried biomass, which releases methane and nitrogenous gases that can accelerate the corrosion of galvanized fasteners.
Pro-Tip: Apply a heavy-duty geotextile fabric over the bare earth. This prevents photomorphogenesis in weed seeds by blocking all light, effectively halting the germination of dormant species in the seed bank.
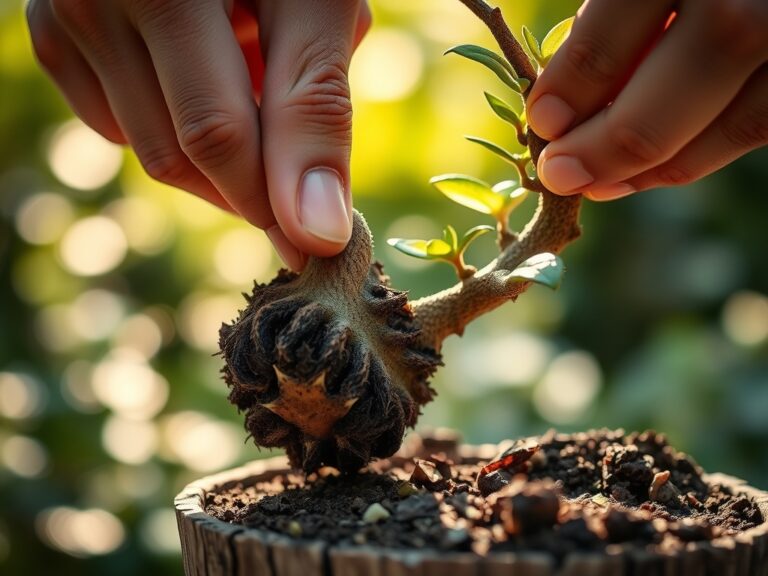
Transplanting and Perimeter Care
If specimen plants must be moved, use a hori-hori knife to cleanly sever lateral roots. This minimizes the ragged edges that are susceptible to pathogens. Replant them in a temporary trench with a high-phosphorus "starter" fertilizer (NPK 5-20-10) to encourage rapid root regeneration.
Pro-Tip: When moving plants, maintain high turgor pressure by hydrating the specimen 24 hours prior to the move. This ensures the cells are fully distended, reducing the risk of transplant shock and permanent wilting point.
Establishing Drainage
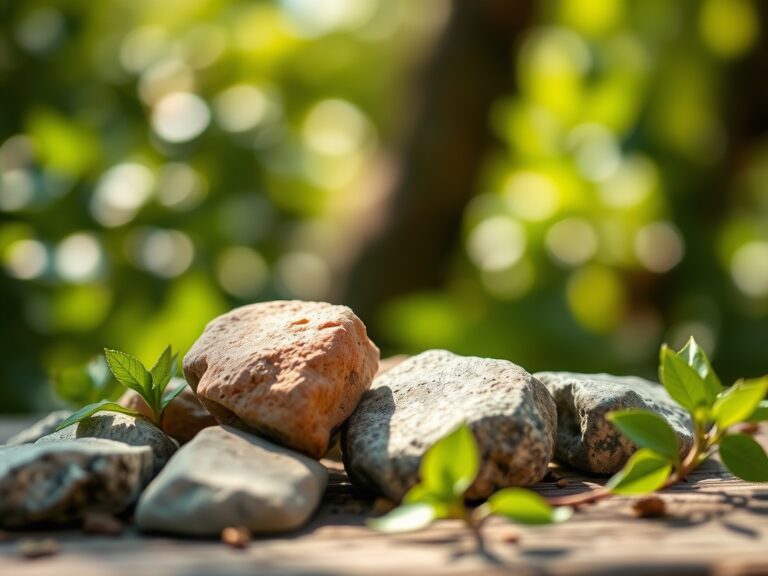
Excavate a trench for a French drain if the site has a high clay content. Fill the base with 3/4 inch washed crushed stone. This creates a high-porosity zone that moves water via gravity rather than allowing it to saturate the wood-to-concrete interfaces.
Pro-Tip: Ensure the drainage field encourages mycorrhizal symbiosis in the peripheral soil. Avoid using antimicrobial chemicals near the deck edge, as these fungi are essential for the nutrient uptake and drought resistance of the surrounding landscape.
The Clinic:
Physiological disorders in the surrounding landscape often arise from the construction process. Observe the following symptoms and apply the scientific fix.
- Symptom: Interveinal Chlorosis. The leaves are yellow while veins remain green.
- Solution: This is often a sign of Iron or Magnesium deficiency caused by a pH spike from concrete runoff.
- Fix-It: Apply chelated iron or magnesium sulfate (Epsom salts) to the root zone to restore chlorophyll synthesis.
- Symptom: Marginal Leaf Burn. The edges of the leaves appear scorched.
- Solution: This indicates Sodium toxicity or fertilizer salt accumulation.
- Fix-It: Flush the soil with 2 inches of water to leach the excess salts below the active root zone.
- Symptom: Epinasty. Leaves are twisting or curling downward.
- Solution: This is a stress response to soil compaction, which limits oxygen availability in the rhizosphere.
- Fix-It: Use a core aerator to increase gas exchange and reduce bulk density.
Maintenance:
Post-construction maintenance is a matter of precision. Monitor the soil moisture around the deck footings using a soil moisture meter; the goal is to maintain a consistent moisture level to prevent the soil from shrinking and swelling. Provide 1.5 inches of water per week at the drip line of any nearby trees to compensate for the "rain shadow" created by the new deck surface.
Use bypass pruners to maintain a 12-inch clearance between any foliage and the wooden structure. This prevents the "micro-climate" effect, where trapped humidity promotes the growth of wood-decaying fungi like Serpula lacrymans. Inspect the footings annually for signs of subsidence or shifting caused by changes in the water table.
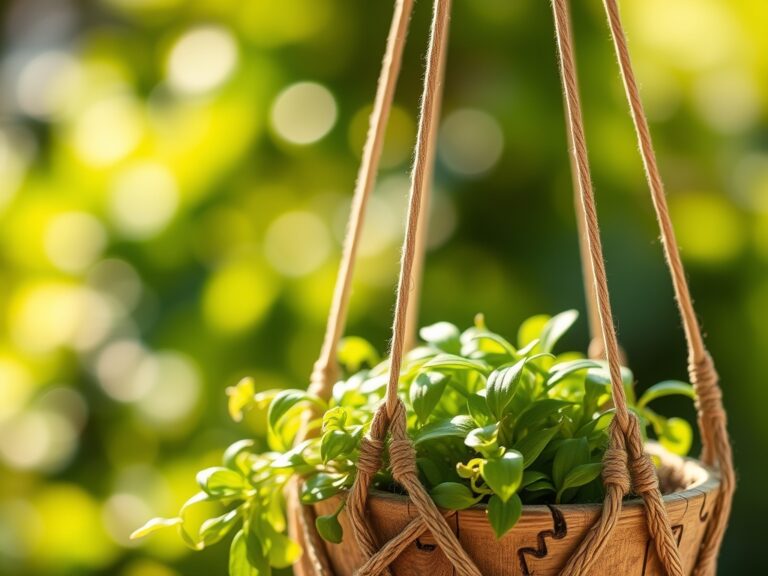
The Yield:
While a deck does not produce a harvest in the traditional sense, the "yield" is the longevity of the structure and the health of the integrated landscape. For those planting "deck-side" containers or integrated planters, harvest herbs and greens during the early morning hours when turgor is at its peak. Use a sharp blade to make a clean cut at a 45-degree angle above a node to stimulate lateral branching via the suppression of apical dominance. To maintain day-one freshness, immediately submerge the stems in 40-degree Fahrenheit water to slow the rate of respiration and senescence.
FAQ:
What is the best base for under a deck?
A layer of geotextile fabric covered by 3 to 4 inches of compacted gravel is the standard. This prevents weed growth and ensures rapid drainage, protecting the wooden joists from constant moisture exposure and fungal decay.
How do I stop weeds from growing under my deck?
Eliminate light and oxygen. Use a heavy-duty landscape fabric (non-woven) and secure it with steel staples. Cover this with an inorganic mulch like crushed stone to prevent any organic matter from accumulating and providing a growth medium.
Do I need to remove grass before building a deck?
Yes. Removing the top 3 inches of sod prevents the decomposition of organic matter. Decaying grass creates an anaerobic environment that produces foul odors and acidic byproducts that can damage the structural integrity of the deck's support system.
How do I ensure the ground is level?
Use a laser level or a string line with a line level to establish a datum point. Measure down to the soil surface at multiple points across the site. Adjust the grade to ensure a 1:50 slope for water runoff.