9 Steps to Build a Protective Garden Wall for Sensitive Crops
The difference between a thriving crop and a failed harvest often lies in the first line of defense: a well-constructed garden wall. When tender lettuce wilts under wind scorch or early tomatoes succumb to late frost, the missing element is usually structural protection. Steps for building a vegetable garden wall begin with understanding that sensitive crops require microclimatic control, and a properly engineered barrier can raise ambient temperatures by 3-7°F while reducing transpiration stress by up to 40 percent.
Materials
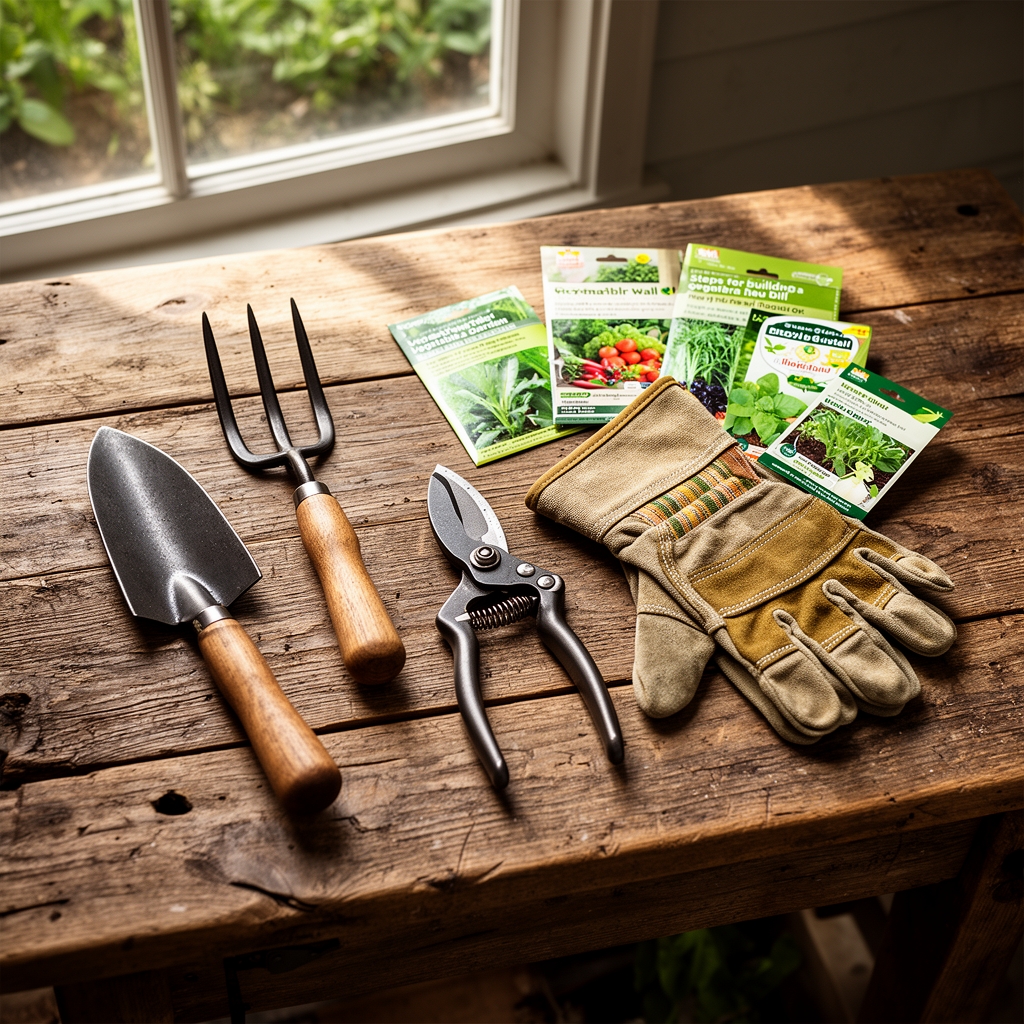
Foundation materials must resist weathering and provide thermal mass. Untreated cedar posts (4×4 inches) anchor the structure, while galvanized steel brackets resist corrosion in high-moisture environments. The wall itself can be constructed from reclaimed brick (pH-neutral, no nutrient contribution), straw bales (carbon-to-nitrogen ratio 80:1, slow decomposition), or double-walled polycarbonate panels (light transmission 85 percent, R-value 1.6).
Soil amendments for the protected bed should target cation exchange capacity above 15 meq/100g. Incorporate 2 inches of finished compost (NPK approximately 1-1-1) and 1/4 cup per square foot of kelp meal (NPK 1-0.5-2.5, rich in cytokinins). For acid-loving crops like blueberries behind the wall, add sulfur granules to lower pH to 4.5-5.5. For brassicas, apply dolomitic lime to maintain pH 6.5-7.0 and supplement calcium for cell wall integrity. Mycorrhizal fungi inoculant (Glomus species) at 1 tablespoon per transplant accelerates root colonization and phosphorus uptake.
Timing
Construction timing aligns with USDA Hardiness Zone frost windows. In Zones 3-5, begin wall assembly 6-8 weeks before last spring frost (typically late April to mid-May). This allows the thermal mass to absorb and radiate heat during germination. In Zones 6-8, construct in late February to early March. The wall itself acts as a microclimate generator, advancing planting dates by 10-14 days compared to open gardens.
For fall crops, erect walls by mid-August in northern zones to extend the season through October. The structure buffers against early freezes, maintaining soil temperatures 5-8°F warmer than ambient air during clear nights through radiative cooling prevention.
Phases

Sowing Phase
Mark the wall footprint using stakes and mason's line, ensuring true perpendicularity with a 3-4-5 triangle method. Excavate post holes 24 inches deep, below the frost line for northern zones. Set posts in 6 inches of crushed gravel for drainage, then backfill with tamped native soil mixed 1:1 with concrete for stability.
Attach horizontal rails (2×6 inch lumber) at 18-inch intervals using 3-inch galvanized screws. Orient the wall north-south to maximize solar exposure on both faces, or east-west if prevailing winds are the primary concern.
Pro-Tip: Install the wall at a 15-degree backward lean. This angle improves structural stability and creates a sun trap that increases photosynthetically active radiation by 12 percent at crop canopy level.
Transplanting Phase
Once the frame stands, infill with chosen materials. Brick walls require mortar joints (3:1 sand-to-Portland cement). Stack courses with running bond pattern for lateral strength. Straw bale walls need reshaping: compress bales to 70 percent original thickness using ratchet straps, then pin with rebar stakes driven through the centers.
Prepare the protected bed by incorporating amendments to 12-inch depth. Test soil with a penetrometer; compaction above 300 psi restricts root growth. Install drip irrigation lines 2 inches below the surface, with emitters every 12 inches delivering 0.5 gallons per hour.
Pro-Tip: Inoculate transplant root balls by dipping in a slurry of 1 part mycorrhizal powder to 10 parts water. This ensures hyphal colonization within 72 hours, extending the effective root zone by 100-fold.
Establishing Phase
Transplant seedlings 14 days after wall completion, allowing soil biology to stabilize. Space plants according to mature spread, accounting for the wall's reduction of lateral airflow. Reduced wind allows tighter spacing: 10 inches for lettuce instead of 12, 18 inches for peppers instead of 24.
Mulch with 3 inches of shredded hardwood bark to suppress weeds and moderate soil temperature fluctuations. The wall reduces evapotranspiration, but mulch further cuts water loss by 30 percent.
Pro-Tip: Prune determinate tomatoes to a single leader by removing suckers at a 45-degree angle cut, leaving 1/4-inch stubs. This concentrates auxin distribution and increases fruit size by 15-20 percent in the protected environment.
Troubleshooting
Symptom: Interveinal chlorosis on new growth, particularly in beans and squash.
Solution: Iron deficiency induced by high pH. Foliar spray with chelated iron (Fe-EDDHA) at 0.5 ounces per gallon every 5 days for three applications. Long-term, incorporate sulfur to lower pH.
Symptom: Blossom end rot on tomatoes and peppers, black sunken spots on fruit bottoms.
Solution: Calcium uptake disruption from inconsistent watering. Maintain soil moisture at 60-70 percent field capacity. Side-dress with gypsum (calcium sulfate) at 2 pounds per 10 square feet.
Symptom: Powdery white coating on cucurbit leaves, reduced photosynthesis.
Solution: Powdery mildew (Erysiphe cichoracearum) thrives in still air behind walls. Increase spacing to 24 inches. Spray with 1 tablespoon baking soda plus 1 teaspoon horticultural oil per gallon of water weekly.
Symptom: Stunted growth, purple leaf undersides in tomatoes.
Solution: Phosphorus deficiency from cold soil (below 55°F). Walls trap cold air on calm nights. Add black plastic mulch to raise soil temperature. Foliar feed with fish emulsion (NPK 5-1-1) at label rates.
Symptom: Aphid colonies on tender shoot tips, honeydew secretion.
Solution: Introduce parasitic wasps (Aphidius colemani) at 1 per square foot. The wall's stable microclimate supports beneficial insect populations better than open gardens.
Maintenance
Irrigate to deliver 1 inch of water per week, measured with rain gauges placed at plant level. The wall reduces water needs by 25 percent compared to exposed beds. Apply water in early morning to allow foliage to dry, reducing fungal pressure.
Fertilize every 14 days during active growth with liquid fish-kelp blend (NPK 2-3-1) at 1 tablespoon per gallon. The protected environment accelerates nutrient uptake through extended root activity periods.
Inspect the wall structure monthly. Tighten loose brackets, replace splintered rails, and repoint deteriorating mortar. A compromised wall loses thermal efficiency and wind protection.
Rotate crops annually within the protected bed to prevent pathogen buildup. Follow heavy feeders (tomatoes, peppers) with nitrogen-fixing legumes (peas, beans), then light feeders (root vegetables).
FAQ
How tall should a protective garden wall be?
Build walls 4-6 feet tall for crops like tomatoes and pole beans. The protected zone extends 2-3 times the wall height downwind, so a 5-foot wall shields a 10-15 foot bed effectively.
Can garden walls cause excessive shade?
South-facing walls reflect light onto crops, increasing total photosynthetically active radiation. North-facing solid walls cast shade; use them only for heat-sensitive crops like lettuce in summer zones.
What is the best wall material for thermal mass?
Brick and stone absorb heat during the day and release it at night, buffering temperature swings by 8-10°F. A 12-inch brick wall stores 40 BTUs per cubic foot per degree Fahrenheit.
Do walls increase pest problems?
Walls create stable habitats for both pests and predators. Increase biodiversity by planting alyssum and dill in wall crevices to attract parasitic wasps and predatory beetles. The predator-to-pest ratio improves within three weeks.
When should I remove or modify the wall?
Permanent walls serve year-round. For summer crops, remove polycarbonate panels in June to increase airflow and prevent heat stress above 95°F. Reinstall panels in September for fall crop protection.