6 Handling Steps for Repotting a Ponytail Palm
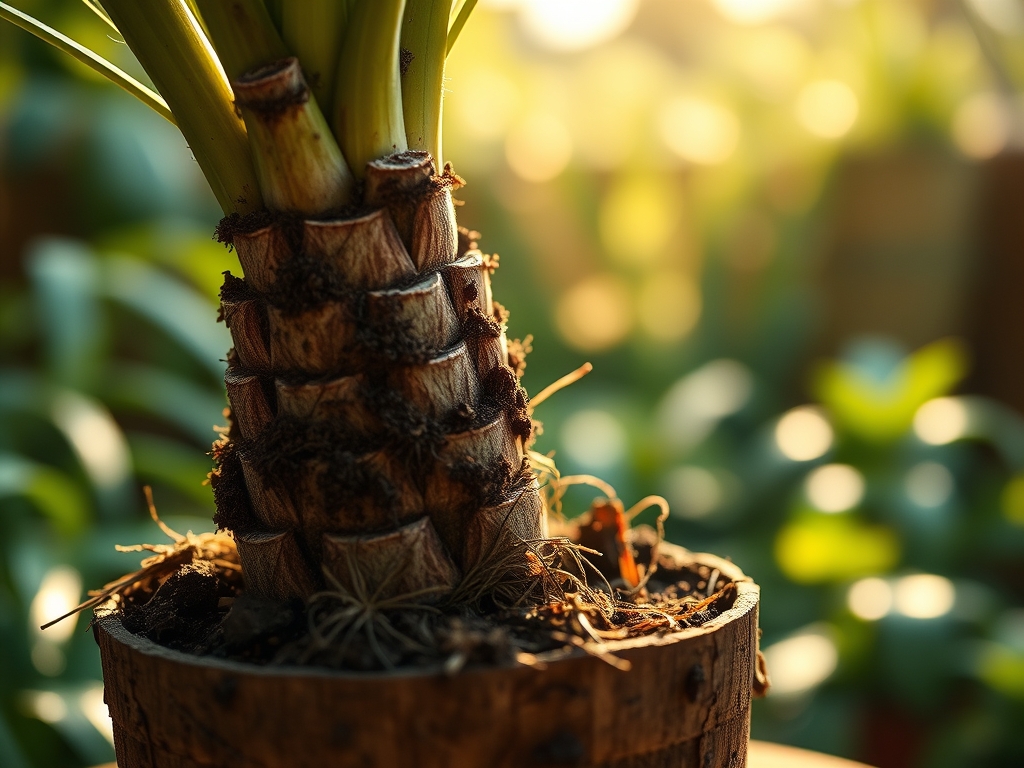
The caudex of a mature ponytail palm feels like sun-warmed stone, dry and firm beneath your fingertips. When you lift the nursery pot and discover roots coiling tight against plastic walls, the moment has arrived. The steps for repotting a ponytail palm begin with understanding that this succulent tree, Beaucarnea recurvata, stores months of water in that swollen base and demands surgical precision during root disturbance. Native to semi-arid regions of Mexico where volcanic soils drain fast, the species evolved to punish soggy conditions and reward patient handlers.
Materials
Select a terracotta pot with drainage holes, sized 2 inches wider than the current container. Terracotta's porosity pulls excess moisture from the root zone, preventing anaerobic conditions that rot the caudex.
Soil components require specific ratios. Combine 40% coarse sand (2-4 mm particle size), 30% perlite, 20% composted pine bark, and 10% aged compost. This mixture achieves a pH between 6.0 and 7.0 with minimal nutrient load. Ponytail palms thrive in lean substrates; avoid nitrogen-heavy amendments. If supplementing, use a 4-4-4 slow-release organic meal at 1 tablespoon per gallon of soil mix. The balanced NPK prevents excessive foliar growth that destabilizes the narrow stem.
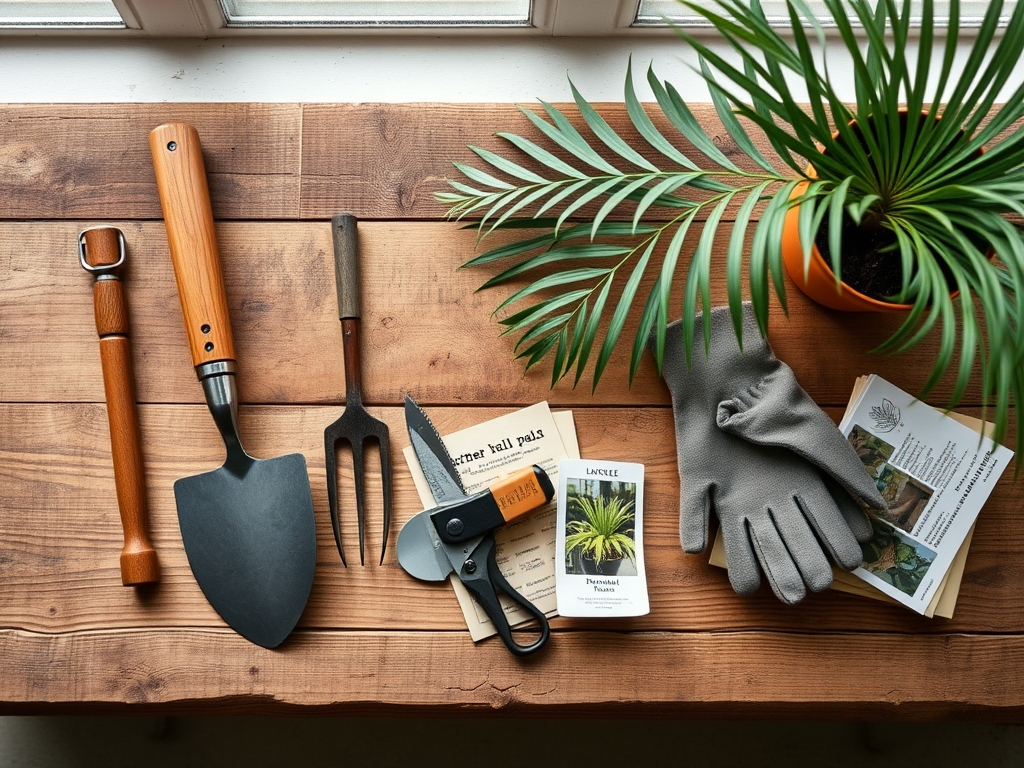
Gather pruning shears sterilized in 70% isopropyl alcohol, a soil scoop, and a bamboo stake for probing compacted roots. A spray bottle filled with room-temperature water helps settle soil without flooding the transplant.
Timing
Hardiness zones 9 through 11 permit year-round outdoor cultivation, but repotting success peaks between March and June. Soil temperatures above 65°F activate root growth and auxin distribution, accelerating recovery. In zones 4 through 8, where ponytail palms grow as container specimens, schedule repotting 4 weeks after the last spring frost date. This window ensures indoor heating no longer desiccates air, and increasing daylight hours drive metabolic activity.
Avoid repotting during the dormant season from November through February. Root hair production stalls below 60°F, and fresh wounds become infection sites for opportunistic pathogens.
Phases

Phase One: Preparation and Extraction
Water the plant 24 hours before repotting. Moist soil releases roots more cleanly than bone-dry substrate, which crumbles and tears fine root hairs. Invert the pot and cradle the caudex with your palm. Tap the rim against a work surface until the root ball slides free. Resist tugging the trunk; the weight of the caudex can fracture the stem junction.
Inspect the root ball for girdling roots, circling patterns that choke the caudex perimeter. Use sterilized shears to sever these at the point where they begin their spiral. Cut cleanly; ragged tears invite fungal entry.
Pro-Tip: Dust cut root surfaces with mycorrhizal inoculum powder. The symbiotic fungi colonize root tips within 10 days, extending the effective absorption zone by 40% and improving phosphorus uptake on the low-CEC sandy soils this species prefers.
Phase Two: Planting
Fill the new pot one-third with prepared soil mix. Position the ponytail palm so the caudex sits at the same depth as its previous container. Burying the caudex invites rot; exposing roots causes desiccation. The transition zone between caudex and roots should align with the final soil surface.
Pour soil around the root ball in 2-inch lifts. Tap the pot sideways after each addition to settle particles without compressing them. Stop filling 0.5 inches below the rim to prevent water runoff during irrigation.
Pro-Tip: Insert a bamboo stake vertically into the soil at three points around the perimeter. If you meet hard resistance before reaching the pot bottom, air pockets remain. Add more soil and repeat until the stake penetrates freely.
Phase Three: Initial Establishment
Water deeply until moisture drips from drainage holes, then discard saucer runoff. This first irrigation collapses remaining air pockets and initiates hydraulic contact between roots and soil particles. Place the repotted palm in bright indirect light for 10 days. Avoid direct sun during this acclimation; the plant redirects energy to root repair rather than photosynthesis, and intense radiation causes leaf tip scorch.
Pro-Tip: Measure cation exchange capacity of your soil mix before repotting. A CEC between 8 and 12 meq/100g provides adequate nutrient retention without waterlogging. Sandy mixes below 5 meq/100g require biweekly feeding during the growing season.
Troubleshooting
Symptom: Soft, brown caudex base with sour odor.
Solution: Caudex rot from overwatering. Unpot immediately. Excise rotted tissue with a sterile knife until firm, white flesh appears. Dust cuts with sulfur powder and repot in fresh, dry medium. Withhold water for 14 days.
Symptom: Leaf tips brown and crisp within 5 days of repotting.
Solution: Transplant shock compounded by low humidity. Mist foliage daily for 2 weeks. Maintain ambient humidity above 40%. Trim dead tips at a 45-degree angle to minimize moisture loss.
Symptom: No new growth 8 weeks post-repotting.
Solution: Root damage exceeded the plant's regenerative capacity. Apply diluted rooting hormone (IBA at 500 ppm) to the soil surface. Verify soil temperature remains above 65°F.
Symptom: Yellowing lower leaves despite appropriate watering.
Solution: Nitrogen deficiency in overly lean soil. Apply liquid fish emulsion diluted to half-strength (2-4-1 NPK ratio) monthly during active growth.
Maintenance
Water when the top 2 inches of soil feel dry. Insert a finger into the medium; if particles cling to your skin, delay irrigation. During summer, this typically means watering every 10 to 14 days. In winter, extend intervals to 3 to 4 weeks.
Apply 0.5 inches of water per session. For a 10-inch pot, this equals approximately 0.75 gallons. Use a moisture meter if visual cues prove unreliable; readings between 2 and 3 on a 10-point scale indicate optimal conditions.
Feed every 6 weeks from April through September with a 4-4-4 granular fertilizer at half the manufacturer's recommended rate. Broadcast 1 teaspoon per 8-inch pot diameter on the soil surface. Excess nitrogen produces weak, floppy foliage prone to mechanical damage.
Rotate the container 90 degrees every 2 weeks to ensure even light exposure. Ponytail palms exhibit strong phototropism; one-sided growth stresses the stem.
FAQ
How often should I repot a ponytail palm?
Every 3 to 4 years for specimens under 5 feet tall. Mature plants tolerate root confinement and may go 5 to 7 years between repottings.
Can I divide the caudex during repotting?
No. The caudex is a single storage organ. Cutting it kills the plant. Propagate only from seed or rare offsets at the base.
What pot material works best?
Unglazed terracotta. It wicks moisture laterally, reducing root zone saturation by 30% compared to plastic.
Should I prune roots during repotting?
Remove only dead, circling, or damaged roots. Healthy roots anchor the plant and absorb nutrients. Excessive pruning delays establishment by 6 weeks.
Why is my repotted palm leaning?
The caudex was planted off-center or in loose soil. Stake the trunk with soft ties and firm the soil by pressing downward around the perimeter.