7 Expert Techniques to Use a Garden Spade for Transplants
The cold blade bites through loam six inches from the stem, severing exploratory roots with surgical precision. Using a garden spade for vegetable transplanting demands more than brute force. It requires understanding the architecture of root zones, soil horizons, and the critical window when cambial cells remain flexible enough to tolerate disruption. Most transplant failures trace back to three preventable errors: cutting too close to the crown, failing to preserve the mycorrhizal network, and compacting soil during extraction.
Materials and Soil Chemistry
![]()
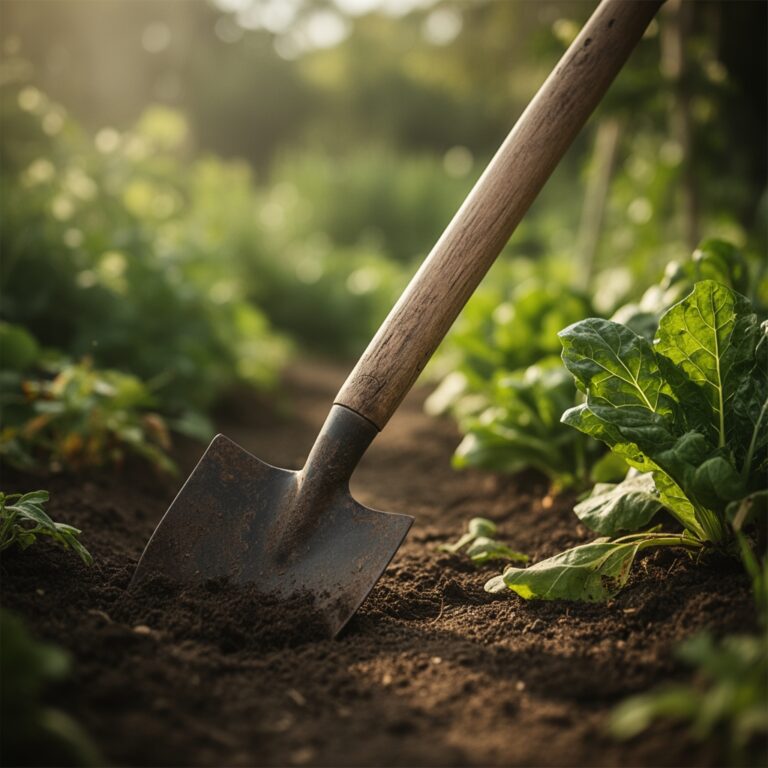
Select a flat-edged spade with a blade length of 11 to 12 inches and a sharpened cutting edge. Dull spades tear vascular tissue rather than slice it cleanly.
Soil Amendments by Target pH:
- Acidic soils (pH 5.5-6.2): Apply dolomitic lime at 5 pounds per 100 square feet two weeks before transplanting. Add 4-4-4 organic fertilizer (bone meal, blood meal, kelp) at 2 pounds per 100 square feet to balance nitrogen and phosphorus availability.
- Neutral soils (pH 6.3-7.0): Incorporate aged compost at a 2:1 ratio with native soil. Use a balanced 5-5-5 granular fertilizer at 1.5 pounds per 100 square feet.
- Alkaline soils (pH 7.1-8.0): Amend with elemental sulfur at 1 pound per 100 square feet or sphagnum peat at a 1:3 ratio. Apply 3-4-3 fertilizer emphasizing available phosphate.
Cation exchange capacity must exceed 10 meq/100g for adequate nutrient retention during the establishment phase.
Timing by Hardiness Zone
Zones 3-5: Transplant warm-season vegetables (tomatoes, peppers, squash) 14 to 21 days after the last frost date when soil temperature stabilizes above 60°F at 4-inch depth. Cool-season crops (brassicas, lettuce) tolerate transplanting 3 to 4 weeks before the last frost.
Zones 6-8: Extend the transplanting window by 2 weeks in spring and 3 weeks in fall. Soil thermometers provide more reliable data than calendar dates.
Zones 9-11: Focus transplants during the cooling period from October through February. Avoid moving plants during summer months when root desiccation accelerates.
Three Critical Phases
![]()
Sowing Preparation
Irrigate transplant candidates 12 hours before extraction. Hydrated roots flex rather than snap. Mark a circle 8 to 10 inches in diameter around each plant, adjusting for species-specific root spread. Solanaceous crops (tomatoes, eggplants) develop lateral roots within 6 to 8 inches of the stem. Cucurbits extend 12 to 14 inches.
Pro-Tip: Prune away 20 percent of lower foliage 24 hours before transplanting. This reduction in transpiration load allows the plant to redirect auxin distribution toward root repair rather than maintaining excess leaf area.
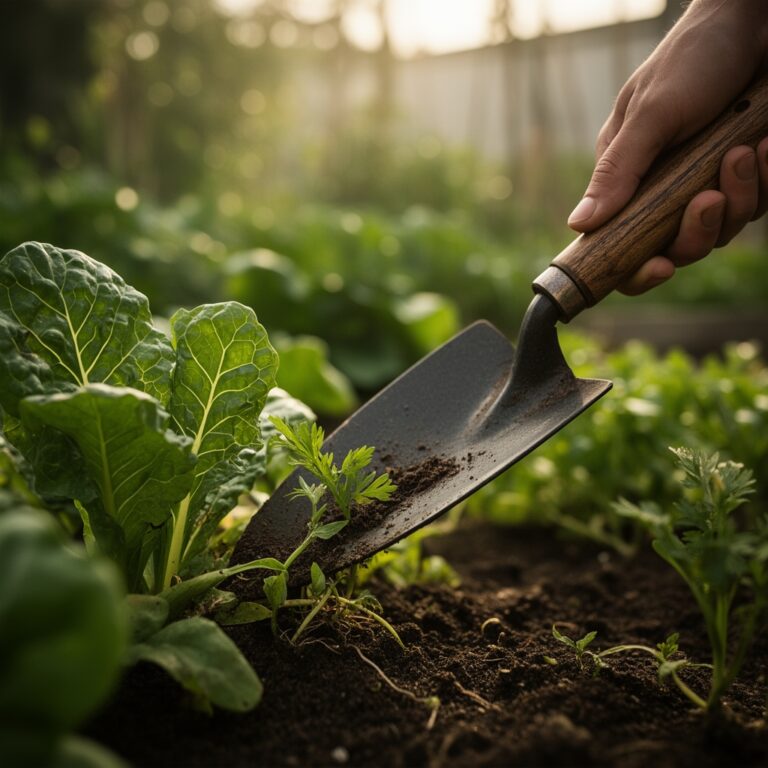
Transplanting Execution
Insert the spade vertically along the marked perimeter at a 90-degree angle. Drive the blade to its full depth in four equally spaced cuts, forming a square rather than a circle. The geometry matters. Square cuts preserve more soil volume per blade insertion.
Undercut the root ball by angling the spade 15 degrees inward beneath the plant. Lift with both hands on the handle base to distribute force evenly. The root ball should measure 10 inches deep for most vegetable transplants.
Pro-Tip: Dust exposed roots with mycorrhizal fungi inoculant (Glomus intraradices, Rhizophagus irregularis) at a rate of 1 teaspoon per plant. Colonization accelerates phosphorus uptake by 40 to 60 percent during establishment.
Establishment Protocol
Excavate the receiving hole 2 inches wider and 1 inch deeper than the root ball dimensions. Backfill the extra inch with loose, amended soil to prevent settling that exposes the crown. Position the plant so the original soil line matches the new grade.
Firm soil around the perimeter with moderate hand pressure. Excessive compaction reduces oxygen diffusion to recovering roots.
Pro-Tip: Create a 3-inch tall soil berm in a 16-inch diameter circle around each transplant. This temporary well retains water directly over the root zone during the first 14 days when establishment demands peak.
Troubleshooting Physiological Stress
Symptom: Wilting within 48 hours despite adequate irrigation.
Solution: Root damage exceeded 30 percent of total mass. Apply diluted seaweed extract (1:20 ratio) as a soil drench to stimulate lateral root initiation through cytokinin activity.
Symptom: Yellowing lower leaves progressing upward after 7 days.
Solution: Nitrogen deficiency from impaired uptake. Side-dress with blood meal (12-0-0) at 0.25 pounds per plant, watered in thoroughly.
Symptom: Purple-tinged foliage and stunted growth.
Solution: Phosphorus lockout in cold soil. Temperatures below 55°F inhibit root phosphatase enzymes. Apply liquid phosphate (0-5-0) as foliar spray at 1 tablespoon per gallon weekly until soil warms.
Symptom: Sudden collapse with darkened stem base.
Solution: Rhizoctonia or Pythium damping-off from overwatering in compacted soil. Remove affected plants. Drench remaining transplants with Trichoderma harzianum biocontrol at label rates.
Symptom: Leaf margins browning despite moist soil.
Solution: Salt accumulation from over-fertilization or poor drainage. Leach root zone with 2 gallons of water per plant. Reduce fertilizer concentration by 50 percent for 3 weeks.
Maintenance Requirements
Apply 1 inch of water every 3 days for the first 2 weeks, measured by rain gauge or marked container. Transition to 1.5 inches per week once new growth emerges.
Mulch with 2 inches of straw or shredded leaves after the first week. Mulch applied too early traps excess moisture against the crown.
Monitor for new white root tips at the perimeter of the original root ball after 10 days. Gently excavate 2 inches of soil to confirm establishment.
FAQ
How deep should I cut when using a garden spade for vegetable transplanting?
Cut to the full spade depth of 11 to 12 inches for mature plants. Younger seedlings require only 6 to 8 inches.
Can I transplant during flowering?
Avoid transplanting fruiting vegetables during bloom. Auxin redistribution aborts flowers. Cole crops and leafy greens tolerate it.
How soon after transplanting should I fertilize?
Wait 14 days. Damaged roots cannot process concentrated nutrients and may experience osmotic burn.
What time of day minimizes transplant shock?
Late afternoon or overcast conditions reduce transpiration stress. Morning transplanting exposes plants to peak water demand during recovery.
Should I prune roots before transplanting?
No. Root pruning during transplant doubles stress. Remove only damaged or circling roots from container-bound plants.