7 Steps to Prepare a Scenic Permanent Garden Bench Site
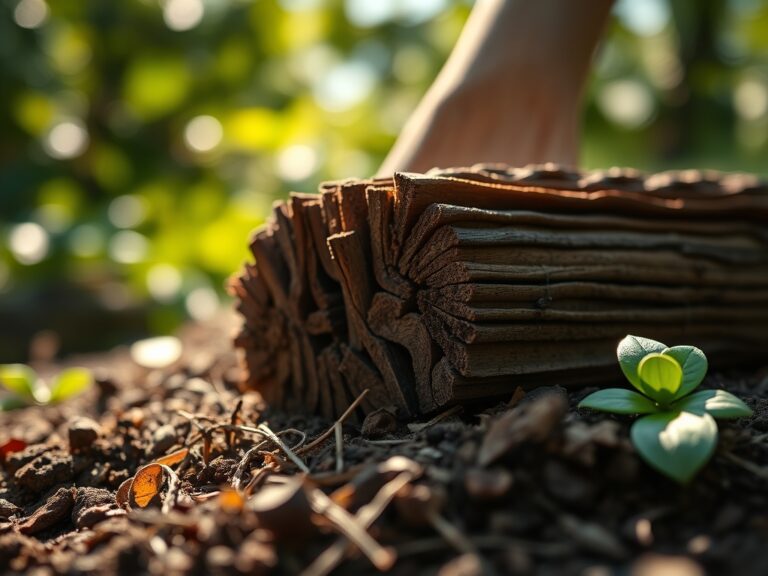
The scent of petrichor rising from a freshly disturbed rhizosphere signals the beginning of any serious structural installation. When the soil reaches a state of friable loam, crumbling under the weight of a thumb with minimal resistance, the conditions for permanent site preparation are optimal. A garden bench is not merely furniture; it is a weight-bearing intervention in a living ecosystem. Understanding how to prepare a site for a garden bench requires a deep analysis of soil compaction, drainage kinetics, and the structural integrity of the underlying substrate. Without a stable foundation, the bench will succumb to frost heave or uneven settling, compromising the turgor pressure of surrounding root systems and disrupting the aesthetic symmetry of the landscape. Success depends on the precise calibration of the sub-base and the management of local hydrology to prevent anaerobic conditions in the soil profile.
Materials:
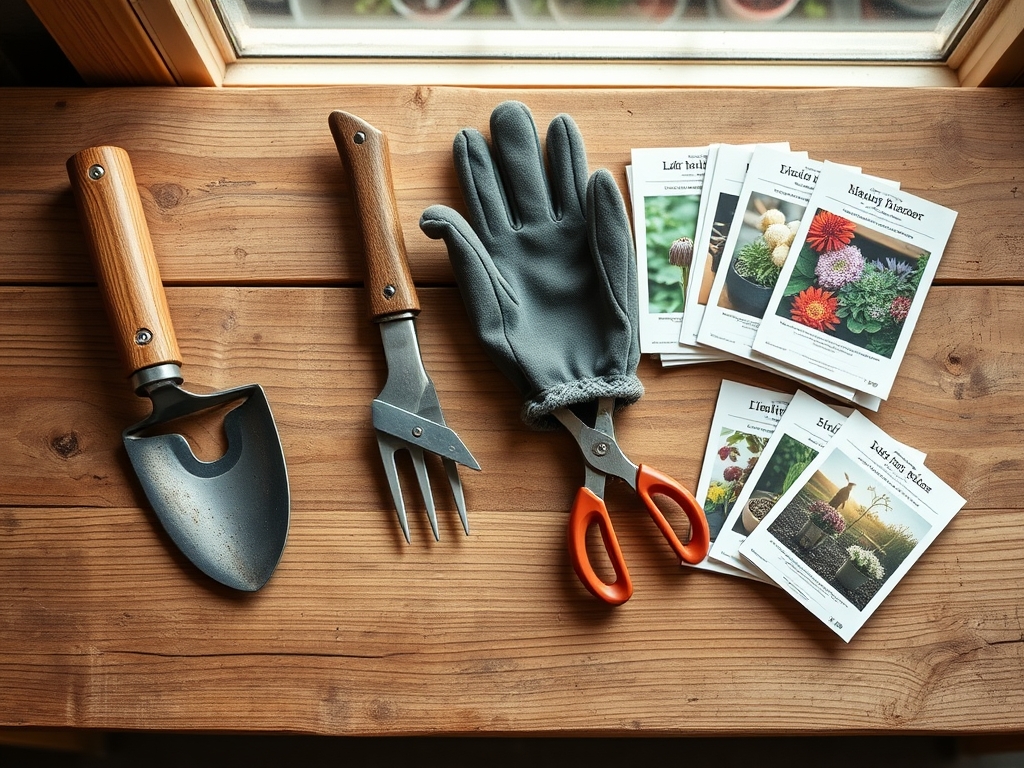
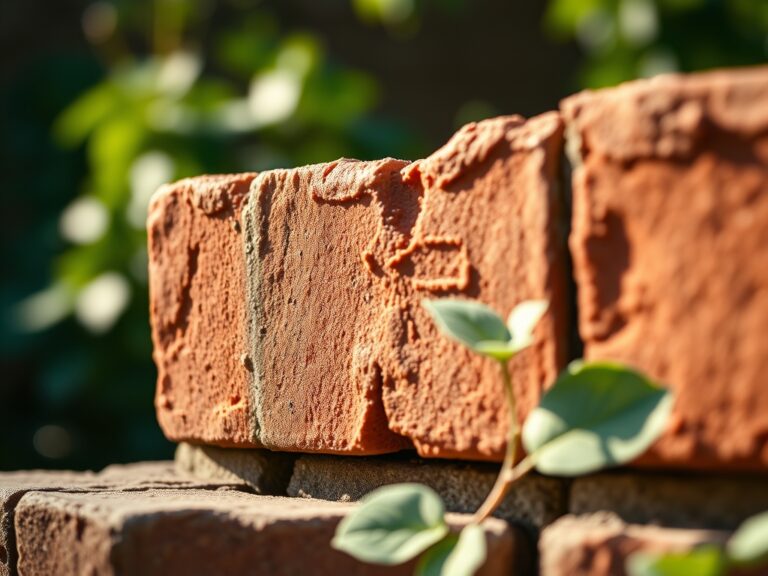
The ideal substrate for a permanent bench site is a well-draining sandy loam with a pH range between 6.0 and 7.0. This acidity level ensures that any surrounding ornamental plantings have maximum access to essential micronutrients. For the base layer, you require crushed limestone (size 3/4-inch minus) to provide a high Cation Exchange Capacity (CEC) and structural stability.
If you are planting around the bench, the soil must be amended with a balanced NPK ratio of 10-10-10 to support initial root establishment. Avoid high-nitrogen fertilizers (such as 30-0-0) which promote excessive vegetative growth at the expense of structural root strength. The physical texture of the site should be "gritty" to the touch, indicating sufficient macropores for oxygen diffusion. You will also need non-woven geotextile fabric to separate the soil from the aggregate base, preventing the migration of fines into your drainage layer.
Timing:
Installation should occur during the dormant season or early spring, specifically within the window of USDA Hardiness Zones 4 through 8 when the ground is not frozen but the biological clock of local perennials is in a state of senescence. For those in Zone 9 or higher, site preparation is best performed in the late autumn to avoid the high-heat stress that causes rapid transpiration and plant wilting.
The transition from vegetative to reproductive stages in the surrounding flora is a critical marker. You want to complete heavy excavation before the "spring flush" when auxin levels surge and plants begin rapid cell elongation. Disrupting the soil during this high-growth phase can lead to significant transplant shock or root desiccation. Aim for a soil temperature of 50 to 55 degrees Fahrenheit for optimal compaction and minimal biological disruption.
Phases:
Sowing the Foundation
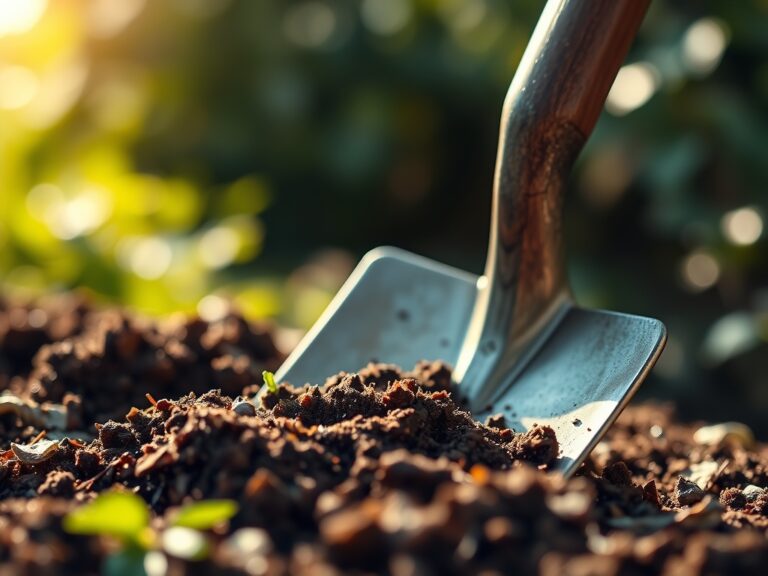
Excavate the site to a depth of 6 to 8 inches. This depth allows for a 4-inch compacted aggregate base and a 2-inch leveling layer of stone dust or sand. Use a hand tamper to achieve a compaction rate of at least 95 percent Proctor density.
Pro-Tip: Proper compaction prevents the formation of air pockets that can lead to anaerobic decomposition of organic matter. By removing these voids, you ensure that the bench remains level, preventing structural shear on the bench legs over time.
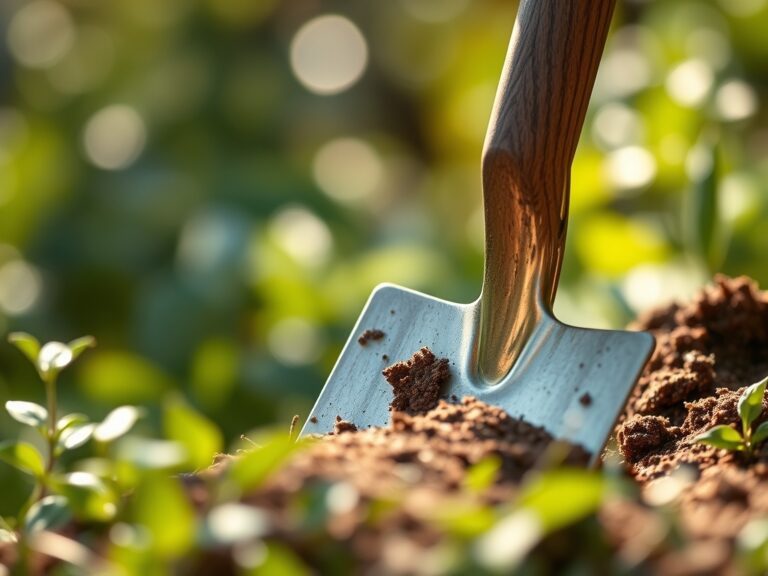
Transplanting Peripheral Flora
When placing plants around the bench, dig holes twice as wide as the root ball but no deeper. This encourages lateral root expansion into the loosened soil. Ensure the root flare remains visible at the soil surface to prevent stem rot.
Pro-Tip: Utilizing mycorrhizal symbiosis by inoculating the soil with beneficial fungi will increase the surface area of the root system. This biological partnership enhances the plant's ability to uptake phosphorus and water, especially in the compacted zones near the bench.
Establishing the Microclimate
Once the bench is set, mulch the surrounding area with 3 inches of arborist wood chips. This layer regulates soil temperature and prevents moisture loss through evaporation. Keep mulch 2 inches away from the base of any woody stems to prevent fungal pathogens.
Pro-Tip: Maintaining consistent soil moisture suppresses auxin-driven stress responses. When a plant detects drought, it produces abscisic acid, which triggers stomatal closure and halts growth. A stable mulch layer prevents this metabolic stall.
The Clinic:
Physiological disorders often manifest shortly after site disturbance. Monitor the site for these specific symptoms:
- Nitrogen Chlorosis: Leaves turn a pale yellow while veins remain slightly greener. This often occurs when high-carbon mulch (like fresh sawdust) "ties up" available nitrogen. Fix-It: Apply a quick-release liquid fertilizer with a 5-1-1 NPK ratio to restore leaf color.
- Iron Deficiency: Interveinal chlorosis on new growth, typically caused by a pH above 7.5. Fix-It: Amend the soil with elemental sulfur to lower the pH and increase iron bioavailability.
- Leaf Turgor Loss: Wilting despite moist soil. This indicates root suffocation or "wet feet." Fix-It: Improve drainage by increasing the depth of your crushed stone sub-base to 10 inches.
- Leaf Scorch: Brown, brittle edges on leaves caused by high salt index in fertilizers or excessive wind. Fix-It: Flush the soil with 2 inches of water to leach excess salts and provide a windbreak.
Maintenance:
A permanent site requires rigorous monitoring. Use a soil moisture meter twice weekly to ensure the rhizosphere stays within the "moist but not saturated" range. Most ornamental plants require 1.5 inches of water per week delivered directly at the drip line.
Utilize a hori-hori knife to remove deep-rooted perennial weeds that compete for nutrients near the bench legs. For surrounding shrubs, use bypass pruners to remove dead, damaged, or diseased wood (the "3 Ds") during the dormant season. This maintains airflow and reduces the risk of powdery mildew. Check the level of the bench annually; if it has shifted more than 0.5 inches, use a pry bar to add additional stone dust beneath the low points.
The Yield:
If your bench site is integrated with a cutting garden or edible herbs, harvest timing is paramount. Harvest flowers and herbs in the early morning (before 8:00 AM) when cellular turgor is at its peak. This ensures the stems are rigid and the essential oils are concentrated.
For "day-one" freshness, immediately plunge cut stems into 110-degree Fahrenheit water and move them to a cool, shaded area. This heat-shock method can help clear air bubbles from the xylem, allowing for better water uptake. For woody stems, use your hori-hori knife to make a vertical slit in the base of the stem to increase the surface area for hydration.
FAQ:
How deep should the base be for a garden bench?
Excavate to a depth of 6 to 8 inches. This accommodates 4 inches of compacted gravel and 2 inches of leveling sand, providing a stable foundation that resists frost heave and prevents the bench from sinking into the soil.
What is the best soil pH for a bench site?
Aim for a pH of 6.0 to 7.0. This slightly acidic to neutral range optimizes the Cation Exchange Capacity (CEC), ensuring that surrounding ornamental plants can efficiently absorb essential nutrients like nitrogen, phosphorus, and potassium.
How do I prevent weeds under my garden bench?
Install a heavy-duty non-woven geotextile fabric beneath your aggregate base. Cover the surrounding surface with 3 inches of organic mulch or decorative stone to block light, preventing weed seeds from germinating in the underlying soil.
Can I put a bench directly on the grass?
Placing a bench on turf leads to soil compaction and anaerobic conditions, which kill the grass and cause the bench to settle unevenly. Always remove the sod and install a compacted stone or paver base for long-term stability.