6 Steps to Install a Self-Contained Water Fountain
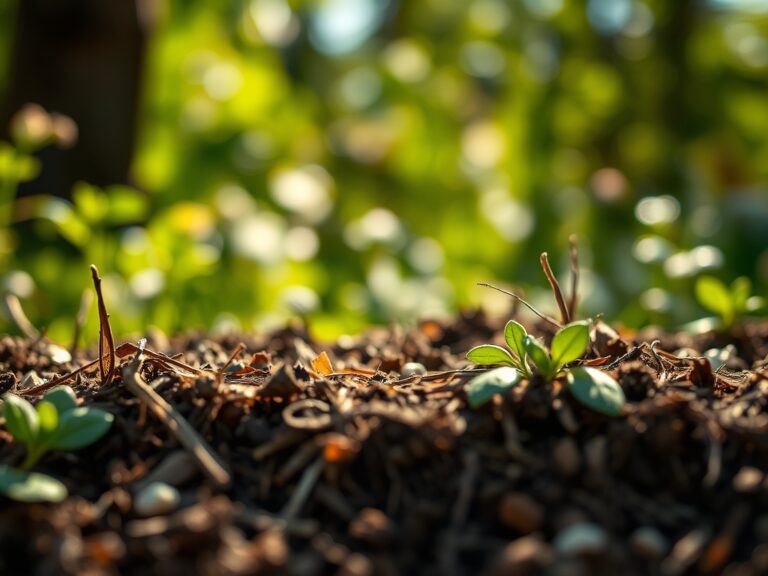
Crushing a handful of friable loam reveals the structural integrity of your soil; it should crumble under light pressure while maintaining enough moisture to support cellular turgor in surrounding flora. Integrating a water feature into this environment requires more than aesthetic placement. It demands an understanding of local topography and soil stability. Following specific steps for installing a garden fountain ensures the feature does not compromise the rhizosphere of nearby specimen trees or cause localized anaerobic conditions through poor drainage.
Materials:

The installation site requires a substrate with high structural load-bearing capacity. If the fountain is placed near a planting bed, the soil should ideally be a friable loam with a pH between 6.0 and 7.0. This range optimizes the Cation Exchange Capacity (CEC), allowing surrounding plants to access essential macronutrients. Before installation, amend the surrounding soil with a 5-10-5 NPK ratio fertilizer. The lower nitrogen content prevents excessive vegetative growth that might obstruct the fountain view, while the higher phosphorus levels support robust root development for structural stability. You will need a level, a heavy-duty pond liner or pre-formed basin, a submersible pump rated for the fountain's total head height, and 3/4-inch crushed angular stone for the base.
Timing:
Installation must align with your local Hardiness Zone and the biological clock of your garden. In Zones 4 through 7, the ideal window is late spring after the final frost date has passed and the soil temperature consistently reaches 55 degrees Fahrenheit. Excavating frozen or waterlogged soil destroys soil structure through compaction, which limits oxygen availability in the pore spaces.
Avoid installation during the peak reproductive stage of nearby perennials. When plants transition from vegetative growth to flowering, their metabolic energy is diverted to seed production. Disturbing the root zone during this high-stress period can induce premature senescence or wilting. Aim for the "Goldilocks" window: after the spring flush of growth but before the heat stress of the summer solstice.
Phases:

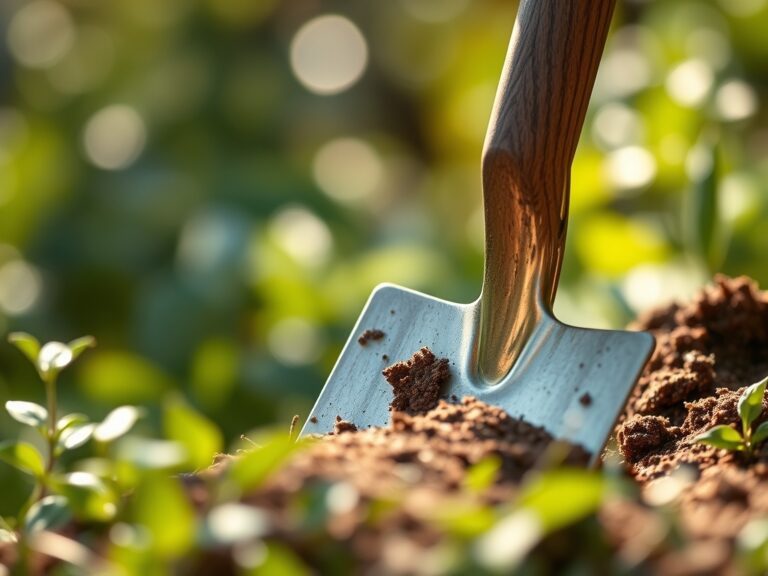
Sowing the Foundation
The first of the steps for installing a garden fountain involves excavation. Dig a hole 2 inches wider and 4 inches deeper than the basin. Level the bottom using a 2-inch layer of compacted sand. This creates a uniform surface that prevents the basin from shifting during freeze-thaw cycles.
Pro-Tip: Proper leveling prevents localized dry spots on the fountain weir. Biologically, stagnant areas in a fountain can become breeding grounds for anaerobic bacteria, which produce hydrogen sulfide gas that can be toxic to nearby delicate root systems.
Transplanting the Hardware
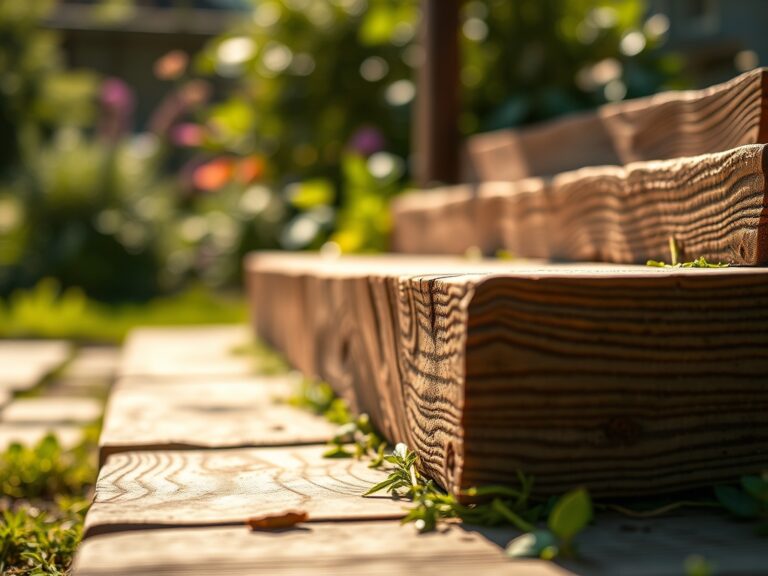
Place the basin into the cavity and backfill the margins with crushed stone. This ensures rapid drainage away from the fountain edge, preventing the "bathtub effect" where water collects and rots the roots of surrounding plants. Connect the pump to the fountain head and ensure the power cord is housed in UV-rated PVC conduit buried at least 6 inches deep.
Pro-Tip: When burying lines, avoid the drip line of established trees to protect the fine feeder roots. These roots are responsible for the majority of water uptake; severing them triggers the production of abscisic acid, leading to stomatal closure and reduced photosynthesis.
Establishing Equilibrium
Fill the basin with water and activate the pump. Observe the splash pattern. Wind drift can carry droplets to nearby foliage, increasing the humidity in the microclimate. Monitor the water level for 48 hours to ensure there are no leaks.
Pro-Tip: Constant moisture on leaves can encourage fungal pathogens like powdery mildew. By controlling the splash zone, you manage the phyllosphere environment, keeping the leaf surface dry enough to inhibit spore germination while providing the ambient cooling benefits of evaporation.
The Clinic:
Physiological disorders in the garden often mimic mechanical fountain failures. Use these diagnostics to maintain balance.
-
Symptom: Yellowing of older leaves with green veins (Interveinal Chlorosis).
-
Solution: This often indicates a Magnesium deficiency. Check the soil pH; if it is above 7.0, the plant cannot uptake magnesium. Apply Epsom salts (Magnesium Sulfate) at a rate of 1 tablespoon per gallon of water.
-
Symptom: Sudden wilting despite wet soil.
-
Solution: This is likely Root Rot (Phytophthora) caused by poor drainage near the fountain. Improve the soil porosity by incorporating expanded shale or perlite to increase aeration in the rhizosphere.
-
Symptom: Stunted growth and purple-tinted foliage.
-
Solution: Phosphorus deficiency. This is common in cold soils. Use a high-phosphorus starter fertilizer (10-52-10) to stimulate ATP production and cellular energy transfer.
Fix-It for Nitrogen Chlorosis: If plants near the fountain show uniform pale green or yellow leaves, they lack Nitrogen. Apply a quick-release ammonium nitrate fertilizer to boost chlorophyll synthesis and restore the dark green color.
Maintenance:
Precision is the hallmark of a master gardener. Use a soil moisture meter twice weekly to ensure the soil around the fountain stays at a consistent 25-30% moisture content. Most temperate perennials require 1.5 inches of water per week at the drip line.
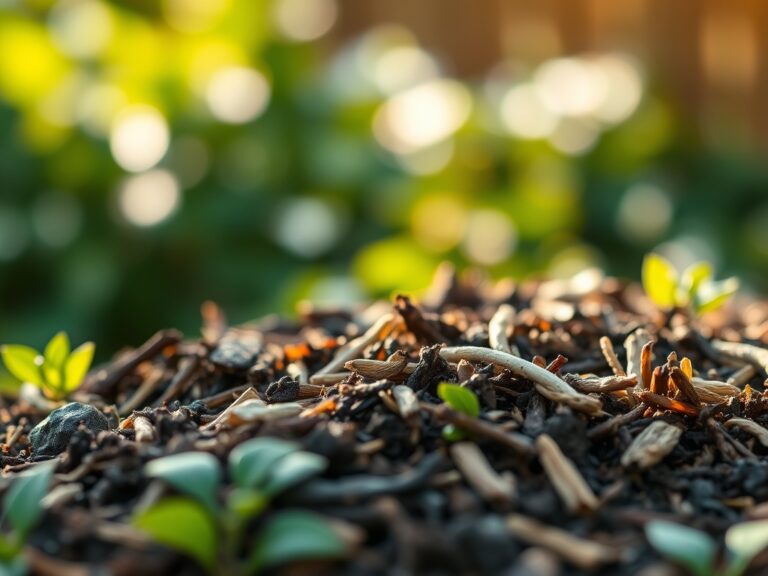
Keep a hori-hori knife sharpened for removing invasive weeds that thrive in the increased humidity of the fountain area. Use bypass pruners to thin out any branches that interfere with the fountain's spray. Every autumn, use a shop-vac to remove organic debris from the basin. Decomposing leaves lower the water pH and can clog the pump intake, leading to mechanical cavitation and motor failure.
The Yield:
While a fountain does not produce a caloric yield, it maximizes the "Environmental Yield" of the garden. The increased humidity can extend the bloom time of moisture-loving species like Astilbe or Hosta. To harvest flowers for indoor display, cut stems at a 45-degree angle using a sterilized blade. Submerge the stems in 110-degree Fahrenheit water immediately. This "hardening off" process breaks air bubbles in the xylem, ensuring maximum water transport to the flower head for "day-one" freshness that lasts up to two weeks.
FAQ:
How deep should I bury the fountain basin?
The basin rim should sit 1 inch above the soil grade. This prevents heavy rains from washing mulch, silt, and organic debris into the water, which can clog the pump and alter the water chemistry.
What is the best way to prevent algae?
Maintain water movement and limit direct sunlight to under 6 hours per day. You may use a UV-clarifier or specialized enzymes that break down organic matter without harming the surrounding soil biology or beneficial insects.
Can I run my fountain during the winter?
In zones where the temperature drops below 32 degrees Fahrenheit, you must drain the pump and lines. Expanding ice will rupture plastic housings and copper lines, leading to total mechanical failure of the fountain system.
Why is my fountain losing water so fast?
Check for "splash out" or leaks. High evaporation occurs when the air temperature exceeds 85 degrees Fahrenheit. If the basin is sound, the water loss is likely due to wind drift or high localized evaporation rates.