8 Best Flexible Plant Ties for Large Indoor Foliage
The scent of damp pine bark and decomposed forest floor mulch signals a healthy rhizosphere. When you press your thumb against the underside of a Monstera deliciosa leaf, the snap of turgor pressure confirms the vascular system is fully hydrated. Large indoor foliage requires more than just light; it requires structural integrity to prevent stem collapse under the weight of massive laminae. Finding the best plant ties is a matter of mechanical engineering and botanical health. If a tie is too rigid, it creates a girdle that restricts the phloem, the tissue responsible for transporting sugars from the leaves to the roots. If it is too loose, the plant loses its vertical orientation and fails to maximize its photoperiod efficiency. We look for materials that accommodate secondary growth, where the stem diameter increases over time. A mature Philodendron can exert significant lateral force as it seeks a climbing medium. Selecting the correct fastener ensures that the plant remains upright without sacrificing the cellular expansion necessary for long term vigor and structural stability.
Materials:
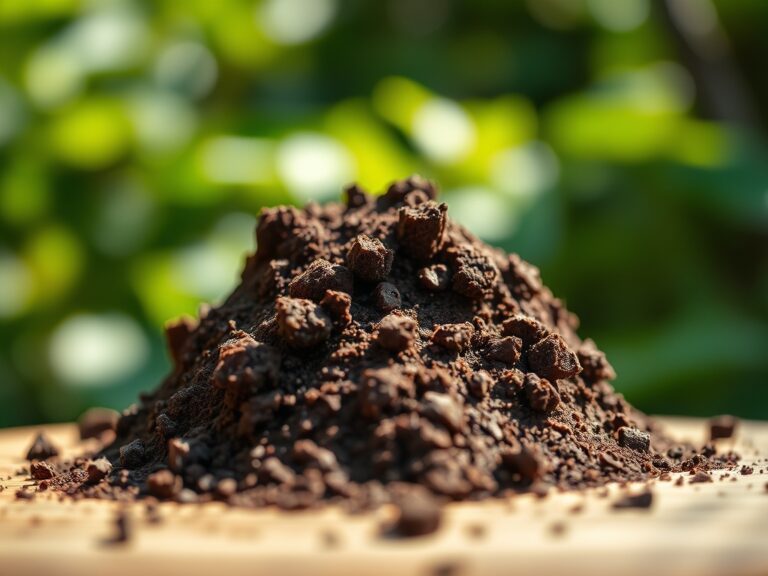
Large indoor specimens thrive in a friable loam with a **Cation Exchange Capacity (CEC) between 15 and 25 meq/100g**. This substrate must maintain a **pH of 5.8 to 6.5** to ensure the bioavailability of micronutrients like iron and manganese. For heavy foliage, the NPK ratio should lean toward high nitrogen for vegetative mass, specifically a **9-3-6 ratio**. The physical texture must be porous enough to allow oxygen to reach the roots while holding enough moisture to prevent wilting. When choosing the **best plant ties**, consider the surface texture of the material. Soft-touch velcro or thick rubber coated wire prevents mechanical abrasion against the epidermis of the plant.
Timing:
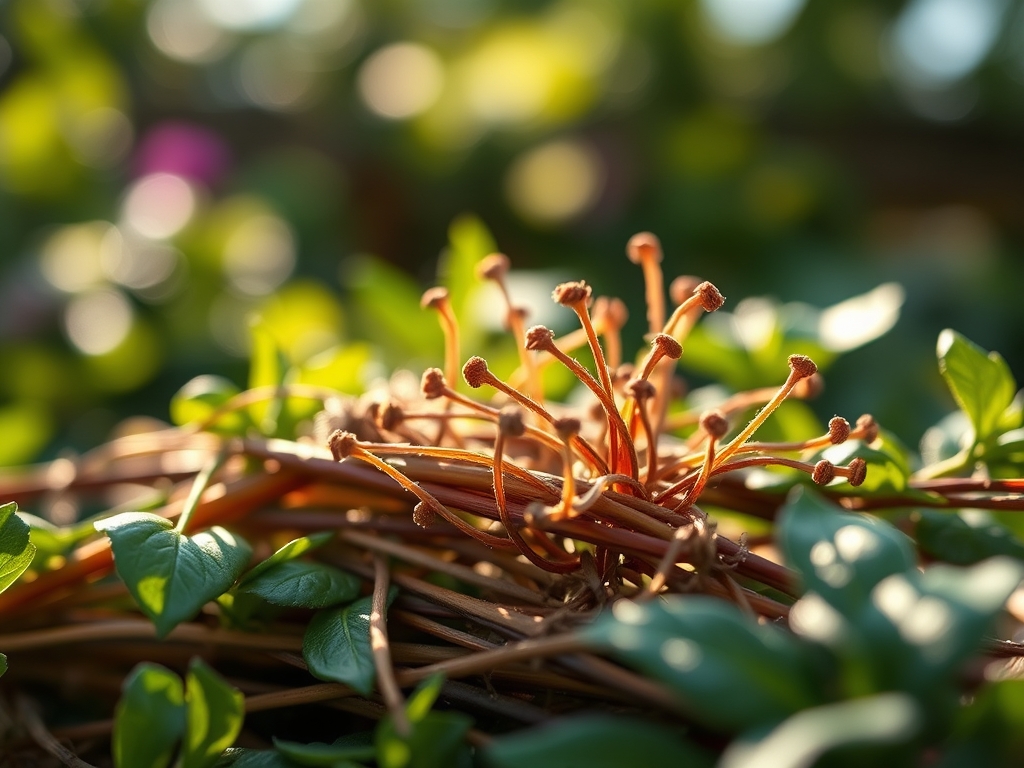
Most indoor tropicals are suited for USDA Hardiness Zones 10 through 12, meaning they require consistent temperatures between 65 and 85 degrees Fahrenheit. The biological clock of these plants is governed by the photoperiod. During the spring equinox, as light duration increases, the plant enters a rapid vegetative stage. This is the critical window for installing ties. If you wait until the plant is in a reproductive stage or mid-summer growth spurt, the stems may have already hardened into a crooked shape. Monitor the transition from dormant winter states to active growth by checking for new leaf primordia at the apical meristems. Secure your ties when the new growth is flexible but has reached at least 60 percent of its expected length.
Phases:
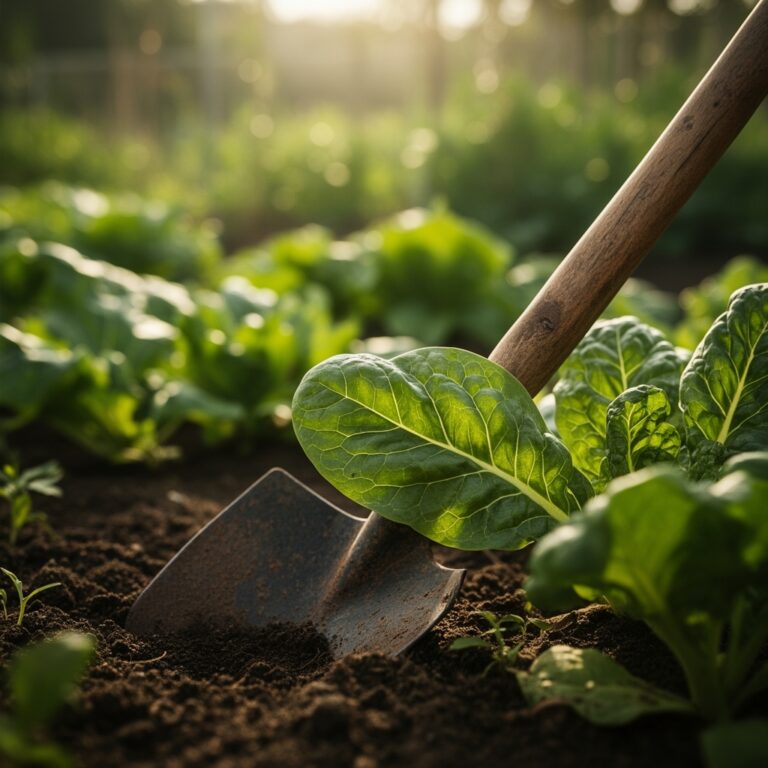
Sowing and Early Support
Starting large foliage from seed or tissue culture requires a sterile medium with a low EC (Electrical Conductivity) of 0.5 to 1.0 mS/cm. As the first true leaves emerge, the seedling begins to lean toward the light source.
Pro-Tip: Use a thin, soft tie early to counteract phototropism. By securing the stem to a central stake, you prevent the plant from wasting energy on lateral growth and instead force the production of auxins at the tip, which promotes vertical height.
Transplanting to Large Containers
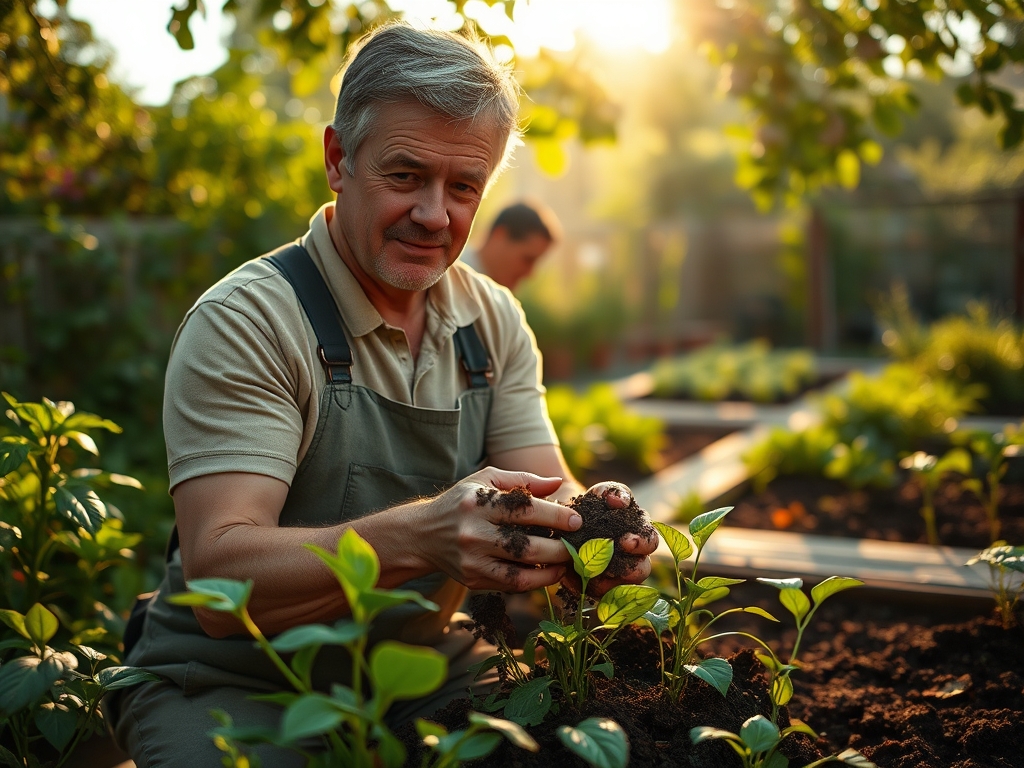
When the root ball occupies 80 percent of the current pot volume, it is time to upsize. Move the plant into a container that is 2 to 4 inches wider in diameter. This is the moment to install heavy duty support systems like moss poles or cedar planks.
Pro-Tip: Position your best plant ties just below the nodes. This encourages mycorrhizal symbiosis if using a moss pole, as the proximity allows aerial roots to sense the moisture in the pole and attach themselves firmly, increasing the plant's nutrient uptake surface area.
Establishing Structural Integrity
Once the plant reaches a height of 4 feet or more, the center of gravity shifts. You must use wide, flexible ties that distribute the load across a larger surface area of the stem. Check the tension of these ties every 30 days to ensure they are not biting into the tissue.
Pro-Tip: Implement auxin suppression by tying the main leader vertically. When a stem is kept upright, apical dominance is maintained, resulting in larger leaf fenestrations and a more robust central stalk.
The Clinic:
Large foliage plants often exhibit physiological disorders that are misidentified as pests.
- Symptom: Interveinal chlorosis on new leaves.
- Solution: This indicates an Iron deficiency. Lower the soil pH to 6.0 and apply a chelated iron drench.
- Symptom: Drooping leaves despite moist soil.
- Solution: This is often a sign of root hypoxia. Use a soil moisture meter to confirm the saturation level at the bottom of the pot. Increase aeration by adding perlite to the mix.
- Symptom: Brown, crispy leaf margins.
- Solution: Low humidity or salt buildup. Flush the soil with three times the pot volume of distilled water to leach excess fertilizer salts.
- Fix-It for Nitrogen Chlorosis: If the oldest leaves are turning a uniform pale yellow, the plant is scavenging nitrogen for new growth. Apply a high nitrogen liquid fertilizer with a 10-5-5 NPK profile immediately.
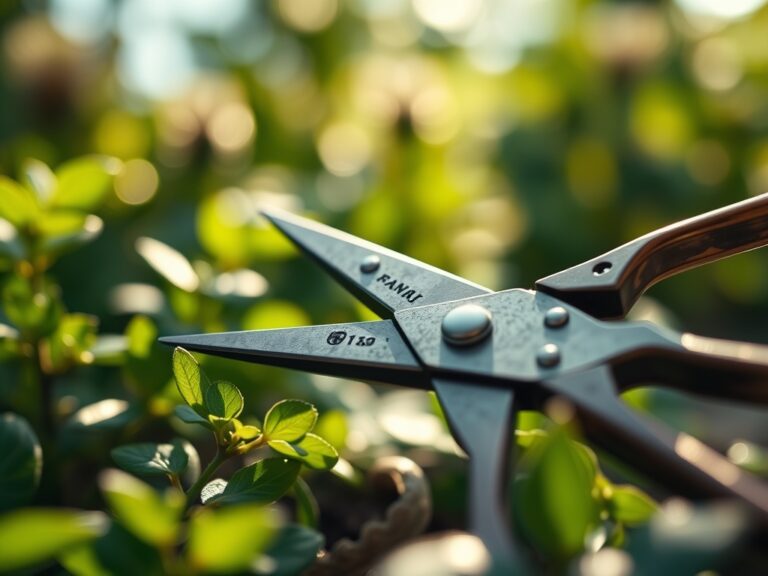
Maintenance:
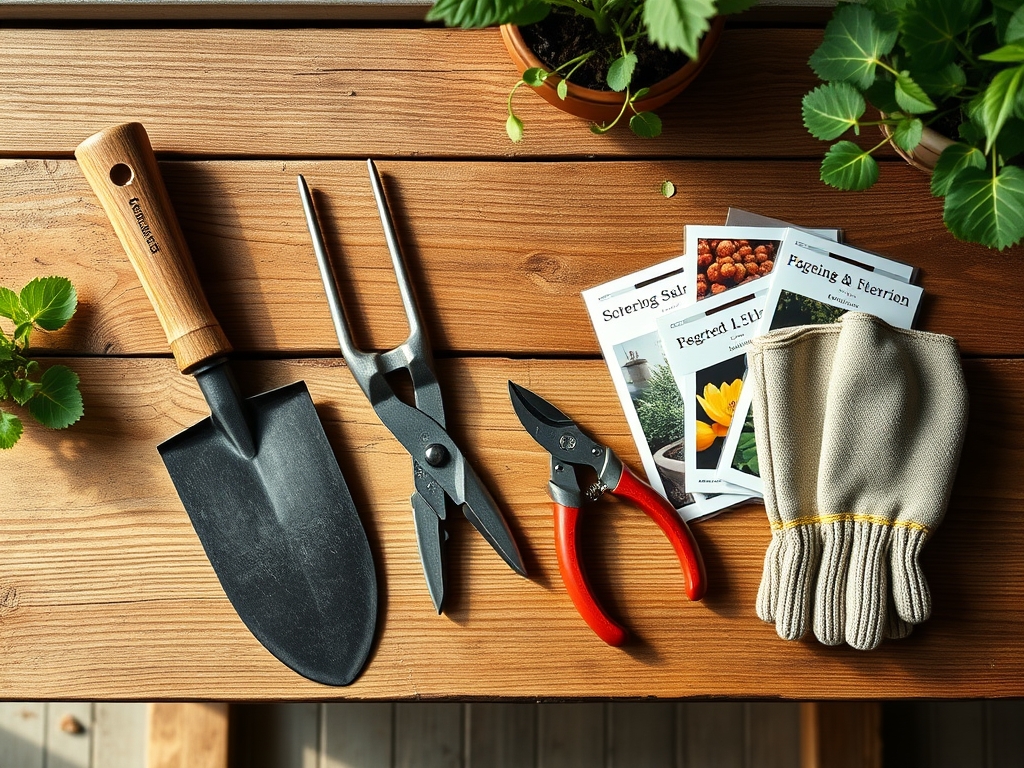
Precision is the difference between a surviving plant and a thriving one. Use a soil moisture meter daily. Do not water until the top 2 inches of soil are dry. When you do water, provide 1.5 inches of water per application, ensuring it reaches the drip line where the most active root hairs are located. Use bypass pruners for clean cuts that heal quickly; never use dull scissors which crush the vascular bundles. For root pruning or repotting, a hori-hori knife is essential for slicing through circumnavigating roots. Clean your tools with 70 percent isopropyl alcohol between plants to prevent the spread of pathogens. Inspect your best plant ties for signs of degradation from UV light or moisture, and replace any that have become brittle.
The Yield:
For foliage plants, the "yield" is the production of massive, pristine leaves. To maintain "day-one" freshness, wipe the leaves with a damp microfiber cloth every two weeks. This removes dust that blocks the stomata and reduces photosynthetic efficiency. If you are taking cuttings for propagation, use a sterile blade to cut just below a node. Place the cutting in a high humidity environment with a consistent temperature of 75 degrees Fahrenheit to encourage rapid callus formation and subsequent root initiation.
FAQ:
What is the best material for plant ties?
Soft, expandable materials like velcro rolls or cushioned wire are superior. They allow for secondary xylem growth and prevent the girdling of the stem, which can lead to vascular collapse in large indoor specimens.
How tight should I tie my indoor plants?
Leave a gap of at least one finger width between the tie and the stem. This space accommodates the natural expansion of the plant's girth and prevents mechanical damage to the sensitive epidermal layer.
When should I replace my plant ties?
Inspect ties every three months. If the material shows signs of fraying or if the stem has expanded to fill the initial gap, remove and reposition the tie to prevent constriction of the phloem.
Can I use household string as a plant tie?
Standard string or twine is often too thin and abrasive. Under the weight of large foliage, thin strings can act like a saw, cutting into the plant's tissue and creating entry points for fungal pathogens.