6 Steps to Build a Decorative Dry Creek Bed Bridge
Damp earth yields a heavy, metallic scent when the soil profile is disturbed; a smell that signals high microbial activity and organic decomposition. Successful site preparation requires a deep understanding of the local water table and the turgor pressure of the surrounding flora. When the ground is saturated, the structural integrity of the banks around a dry creek bed becomes compromised. Mastering the steps for building a garden bridge requires a rigorous approach to both structural engineering and horticultural preservation. You are not merely placing a decorative object; you are intervening in a delicate ecosystem where soil compaction and root zone disturbance can lead to rapid plant senescence. A bridge must span the gap without crushing the rhizosphere of the plants that stabilize the banks. This guide provides the technical framework to install a bridge that functions as a permanent fixture while respecting the biological imperatives of the landscape.
Materials:
The foundation of any bridge rests on the soil. You must evaluate the **Cation Exchange Capacity (CEC)** of the substrate at the bridge footings. A **friable loam** with a pH between **6.0 and 7.0** is ideal for the surrounding vegetation, but structural footings require a different composition. For the bridge supports, you need a base of compacted **3/4-inch minus crushed rock** to ensure drainage and prevent frost heave.
To support the surrounding ornamental grasses and riparian plants, utilize a specialized fertilizer blend. Apply an NPK ratio of 5-10-5 to the disturbed soil areas to encourage root development rather than excessive foliage. High phosphorus levels are essential for establishing the root systems that will eventually anchor the bridge's stone abutments. The soil must maintain a high organic matter content of at least 5 percent to ensure the survival of the microbial community during the construction phase.
Timing:
Construction must align with the dormancy period of the local vegetation to minimize physiological stress. In Hardiness Zones 5 through 7, the optimal window is late autumn after the first hard frost but before the ground freezes solid. This timing respects the biological clock of the plants; they have transitioned from the vegetative stage to dormancy, meaning auxin levels have shifted to the roots.
Avoid construction during the spring flush when turgor pressure is at its peak and new shoots are highly susceptible to mechanical damage. If you must build during the growing season, ensure the soil moisture is maintained at a consistent 25 percent by volume to prevent the wilting of surrounding perennials. Monitoring the photoperiod is also vital; shorter days in the fall reduce the rate of evapotranspiration, allowing the disturbed soil to settle without losing its moisture content to the atmosphere.
Phases:

Sowing the Foundation
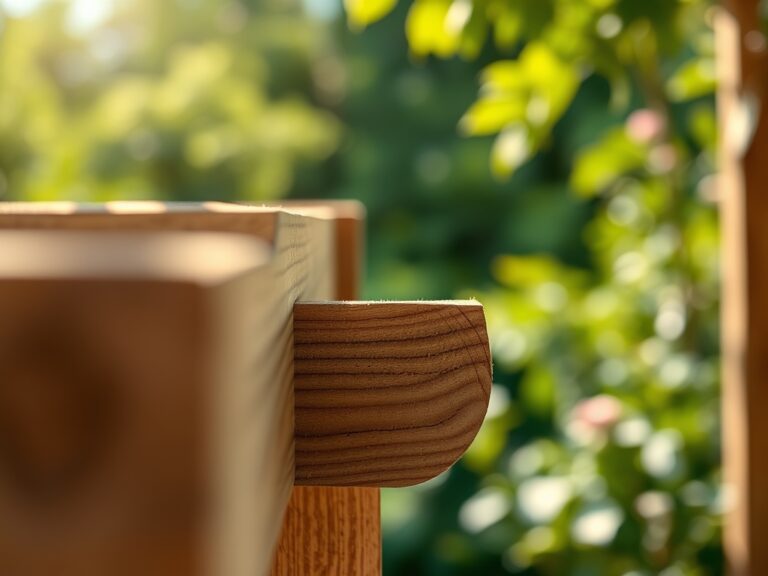
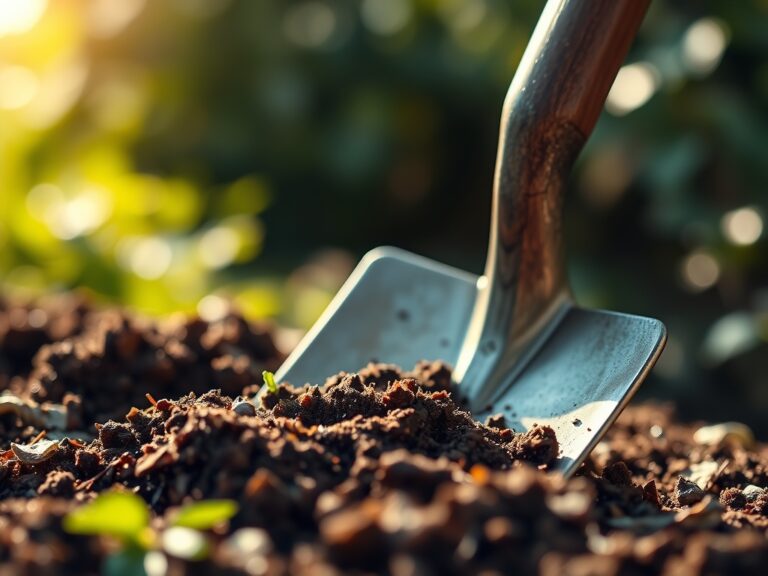
Excavate the footing areas to a depth of 12 inches below the frost line. This prevents the bridge from shifting during freeze-thaw cycles. Fill the base with 8 inches of compacted aggregate and level it using a laser level. The bridge sills should be constructed from pressure-treated timber or rot-resistant hardwoods like Ipe or Cedar.
Pro-Tip: When backfilling the footings, incorporate a mycorrhizal inoculant into the soil. This encourages mycorrhizal symbiosis, where beneficial fungi extend the root reach of nearby plants, helping them recover from the localized soil compaction caused by heavy lifting.
Transplanting and Anchoring
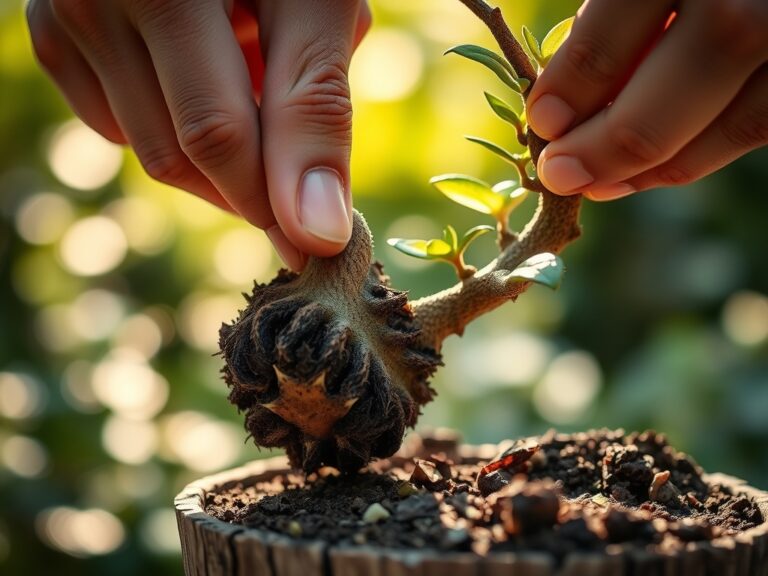
Set the bridge beams across the dry creek bed, ensuring a minimum of 18 inches of bearing surface on each side. Secure the beams using 1/2-inch galvanized carriage bolts. Once the structure is stable, begin replanting the disturbed banks with native sedges or ferns that thrive in the microclimate of the creek bed.
Pro-Tip: Space plants according to their mature width to avoid overcrowding, which leads to poor air circulation and fungal pathogens. Use the auxin suppression principle by pruning back the lead shoots of new transplants; this forces the plant to divert energy into lateral root growth and structural stability.
Establishing the Micro-Environment
Install the decking boards with a 1/8-inch gap to allow for wood expansion and water drainage. Around the bridge base, place large river cobbles to dissipate the energy of runoff and prevent erosion. Finish by applying a 3-inch layer of organic mulch around the bridge footings to regulate soil temperature.
Pro-Tip: Directional lighting on the bridge should account for phototropism. Ensure that artificial lights do not interfere with the natural light cycles of the plants, as excessive night lighting can disrupt the plant's circadian rhythm and delay dormancy.
The Clinic:
Physiological disorders often manifest in the vegetation surrounding a new construction site due to soil compaction or altered drainage patterns.
- Symptom: Interveinal chlorosis (yellowing leaves with green veins) in nearby shrubs.
- Solution: This is often Iron Deficiency caused by a pH spike from concrete dust. Apply chelated iron and sulfur to lower the pH to 6.5.
- Symptom: Marginal leaf burn or necrosis on new transplants.
- Solution: This indicates Soluble Salt Accumulation or drought stress. Flush the soil with 2 inches of water to leach salts and check the root ball for air pockets.
- Symptom: Stunted growth and purple-tinted foliage.
- Solution: This is a classic Phosphorus Deficiency. The cold soil may be inhibiting uptake. Apply a liquid 0-20-0 fertilizer directly to the root zone.
Fix-It for Nitrogen Chlorosis: If the entire leaf turns pale yellow, the plant is cannibalizing its own chlorophyll. Apply a quick-release high-nitrogen fertilizer (21-0-0) at a rate of 0.5 pounds per 100 square feet to restore vigor.
Maintenance:
A bridge requires rigorous seasonal inspections to maintain its structural and horticultural integrity. Use a soil moisture meter twice a week during the first growing season to ensure the root zone stays between 15 and 20 percent moisture. Vegetation requires exactly 1.5 inches of water per week delivered at the drip line to maintain cellular turgidity.
Utilize a hori-hori knife to remove deep-rooted weeds that emerge between the bridge footings and the creek stones. Use bypass pruners to maintain a 12-inch clearance between plant foliage and the wood structure; this prevents moisture trapping and wood rot. Every three years, re-apply a UV-resistant sealant to the wood during a dry window when the relative humidity is below 50 percent.
The Yield:
While a bridge does not produce a crop, the "yield" is the successful establishment of a stable riparian zone. To maximize the aesthetic harvest of the surrounding flowers, deadhead spent blooms immediately to prevent the plant from entering senescence too early. If you have planted lavender or creeping thyme near the bridge path, harvest the stems in the early morning when the essential oil concentration is at its peak. Cut the stems at a 45-degree angle and place them immediately in cool water to maintain "day-one" freshness and prevent vascular collapse.
FAQ:
What is the best wood for a garden bridge?
Select species with high rot resistance such as Western Red Cedar, Redwood, or Ipe. These woods contain natural tannins and oils that resist fungal decay and insect infestation in high-moisture environments near dry creek beds.
How do I prevent the bridge from sinking?
Excavate footings to the local frost line and backfill with compacted 3/4-inch crushed stone. This creates a stable, well-draining base that distributes the load and prevents the structure from settling into the soil profile.
Can I build a bridge over a live stream?
Building over active water requires a different engineering approach and often involves local environmental permits. A dry creek bed bridge focuses on ornamental aesthetics and drainage management rather than constant hydrological flow.
How do I protect nearby plants during construction?
Minimize the construction footprint by using plywood sheets to distribute weight and prevent soil compaction. Maintain consistent hydration and apply a low-nitrogen, high-phosphorus fertilizer to support root recovery after the structural installation is complete.