9 Ways to Prepare a DIY Plant Stake for Heavy Stems
The smell of damp, anaerobic soil often signals a failure in drainage; however, the sharp, metallic scent of healthy, mineral-rich earth indicates a thriving rhizosphere. When a heavy-fruiting tomato or a water-gorged dahlia loses its structural integrity, the internal turgor pressure exceeds the stem's tensile strength. Learning how to prepare a DIY plant stake is the only way to prevent vascular collapse during the peak reproductive phase. Proper staking ensures that the plant's energy remains focused on biomass production rather than mechanical repair.
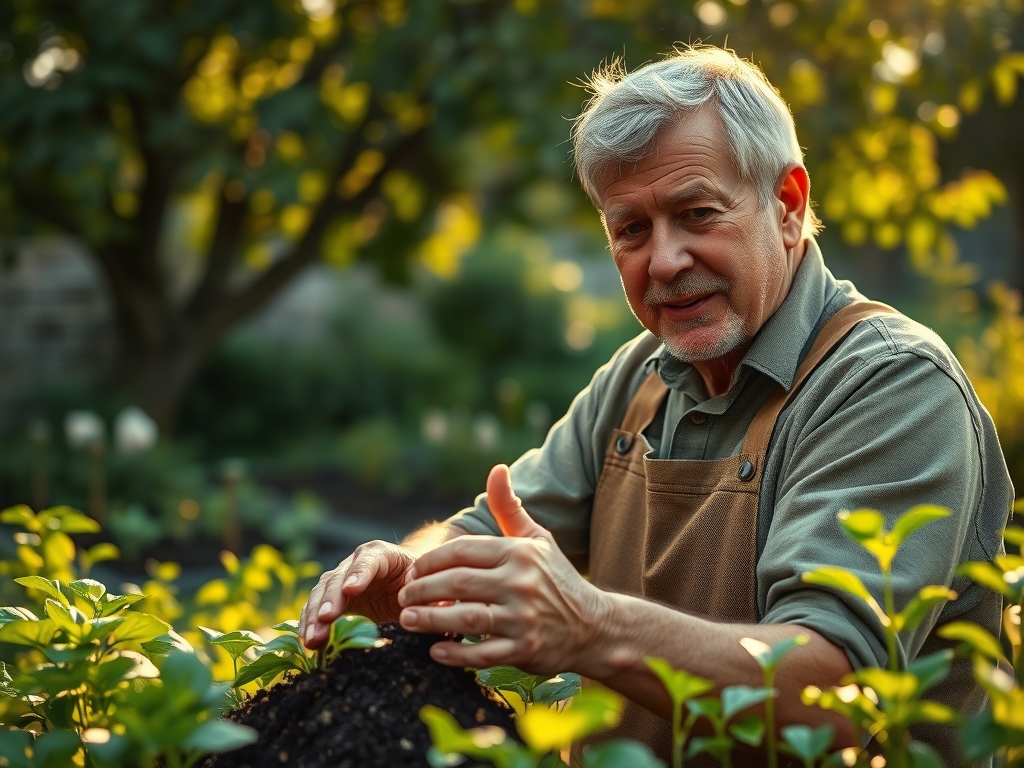
Failure to provide external support leads to stem kinking, which restricts the flow of water and nutrients through the xylem and phloem. A well-executed stake acts as an artificial exoskeleton. This intervention is critical for cultivars with high fruit-to-foliage ratios. By securing the primary axis, you maintain optimal leaf orientation for photosynthesis and reduce the risk of soil-borne pathogens infecting the foliage. This guide provides the technical framework for constructing durable, biologically sound supports for your most demanding botanical specimens.
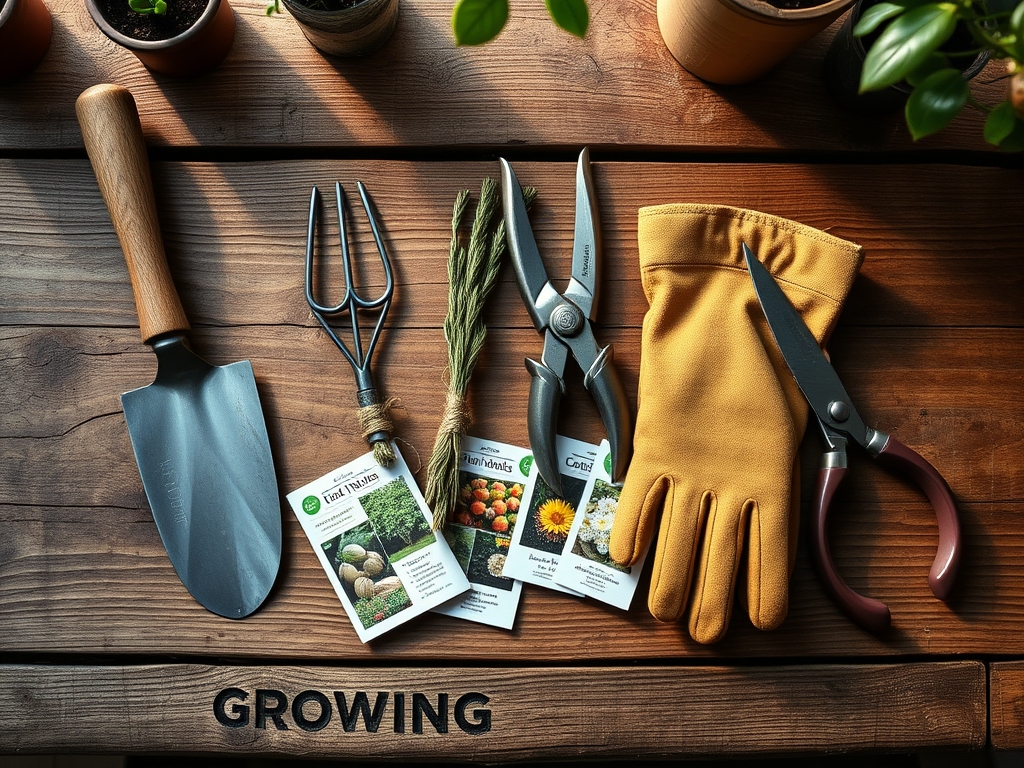
Materials:
The effectiveness of a stake depends heavily on the substrate it inhabits. An ideal substrate is a friable loam with a pH between 6.2 and 6.8. This acidity range ensures maximum bioavailability of micronutrients. Before driving a stake, analyze the Soil Cation Exchange Capacity (CEC); a higher CEC (above 15) indicates a soil that can hold the physical weight of a stake and plant without shifting.
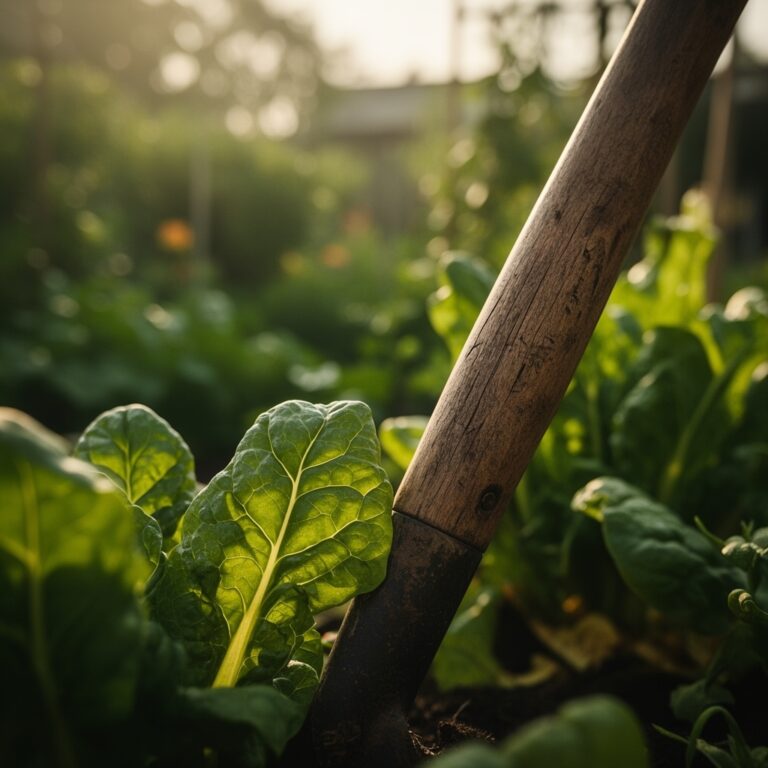
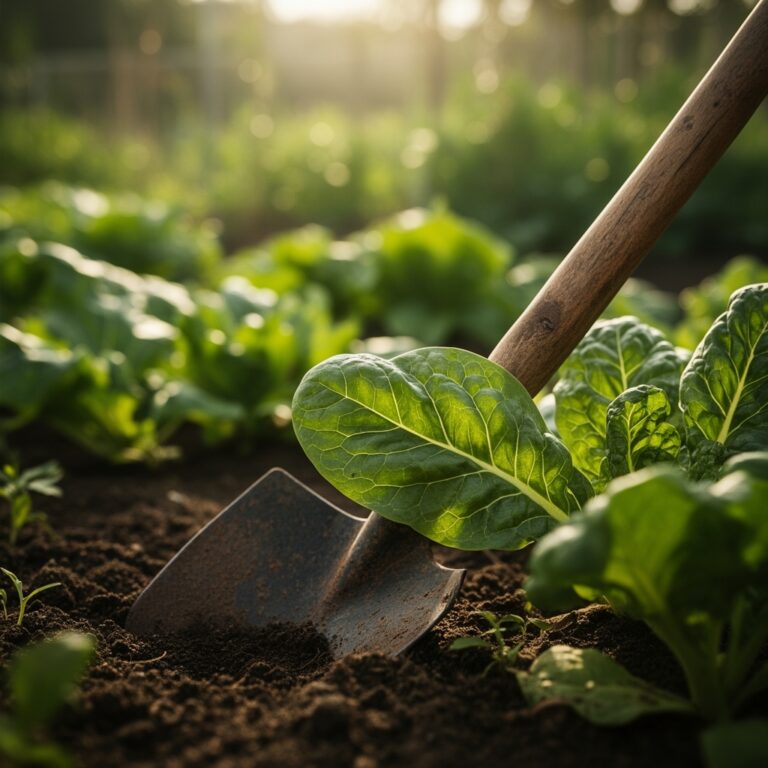
For heavy-stemmed plants, the soil must be amended with a specific NPK ratio to support structural development. Use a 5-10-10 fertilizer to prioritize root and stem girth over excessive vegetative "stretch." High nitrogen levels (the first number) can lead to succulent, weak growth that snaps easily. Ensure the soil contains adequate calcium; 1,000 to 2,000 ppm is necessary to build strong cell walls via calcium pectate. Use 8-foot bamboo poles, 1-inch diameter PVC, or reclaimed hardwood as your primary vertical members. Avoid chemically treated lumber that may leach arsenic or copper into the root zone.
Timing:
Staking must align with the plant's biological clock. In Hardiness Zones 5 through 8, the window for staking typically opens 14 to 21 days after the last spring frost. You must install the support before the plant transitions from the vegetative stage to the reproductive stage. Once a plant initiates flowering, its hormonal balance shifts; auxin production at the apical meristem decreases while ethylene levels may rise.
Installing a stake late in the season risks damaging the expanded root system. For indeterminate species, the "Biological Clock" dictates that support must be in place before the plant reaches 40% of its mature height. In regions with high wind velocity, such as the Great Plains or coastal zones, stakes should be driven 12 to 18 inches deep to resist the leverage exerted by a full leaf canopy during a storm.
Phases:
Sowing and Initial Support
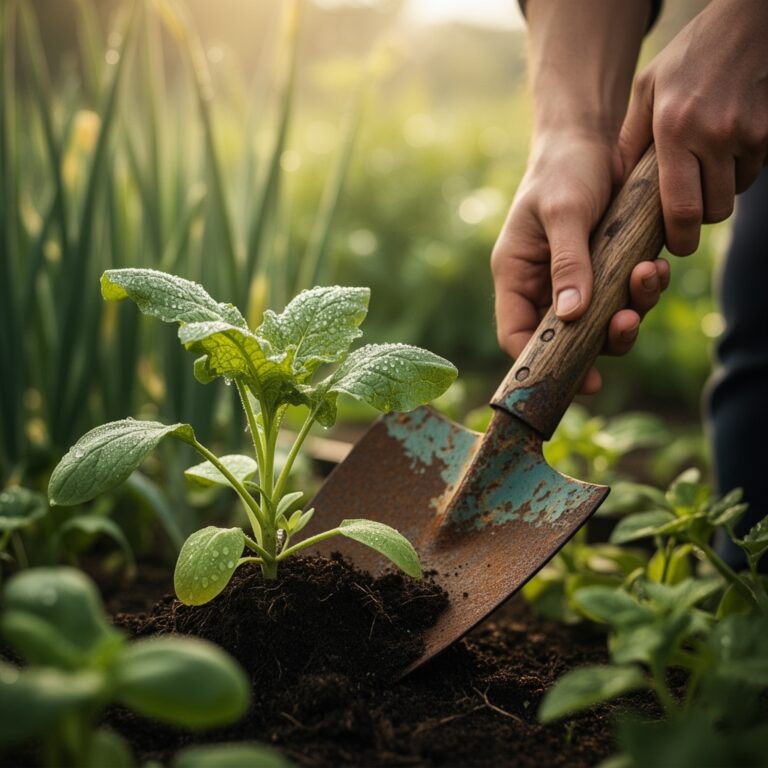
While seeds are sown at a depth of twice their diameter, the planning for their support begins immediately. For heavy climbers, place a small "starter" stake 2 inches from the sowing site. This prevents future root disturbance.
Pro-Tip: Early staking utilizes phototropism. By providing a vertical guide early, you encourage the plant to grow straight toward the light source, minimizing the energy spent on "searching" movements (circumnutation).
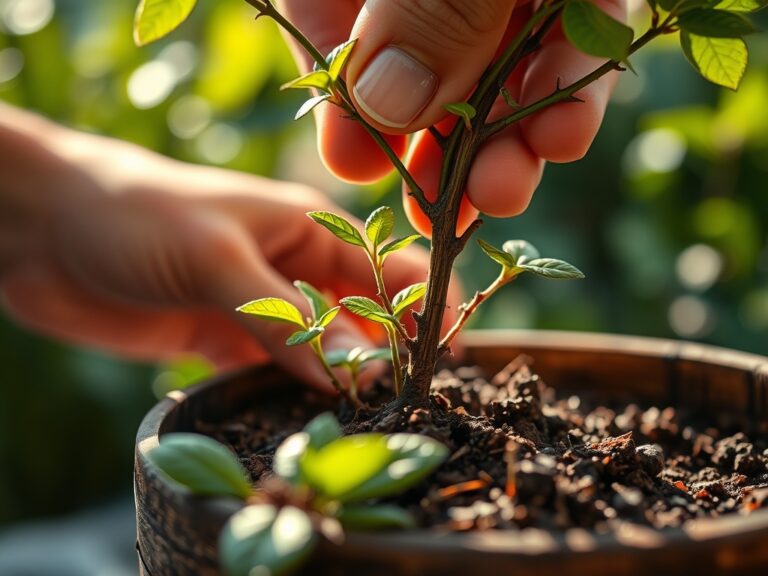
Transplanting and Anchoring
When moving a seedling from a 4-inch pot to the field, the stake should be installed simultaneously with the plant. Place the stake on the windward side of the plant. This allows the prevailing breeze to push the plant away from the stake rather than rubbing against it, which can cause mechanical scarring.
Pro-Tip: This phase leverages thigmomorphogenesis. Brief, controlled contact with a stake can actually strengthen the stem tissues by stimulating the production of ethylene, which results in shorter, thicker stems.
Establishing the Exoskeleton
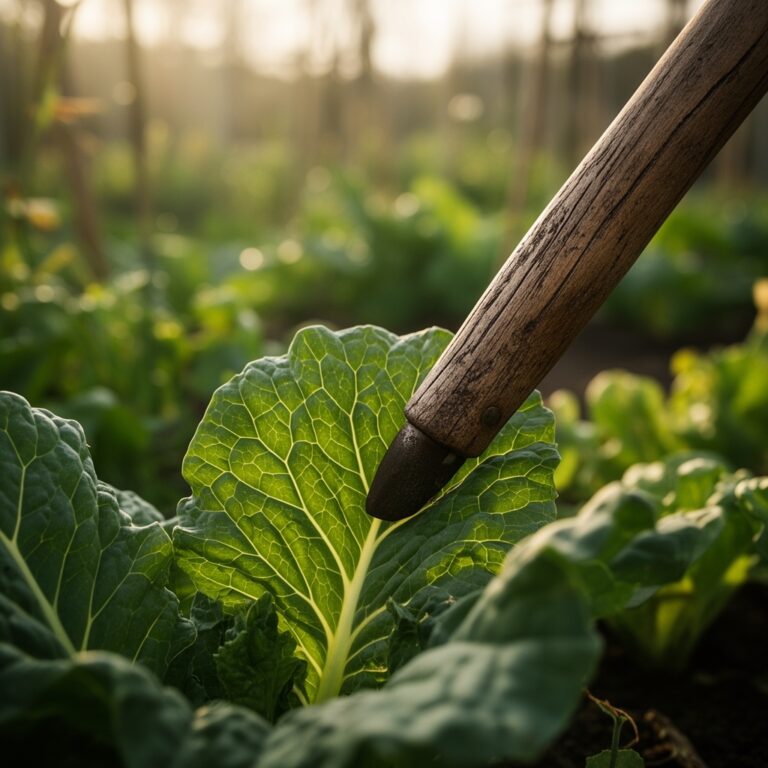
As the plant reaches 18 inches in height, begin securing the stem using a "Figure-8" tie. This loop provides 1 inch of clearance to allow for secondary thickening (lateral growth) of the stem. Use soft jute or specialized garden tape to avoid cutting into the epidermis.
Pro-Tip: Maintaining a loose tie prevents auxin suppression. If a tie is too tight, it can disrupt the flow of growth hormones, leading to stunted development above the constriction point.
The Clinic:
Physiological disorders often manifest when staking is done incorrectly or ignored.
- Symptom: Stem Canker at Tie Site. This is often caused by abrasion. Solution: Replace wire ties with soft cotton strips and ensure the tie is positioned at a node, where the plant is structurally reinforced.
- Symptom: Apical Wilting. This occurs if the stake is driven through the primary taproot. Solution: Use a soil moisture meter to check for localized dry spots. If the root is severed, prune 20% of the foliage to reduce transpiration demand.
- Symptom: Nitrogen Chlorosis. Yellowing of lower leaves despite staking. Fix-It: Apply a liquid kelp meal or a 10-0-0 blood meal to boost chlorophyll production without triggering a massive growth surge that could break the stem.
- Symptom: Adventitious Rooting. Roots growing from the stem above the soil. Solution: This indicates high humidity or mechanical stress. Increase airflow and check that the stake is not trapping moisture against the stem.
Maintenance:
A professional gardener uses a hori-hori knife to clear weeds within a 12-inch radius of the stake, preventing competition for nutrients. Monitor the soil moisture daily; heavy-stemmed plants require roughly 1.5 inches of water per week delivered at the drip line. Avoid wetting the foliage to prevent fungal spores from colonizing the areas where the plant contacts the stake.
Every two weeks, use bypass pruners to remove "suckers" or axillary buds that emerge at a 45-degree angle between the main stem and the leaf petiole. This directs all energy toward the central leader. Check tie tension monthly. As the stem diameter increases, the original ties will become restrictive. A soil moisture meter should be inserted at three points around the stake to ensure even hydration of the root ball.
The Yield:
Harvesting from a staked plant requires precision. For heavy fruit like beefsteak tomatoes or melons, harvest when the fruit reaches 90% color saturation. Use one hand to support the fruit's weight and the other to snip the pedicel with pruners. This prevents the sudden release of weight from snapping the supported stem.
Post-harvest, keep the plant's vascular system hydrated to maintain "day-one" freshness. For flowers, sear the stems in 110-degree Fahrenheit water to remove air bubbles from the xylem. If the plant is an annual, remove the stake at the end of the season, sanitize it with a 10% bleach solution, and store it in a dry environment to prevent the carryover of pathogens like Fusarium or Verticillium wilt.
FAQ:
What is the best material for a DIY plant stake?
Hardwoods like oak or cedar are superior for longevity. Bamboo is excellent for flexibility and tensile strength. Avoid softwoods or chemically treated lumber, which can rot quickly or leach toxins into the rhizosphere.
How deep should I drive a plant stake?
For heavy stems, drive the stake 12 to 18 inches into the ground. The depth must be sufficient to bypass the "heave" zone of the soil and provide a stable anchor against the plant's mature weight.
Can I use wire to tie my plants to the stake?
Avoid thin wire or fishing line. These materials cause mechanical injury to the plant's epidermis. Use soft jute twine, nylon strips, or specialized garden tape to allow for stem expansion and prevent vascular constriction.
When is the best time to install a stake?
Install the stake at the time of transplanting. This prevents the destruction of the established root architecture and ensures the plant grows with a vertical guide from the beginning of its vegetative cycle.
How do I prevent the stake from rotting?
Char the bottom 12 inches of wooden stakes or coat them in food-grade linseed oil. Alternatively, use PVC or galvanized steel for permanent installations, as these materials are immune to microbial decomposition in the soil.