9 Tips to Use a Sharp Spade for Exterior Design Edging
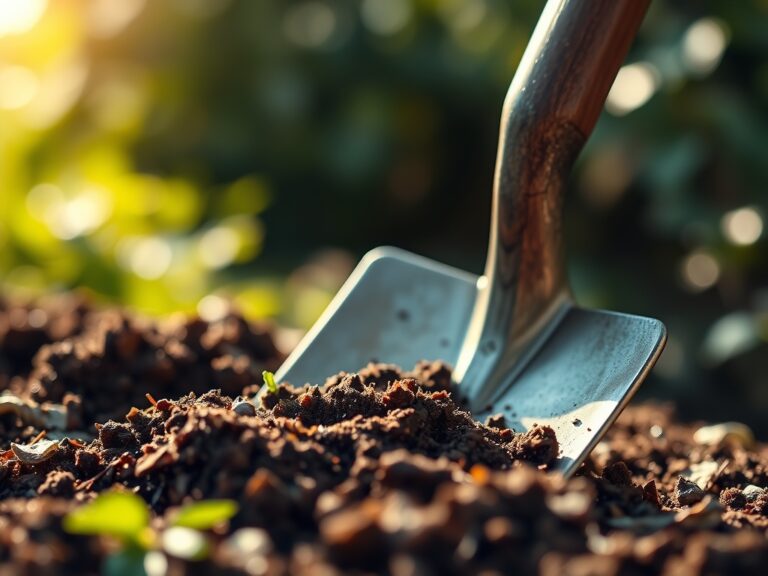
The smell of damp, anaerobic earth rising from a fresh cut signifies the start of a structural landscape shift. When the blade shears through matted stolons and fibrous root masses, the sound is a crisp snap of cellulose. This is the foundation of precision. Using a spade for exterior design requires more than brute force; it demands an understanding of soil physics and plant physiology. A clean edge serves as a biological barrier, preventing the encroachment of aggressive rhizomatous grasses into high value ornamental beds. The goal is to create a physical void that halts the lateral movement of nutrient seeking roots. This process relies on the structural integrity of the soil profile and the sharpness of the tool. A dull blade crushes vascular tissue, leading to localized necrosis and ragged regrowth. A honed edge slices through the xylem and phloem cleanly, allowing the plant to seal the wound rapidly through the production of callous tissue. Professional edging is a calculated intervention in the rhizosphere that defines the visual and biological boundaries of the managed landscape.
Materials:
Successful edging begins with a substrate that maintains structural stability under mechanical pressure. The ideal medium is a **friable loam** consisting of roughly **40 percent sand, 40 percent silt, and 20 percent clay**. This ratio ensures a high Cation Exchange Capacity (CEC), typically ranging between **15 and 25 meq/100g**, which allows the soil to retain essential nutrients like ammonium and potassium.
Soil pH should be stabilized between 6.2 and 6.8 to maximize the bioavailability of macronutrients. For established turf bordering the edge, an NPK ratio of 24-0-10 provides the nitrogen necessary for leaf blade density and the potassium required for cellular turgor. If the soil is heavy clay with a pH above 7.5, incorporate elemental sulfur at a rate of 5 pounds per 1,000 square feet to gradually lower alkalinity. The physical texture must be moist enough to hold a cast but dry enough to crumble when compressed; this prevents the compaction of pore spaces which are vital for gas exchange within the root zone.
Timing:
The biological clock of the landscape dictates the window for aggressive edging. In Hardiness Zones 4 through 7, the primary window opens in early spring, approximately two to three weeks before the average last frost date. This coincides with the transition from dormancy to the vegetative growth stage. At this point, carbohydrate reserves are moving from the roots to the crown, providing the energy necessary for rapid tissue repair following mechanical damage.
Avoid edging during the peak of summer when temperatures exceed 85 degrees Fahrenheit. High heat increases the rate of evapotranspiration, and open soil edges lose moisture rapidly, leading to "edge browning" or localized senescence in turfgrass. A secondary window occurs in early autumn, at least six weeks before the first hard freeze. This allows the root systems of perennial plants to stabilize their moisture levels before the soil temperature drops below 40 degrees Fahrenheit, at which point biological activity slows significantly.
Phases:
Sowing and Preparation
Before the first cut, mark the line using a high visibility string or a flexible garden hose. Using a spade for exterior design is a vertical operation. Stand on the lawn side of the line to ensure the weight of your body compacts the turf you intend to keep, rather than the bed you are clearing. Position the spade at a 90 degree angle to the earth.
Pro-Tip: Maintaining a vertical cut prevents the "undercutting" of turf roots. This is critical because of apical dominance; when you sever the terminal bud of a grass rhizome, it triggers the growth of lateral buds. A clean, vertical cut ensures these new shoots grow upward rather than sideways into your mulch bed.
Transplanting and Clearing
Once the perimeter is sliced to a depth of 4 to 6 inches, use the spade to lift the severed sod. Angle the blade at 45 degrees to undercut the root mat. This material should be removed entirely rather than buried, as buried organic matter can create anaerobic pockets that produce methane gas and harm nearby ornamental roots.
Pro-Tip: Utilize the principle of mycorrhizal symbiosis by leaving the interior soil of the bed undisturbed. By only disturbing the 6 inch perimeter, you preserve the existing fungal networks that assist plants in phosphorus uptake. Excessive tilling destroys these hyphae, forcing plants to expend more energy on root production.
Establishing the Trench
The final phase involves refining the "V-trench." The side of the trench facing the lawn should be a shear vertical wall, while the side facing the bed should slope at a 30 to 45 degree angle. This creates a physical gap that prevents grass stolons from jumping across the gap. Fill the trench with a fine textured mulch to a depth of 2 inches.
Pro-Tip: Do not overfill the trench. Maintaining a gap between the mulch and the top of the turf edge prevents auxin suppression. If the crown of the grass is buried under mulch, the lack of light inhibits the production of auxins, leading to weakened, yellowing grass along the border.
The Clinic:
Physiological disorders often manifest at the interface of the lawn and the garden bed.
-
Symptom: Leaf margins on border plants turning brown and crispy.
-
Solution: Desiccation. The vertical cut has exposed the root zone to air. Fix-It: Apply a thin layer of compost to the vertical wall of the trench to seal the exposed roots and maintain moisture levels.
-
Symptom: Yellowing of turf along the edge (Chlorosis).
-
Solution: Nitrogen deficiency or pH imbalance. Fix-It: Test the soil. If pH is above 7.0, apply iron sulfate. If pH is normal, apply a quick release nitrogen fertilizer at a rate of 0.5 pounds per 1,000 square feet.
-
Symptom: Soil slumping or collapse of the vertical edge.
-
Solution: Lack of structural aggregates or excessive foot traffic. Fix-It: Incorporate calcined clay or coarse sand into the edge soil to increase friction and structural integrity.
Maintenance:
Precision edging requires consistent monitoring. Use a soil moisture meter twice weekly to ensure the edge zone maintains at least 15 to 20 percent volumetric water content. Established landscapes generally require 1.5 inches of water per week, delivered at the drip line of the plants rather than the foliage.
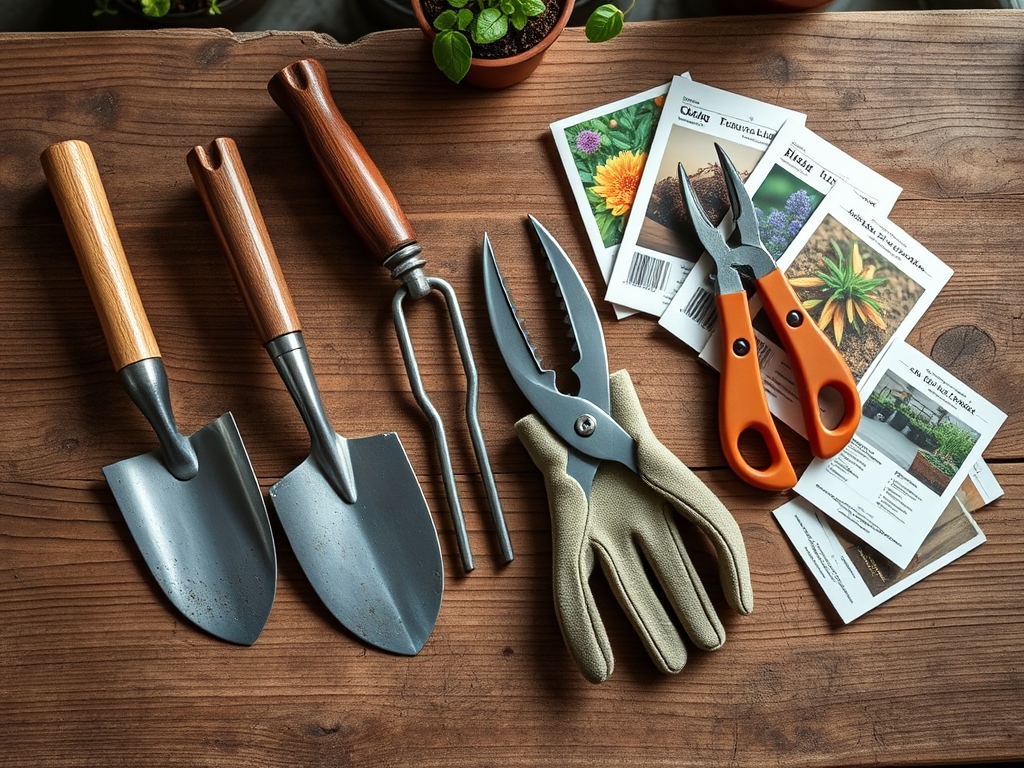
Keep your spade sharp using a mill file; a dull tool requires more force, which increases the risk of soil compaction. For fine detail work around delicate perennials, switch to a hori-hori knife to slice through small roots without disturbing the primary root ball. If woody shrubs encroach on the edge, use bypass pruners to make clean heading cuts, ensuring you cut just above a lateral bud to direct future growth away from the lawn.
The Yield:
While edging is primarily structural, the "yield" is the health of the border plants. For flowering perennials, removing competition from grass rhizomes increases bloom density by 20 to 30 percent. To maintain "day-one" freshness of the edge, re-cut the perimeter once in late June to intercept the mid summer growth surge. If you are harvesting edible herbs from the border, do so in the early morning when turgor pressure is at its peak. This ensures the cells are fully hydrated, extending the shelf life of the cuttings.
FAQ:
How deep should I cut the edge?
A depth of 4 to 6 inches is standard. This depth is sufficient to sever the majority of turfgrass rhizomes, which typically reside in the upper 3 inches of the soil profile.
How often should I sharpen my spade?
Sharpen the blade after every 50 linear feet of edging or whenever you encounter significant rock interference. A sharp blade reduces the physical force required by approximately 30 percent.
Can I edge when the soil is frozen?
No. Cutting frozen soil damages the tool and shatters the soil structure. Wait until the soil temperature reaches at least 45 degrees Fahrenheit to ensure the soil is malleable and biological repair can occur.
Why is my edge collapsing after rain?
This usually indicates a lack of organic matter or a slope that is too steep. Reduce the interior angle to 30 degrees and incorporate organic compost to improve soil aggregation and stability.