9 Flavor Benefits of Specialized Herb Soil for Kitchen Crops
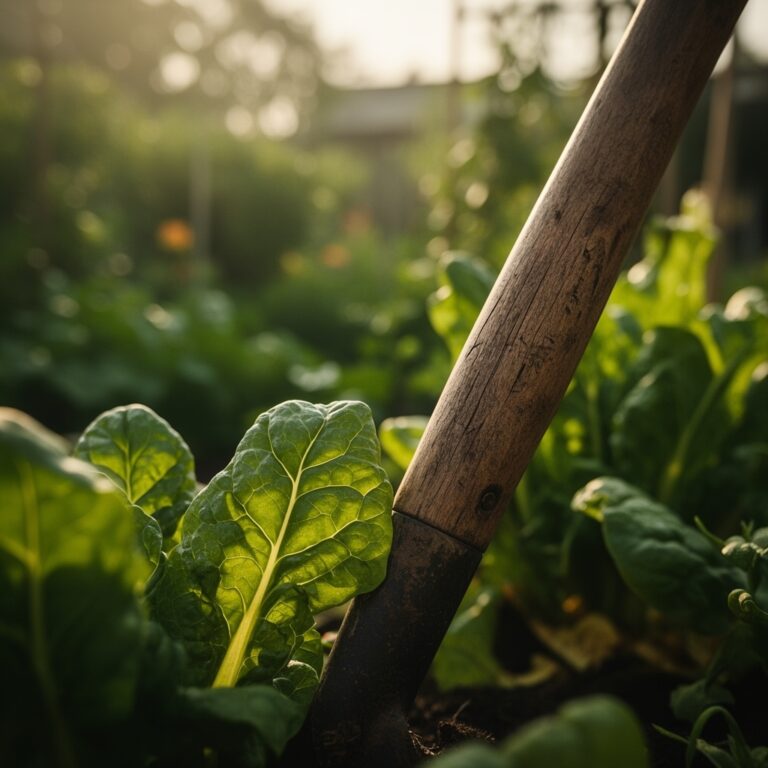
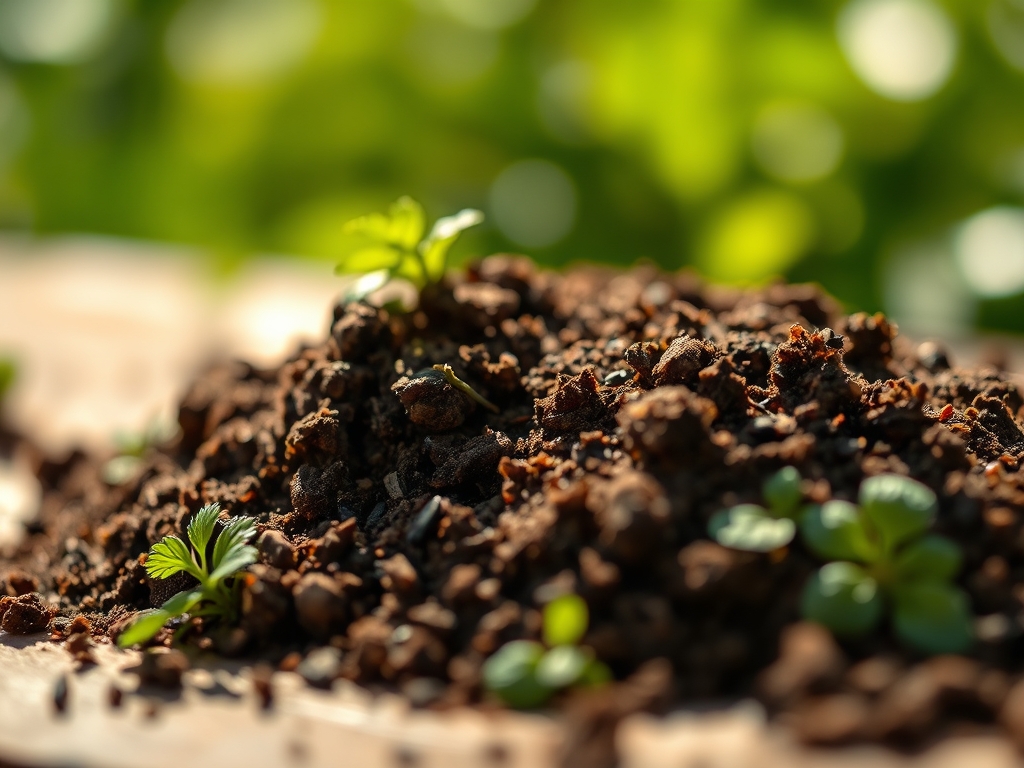
Crush a leaf of Genovese basil between your thumb and forefinger to release the immediate, pungent burst of methyl chavicol and linalool. This olfactory intensity is not an accident of nature; it is a direct result of the chemical composition within the rhizosphere. Using a specialized herb soil ensures that the plant maintains high turgor pressure, which is the internal fluid pressure that keeps stems rigid and leaves crisp. Standard potting mixes often prioritize water retention over drainage, leading to anaerobic conditions that stifle essential oil production. By contrast, a substrate engineered for Mediterranean or culinary herbs focuses on a porous structure that allows for rapid gas exchange. When the root system has access to oxygen and specific mineral ratios, the plant synthesizes secondary metabolites more efficiently. These metabolites are the source of the flavors and aromas sought in the kitchen. A well drained, mineral rich medium prevents the root rot common in dense soils while providing the specific micronutrients necessary for robust growth.
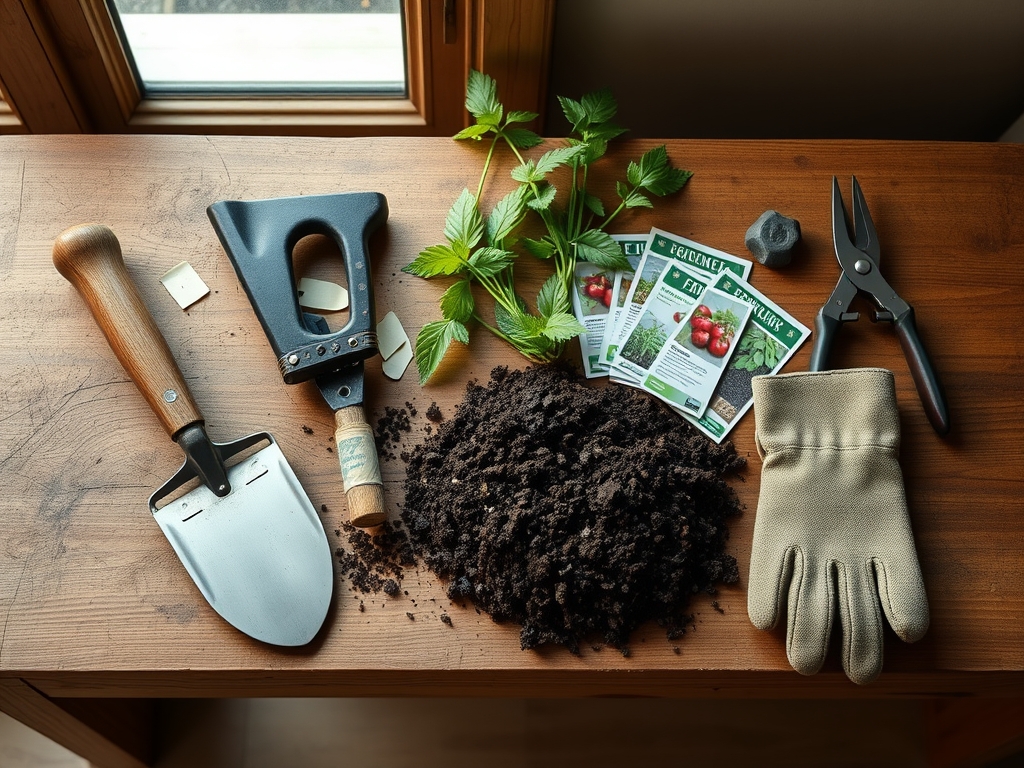
Materials:
The ideal substrate for kitchen crops must be a friable loam with a high concentration of coarse aggregates like perlite or horticultural grit. For most culinary herbs, maintain a soil pH between 6.0 and 7.0. This range ensures maximum bioavailability of macronutrients.
Nitrogen, Phosphorus, and Potassium (NPK) ratios must be tailored to the growth stage. For vegetative herbs like parsley and cilantro, a ratio of 3-1-2 supports leafy expansion. For woody perennials such as rosemary or thyme, a leaner 1-1-1 or 5-10-10 ratio is preferable to prevent leggy growth and encourage the concentration of oils.
The physical texture should allow for a Cation Exchange Capacity (CEC) of 15 to 25 meq/100g. This ensures the soil can hold onto positively charged ions like Calcium (Ca2+) and Magnesium (Mg2+) without them leaching away during irrigation. Incorporate 10 percent high quality compost to provide a slow release of organic matter without compromising the drainage profile.
Timing:
Success depends on aligning the planting schedule with the local Hardiness Zone. In Zones 7 through 9, most herbs can be established in the early spring, approximately two to three weeks after the last predicted frost. For Zone 4 through 6, wait until soil temperatures consistently reach 60 degrees Fahrenheit (15.5 degrees Celsius).
The biological clock of the plant dictates the transition from the vegetative stage to the reproductive stage. Herbs like cilantro and dill are highly sensitive to photoperiodism, where increasing day length triggers "bolting" or flowering. Once the plant enters the reproductive phase, leaf production slows and the flavor profile often becomes bitter due to the shift in chemical resources toward seed production. To delay this, maintain consistent soil moisture and provide slight afternoon shade when temperatures exceed 85 degrees Fahrenheit.
Phases:
Sowing
Place seeds at a depth of two times their diameter. For fine seeds like oregano, surface sow and lightly press into the specialized soil to ensure contact. Maintain a consistent temperature of 70 degrees Fahrenheit for optimal germination.
Pro-Tip: Monitor the red to far-red light ratio. Many herb seeds are photoblastic, meaning they require specific light wavelengths to trigger the degradation of abscisic acid, which allows the embryo to break dormancy.
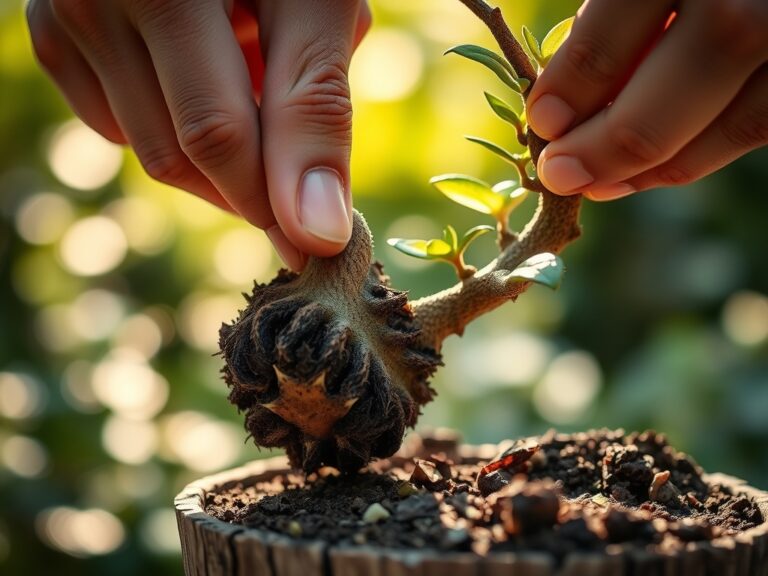
Transplanting
When seedlings develop their second set of true leaves, move them to their permanent containers or beds. Dig a hole twice the width of the root ball. Ensure the crown of the plant sits exactly at the soil line to prevent stem rot.
Pro-Tip: Inoculate the specialized soil with mycorrhizal fungi. This symbiotic relationship expands the root surface area by up to 100 times, significantly increasing the uptake of Phosphorus and water during the critical establishment window.
Establishing
During the first 14 to 21 days, focus on root development over top growth. Avoid heavy nitrogen fertilization during this window to prevent weak, succulent growth that is susceptible to environmental stress.
Pro-Tip: Utilize auxin suppression by pinching off the terminal buds once the plant reaches six inches in height. This disrupts apical dominance, forcing the plant to redirect energy to lateral buds, resulting in a bushier, more productive harvest.
The Clinic:
Physiological disorders often stem from environmental imbalances rather than pathogens.
- Edema: Observed as small bumps or blisters on the underside of leaves. This occurs when the plant takes up water faster than it can transpire. Solution: Increase airflow and reduce irrigation frequency.
- Tip Burn: Common in basil and mint. This is often a sign of Calcium deficiency or high salinity in the root zone. Solution: Flush the specialized soil with distilled water to remove excess salts and adjust pH to 6.5.
- Interveinal Chlorosis: Yellowing between leaf veins while veins remain green. This indicates an Iron or Magnesium deficiency. Fix-It: Apply a chelated iron foliar spray or add Epsom salts (Magnesium Sulfate) at a rate of one tablespoon per gallon of water.
- Nitrogen Chlorosis: General yellowing of older, lower leaves. Fix-It: Apply a quick release organic liquid fertilizer with a high N value to restore chlorophyll production.
Maintenance:
Precision irrigation is mandatory for high quality herb production. Provide 1.5 inches of water per week delivered at the drip line to keep the foliage dry and prevent fungal spores from germinating. Use a soil moisture meter to ensure the substrate is dry to a depth of two inches before re watering.
Keep a hori-hori knife sharp for weeding and light soil aeration. For woody herbs, use bypass pruners to make clean cuts at a 45 degree angle, which prevents water from pooling on the wound and causing rot. Remove no more than one third of the plant mass at any single time to avoid physiological shock and stunted growth.
The Yield:
Harvesting should occur in the early morning, just after the dew has evaporated but before the sun reaches its zenith. This is when the essential oil concentration is at its peak. For leafy herbs, use sharp shears to cut stems just above a leaf node to encourage immediate regrowth.
To maintain "day-one" freshness, treat harvested herbs like cut flowers. Place the stems in a glass of cool water and cover the leaves loosely with a perforated plastic bag. Store in a refrigerator at 40 degrees Fahrenheit. For basil, keep the stems in water at room temperature, as cold temperatures cause the leaves to blacken due to chilling injury.
FAQ:
Why is my basil turning yellow?
Yellowing, or chlorosis, typically indicates a Nitrogen deficiency or overwatering. Ensure you are using a specialized herb soil with adequate drainage and a balanced NPK ratio. Check that the soil pH is between 6.0 and 7.0 for nutrient uptake.
How often should I water my rosemary?
Rosemary requires a "drought-and-drench" cycle. Allow the top two inches of soil to dry completely before applying water. Overwatering in dense soil leads to root senescence. Specialized herb mixes with high grit content help prevent this issue.
Can I reuse herb potting soil?
Reusing soil is possible if it is sterilized and amended. However, the Cation Exchange Capacity and physical structure degrade over time. For the best flavor results, replace at least 50 percent of the medium with fresh specialized herb soil each season.
Why does my cilantro bolt so fast?
Bolting is triggered by soil temperatures exceeding 75 degrees Fahrenheit and increasing day length. Using a specialized soil with organic matter helps insulate roots. Mulching the surface can also keep the rhizosphere cool and extend the vegetative harvest window.