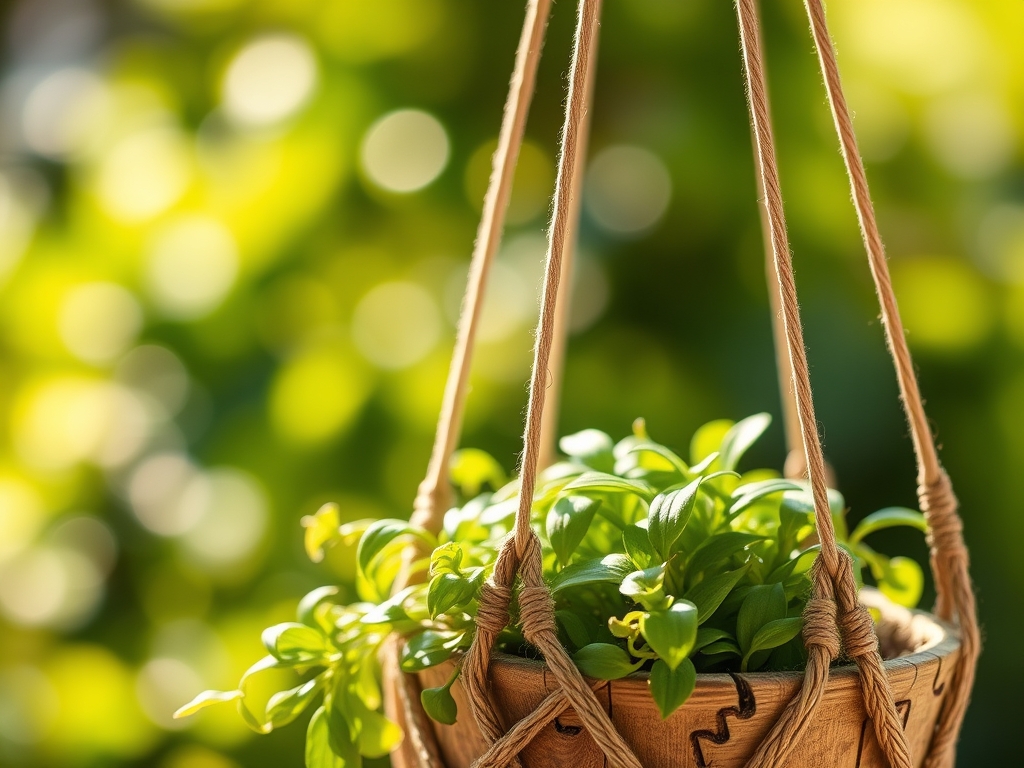
9 Boho Steps to Prepare a DIY Plant Hanger for Home Decor
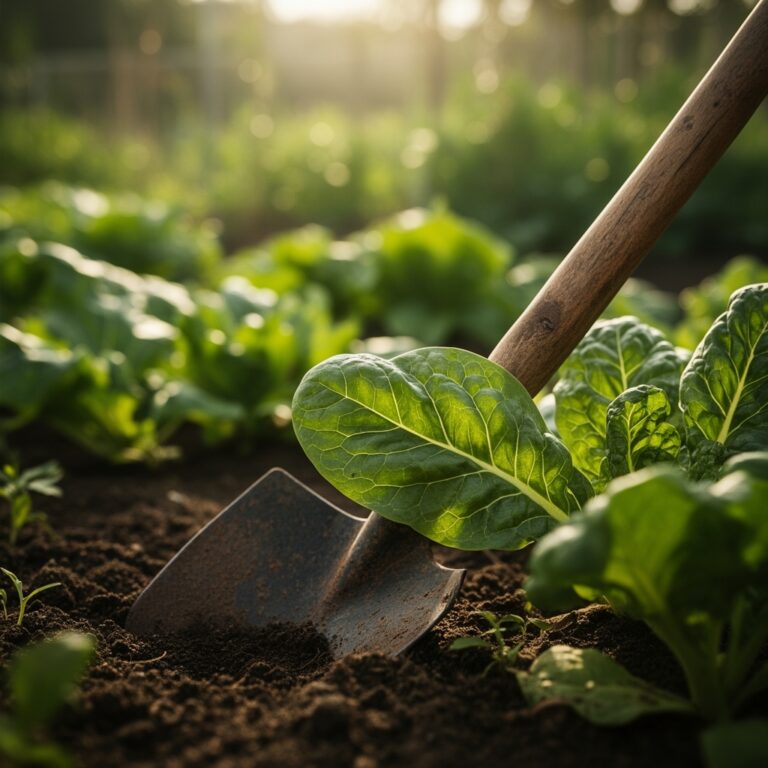
The scent of decomposing organic matter and the distinct earthy aroma of geosmin signal a healthy growing environment. When a leaf maintains high turgor pressure, its cellular walls remain rigid; this rigidity is the foundation of any indoor display. To ensure your botanical collection thrives in an elevated position, you must understand how to prepare a DIY plant hanger that balances structural integrity with the physiological needs of the specimen. Proper suspension requires more than just aesthetics. It demands an understanding of load-bearing capacity and the microclimate created by vertical positioning. Heat rises, often increasing the transpiration rate of plants kept near the ceiling. A successful installation accounts for the weight of saturated substrate, which can triple the dry weight of a standard six-inch terracotta pot. By integrating mechanical stability with precise horticultural care, you create a system where the plant can maximize its photosynthetic potential without the stress of root constriction or uneven light distribution.
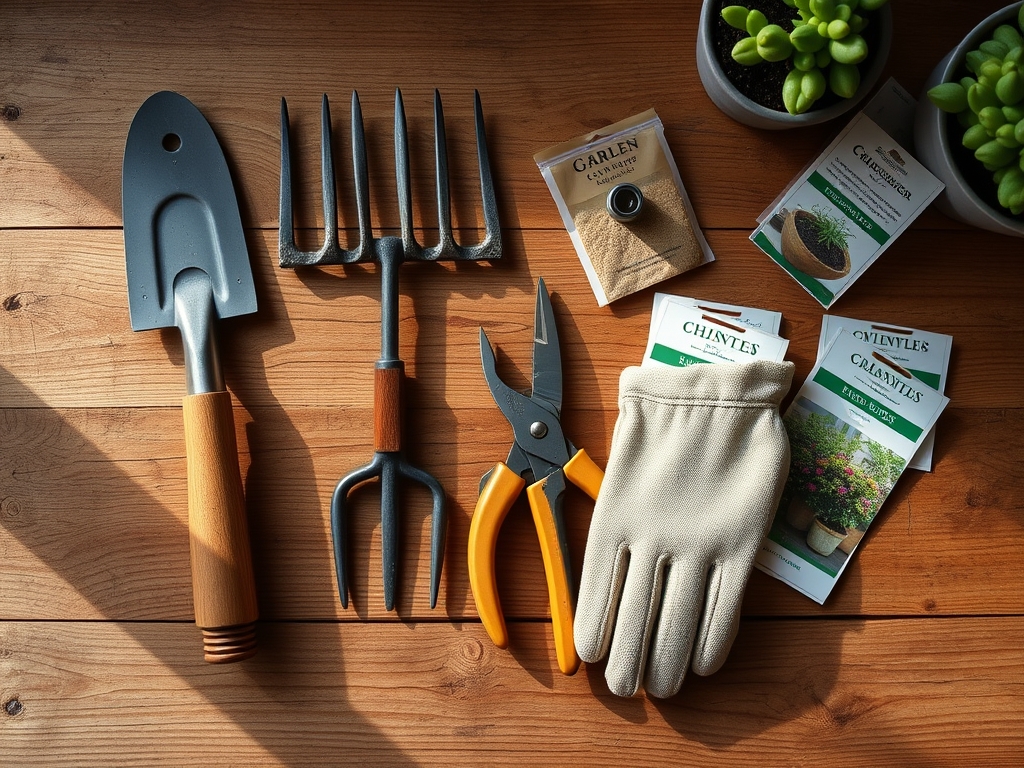
Materials:
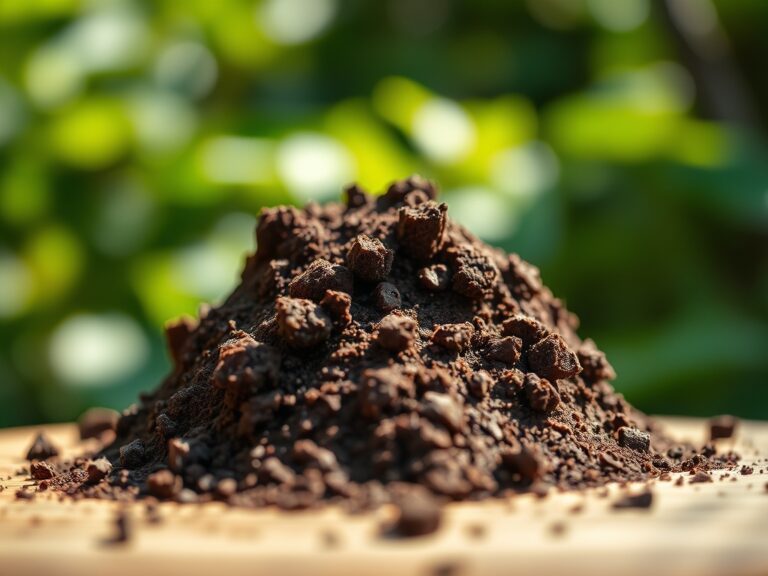
The substrate used in a hanging vessel must be lightweight yet nutrient-dense to prevent excessive strain on the hanger. A friable loam consisting of 40 percent peat moss or coconut coir, 30 percent perlite, and 30 percent composted organic matter provides the ideal structure. This mixture ensures a high Cation Exchange Capacity (CEC), allowing the roots to efficiently uptake essential ions.
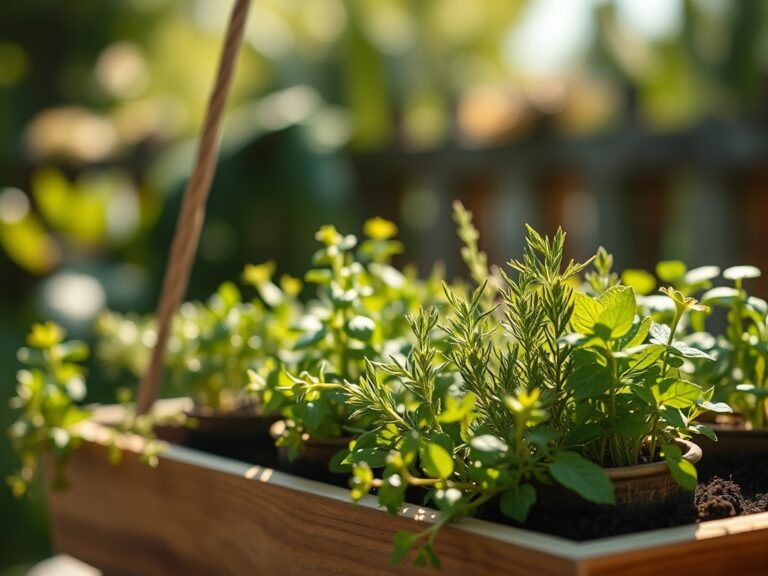
For most tropical indoor plants suitable for hanging, maintain a soil pH between 5.8 and 6.5. Use a controlled-release fertilizer with an NPK ratio of 10-10-10 for balanced growth. If you are cultivating foliage-heavy species like Epipremnum aureum, a higher nitrogen ratio such as 20-10-10 supports chlorophyll production. Ensure the cordage used for the hanger is a high-tensile cotton or jute rope with a minimum thickness of 4mm to support a wet pot weight of up to 15 pounds.
Timing:
The biological clock of indoor plants is governed by the photoperiod. Transitioning a plant into a new hanger is best performed during the onset of the active growing season, typically when outdoor temperatures in Hardiness Zones 8 through 10 reach a consistent 65 degrees Fahrenheit. This timing aligns with the plant's exit from winter dormancy and the beginning of the vegetative stage.
Avoid repotting or hanging new specimens during the frost-date windows of late autumn or winter. During these periods, the plant enters a state of senescence or slowed metabolism. Disturbing the rhizosphere when the plant is not actively producing new root hairs can lead to transplant shock and reduced water uptake. Aim for a window where daylight exceeds 12 hours to ensure the plant has sufficient energy for cellular repair after the move.
Phases:
Sowing and Selection
Select a specimen that exhibits strong apical dominance or a healthy trailing habit. Before placing the plant in the hanger, inspect the root ball. If the roots are circling the interior of the pot, they are root-bound and require gentle mechanical separation. Use a hori-hori knife to make vertical scores in the root mass to encourage outward growth into the new substrate.
Pro-Tip: Proper root aeration is vital because of gas exchange. Oxygen must reach the root zone to prevent anaerobic conditions that lead to Pythium root rot. This is the biological why behind using porous materials like perlite.
Transplanting
Place the plant into a container with adequate drainage holes. Position the specimen so the crown sits exactly one inch below the rim of the pot. This prevents water runoff and ensures the moisture reaches the core of the root system. When learning how to prepare a DIY plant hanger, ensure the knots of your macrame or rope structure are centered under the base of the pot to maintain a level center of gravity.
Pro-Tip: Plants utilize phototropism to orient their leaves toward light sources. In a hanging position, rotate the pot 90 degrees every week to prevent the plant from becoming "one-sided" as it reaches for the nearest window.
Establishing
Once the plant is suspended, monitor the moisture levels daily for the first two weeks using a soil moisture meter. The elevation often leads to faster evaporation due to increased airflow. Maintain a consistent temperature between 68 and 75 degrees Fahrenheit to support metabolic enzyme activity.
Pro-Tip: The use of auxin suppression through strategic pruning can encourage a bushier habit. By pinching off the growing tips, you redirect the plant's energy to lateral buds, creating a fuller appearance in the hanger.
The Clinic:
Physiological disorders in hanging plants often stem from the unique environmental pressures of vertical height.
- Symptom: Interveinal chlorosis (yellowing between leaf veins).
- Solution: This typically indicates a Magnesium deficiency. Apply a solution of one tablespoon of Epsom salts per gallon of water to restore magnesium ions.
- Symptom: Leaf tip burn or necrosis.
- Solution: This is often caused by salt accumulation from tap water. Flush the substrate with distilled water until it runs clear from the drainage holes.
- Symptom: Loss of lower leaves and elongated stems.
- Solution: This is etiolation, a result of insufficient light. Move the hanger closer to a south-facing window or provide supplemental full-spectrum LED lighting.
Fix-It for Nitrogen Chlorosis: If the entire leaf turns a pale lime green, the plant lacks nitrogen. Apply a liquid fish emulsion with a 5-1-1 NPK ratio for rapid nitrogen delivery to the foliage.
Maintenance:
Precision is required for long-term health. Deliver 1.5 inches of water per week directly to the substrate surface; avoid wetting the foliage to prevent fungal pathogens. Use bypass pruners to remove any yellowing or dead tissue at the base of the petiole. This prevents the plant from wasting energy on non-functional parts.
Check the structural integrity of the hanger every three months. Natural fibers like jute can degrade over time due to moisture exposure. If the rope shows signs of fraying, replace it immediately to prevent mechanical failure. Use a soil moisture meter to ensure the root zone reaches a level 3 or 4 before re-watering; hanging plants are particularly susceptible to overwatering if the drainage is restricted by the hanger design.
The Yield:
For those using hangers for culinary herbs like creeping rosemary or thyme, harvest timing is critical. Collect stems in the early morning when essential oil concentration is at its peak. Use sharp snips to take no more than one-third of the plant's total biomass at once. This ensures the plant has enough leaf surface area left to continue photosynthesis. For "day-one" freshness, immediately place the cut ends in a shallow tray of water or wrap them in a damp paper towel and refrigerate at 40 degrees Fahrenheit.
FAQ:
How do I choose the right rope for a DIY plant hanger?
Select a high-tensile cord like 4mm cotton or paracord. Ensure the material can withstand the weight of a saturated pot. Natural fibers like jute offer a rustic look but may degrade faster in high-humidity environments.
What is the best way to water a hanging plant?
Take the pot down and water it in a sink. Allow the excess water to drain completely for 15 minutes before rehanging. This prevents stagnant water from accumulating at the base, which causes root rot and damages the hanger.
How do I prevent my hanging plant from leaning toward the window?
Rotate the hanger by 90 degrees every seven days. This manages the plant's phototropic response, ensuring even growth across all sides of the specimen and preventing the stems from becoming leggy or sparse on the shaded side.
Which plants are best for DIY hangers?
Choose species with a trailing or pendulous growth habit, such as Hoya carnosa, Chlorophytum comosum, or various Philodendron species. These plants are biologically adapted to grow downward or climb, making them ideal for vertical displays in indoor environments.