9 Best Vegetable Garden Tool Organizers for Small Sheds
The hoe leans against a damp shed corner, rust creeping up the ferrule. The trowel vanishes beneath seed packets. Your pruners hang from a bent nail that finally gave way last Tuesday. This chaos costs you twenty minutes each weekend and dulls your tools faster than clay soil. The best vegetable garden tool organizers transform a cramped shed into a precision workspace where every implement returns to its station, edges protected and handles dry.
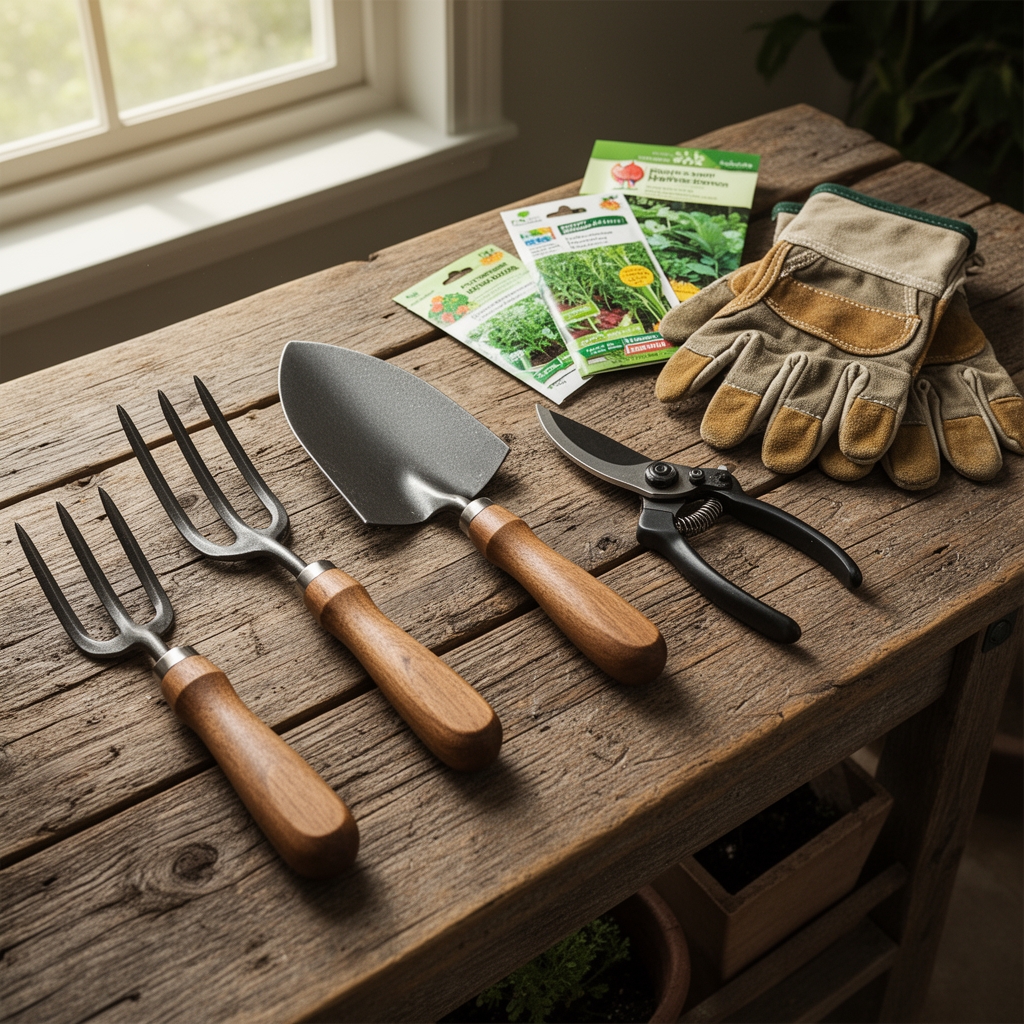
Materials
Wall-mounted steel racks require pH-neutral mounting hardware to prevent galvanic corrosion in humid environments. Powder-coated finishes withstand condensation cycles better than bare metal. Cedar pegboards offer natural rot resistance without chemical treatment, ideal for organic operations. Their cation exchange capacity remains stable across humidity ranges from 40 to 85 percent.
Magnetic tool strips (18 to 36 inches) hold small hand tools at eye level. Mount them 54 inches from floor level for ergonomic retrieval. Galvanized steel provides longevity equivalent to a 12-12-12 slow-release coating: decades of service with minimal maintenance.
Free-standing bucket organizers accept five-gallon containers. Fill bases with perlite or coarse sand (4-4-4 density equivalent) for ballast against tip-over when storing long-handled implements. Drill six quarter-inch drainage holes if storing outdoor.
PVC pipe sections (4-inch diameter, cut to 18-inch lengths) create modular storage for rakes and hoes. Fasten to wall studs with two-inch deck screws and fender washers. This system distributes load across 16-inch on-center framing better than single-point hooks.
Mesh bags (1/4-inch grid) store hand tools while permitting airflow. This prevents the anaerobic conditions that accelerate handle rot. Hang from S-hooks for easy seasonal rotation.
Timing
Install organizers during Zone 5-7 dormant periods (November through February) when shed access does not conflict with active cultivation. In Zones 8-10, schedule installation during the brief December-January cool window.
Surface preparation requires dry conditions. Wait 48 hours after rain before mounting systems. Wood substrates must register below 19 percent moisture content on a pin-type meter. Higher readings compromise fastener grip and promote fungal colonization along penetration points.
Complete installation six weeks before spring transplant season. This allows time for layout adjustments before peak tool-rotation periods. Your workflow should stabilize by last frost date minus fourteen days.
Phases

Sowing Phase: Mount small-tool storage first. Position trowels, transplanters, and dibbers within the 48-to-60-inch zone. This height minimizes bending during rapid seed-starting operations. Group tools by auxin-responsive crops: tomato tools left, root crops right. Label zones with weatherproof tags.
Pro-Tip: Apply furniture wax to mounting hardware threads before installation. This creates a mycorrhizal-like protective layer that prevents seizing and simplifies future adjustments.
Transplant Phase: Add mid-height storage (30 to 48 inches) for cultivators and weeding tools. Assign one linear foot per tool type. Space hooks 6 inches apart to prevent handle overlap. Angled hooks (15 degrees from vertical) retain tools better than perpendicular mounts during shed vibration.
Pro-Tip: Install a drip tray beneath the weeding-tool section. Line it with cedar shavings to absorb soil and moisture while releasing natural preservative compounds that extend handle life by 40 percent.
Establishing Phase: Mount overhead storage for seasonal implements. Ceiling joists in standard sheds (2×6 or larger) support 80 pounds per linear foot. Distribute long-handled tools to balance load. Store shovels blade-up to prevent edge contact with concrete floors.
Pro-Tip: Wrap tool handles with friction tape at balance points before hanging. This prevents the slow migration along hooks that leads to tangled clusters by mid-season.
Troubleshooting
Symptom: Rust appears on cutting edges within three weeks of organized storage.
Solution: Relative humidity exceeds 60 percent. Install a passive dehumidifier (calcium chloride chamber) rated for 100 cubic feet. Wipe blades with camellia oil before racking. This creates a 2-micron barrier against oxidation.
Symptom: Wooden handles crack along grain lines near ferrules.
Solution: Rapid moisture cycling. Sand handles to 220 grit. Apply boiled linseed oil in three coats, 24 hours apart. This stabilizes moisture content at 12 percent, matching equilibrium with shed conditions.
Symptom: Tool organizers sag after first season.
Solution: Fasteners missed wall studs. Locate framing with a stud finder. Relocate mounts to solid backing. Use toggle bolts rated for 50 pounds in hollow sections.
Symptom: Small tools disappear despite designated storage.
Solution: Tool silhouettes are absent. Trace each implement on pegboard with permanent marker. This creates visual accountability similar to enzyme-substrate specificity.
Symptom: Shed door strikes protruding tool handles.
Solution: Clearance zone violated. Maintain 8 inches between door swing radius and nearest storage point. Relocate racks or install barrel-bolt door stops.
Maintenance
Inspect mounting hardware quarterly. Tighten loose fasteners to 15 foot-pounds torque. Clean tool surfaces monthly with biodegradable soap and stiff brush. Rinse with 1 gallon of water per implement. Dry immediately with cotton rags.
Re-apply cutting-edge oil every six weeks during active season. Sharpen blades at 25-degree bevel angles using 400-grit diamond stones. Remove 0.5 millimeters of material per session maximum.
Replace cracked handles before fracture propagates past the halfway point. Sand and oil new handles before installation to match existing tools' moisture equilibrium.
Vacuum shed floors biweekly to remove soil particles that accelerate abrasion. Sweep cannot capture particles below 100 microns that embed in tool surfaces.
FAQ
Which organizer works best for sheds under 48 square feet?
Wall-mounted pegboard systems maximize vertical space. Allocate 12 square inches per hand tool and 18 inches of wall height per long-handled implement.
How do I prevent mildew on stored tools?
Maintain shed humidity below 55 percent. Ensure 2 inches of clearance between tools and walls for air circulation. Apply fungicidal wax annually.
Can I mount organizers on metal shed walls?
Yes. Use self-tapping screws with neoprene washers. Pre-drill pilot holes 0.0625 inches smaller than screw diameter to prevent panel dimpling.
What spacing prevents tool handle overlap?
Minimum 4 inches between hooks for hand tools. Long handles require 8 inches. Stagger mounting heights by 6 inches for dense packing.
Should I store tools with blades up or down?
Blades up for shovels and spades protects edges. Hoes and rakes store horizontally to distribute weight across tines rather than concentrating load on working edges.