8 Ways to Prepare a DIY Plant Trellis for Fast-Growing Vines
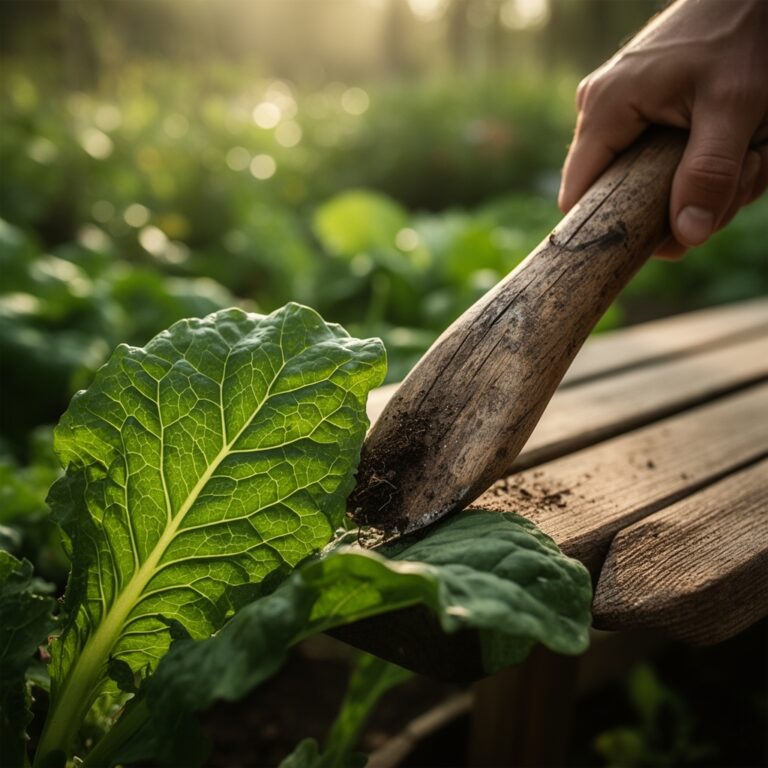
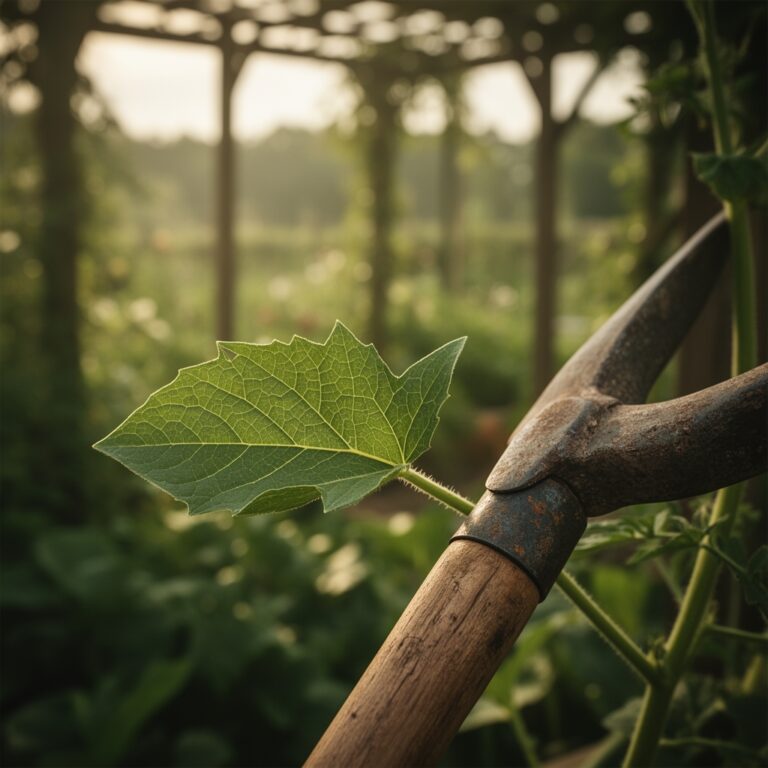
Damp earth releases a sharp, geosmin scent as the spade cuts through the rhizosphere. A healthy vine demonstrates high turgor pressure; the cells are rigid and the stems are firm to the touch. Knowing how to prepare a DIY plant trellis requires more than just wood and wire; it demands an understanding of structural load and plant physiology. Fast growing species like Humulus lupulus or Ipomoea purpurea can add six inches of biomass in twenty four hours. This rapid expansion creates immense physical stress on support systems. You must engineer a framework that accounts for wind shear and the increasing weight of water filled plant tissue. Failure to calculate these mechanical loads results in collapsed structures and bruised vascular systems. Preparation begins with the soil profile and the structural integrity of the vertical plane.
Materials:
The foundation of vertical growth is not the wood but the substrate. You need a **friable loam** with a **Cation Exchange Capacity (CEC) above 15**. This ensures the soil can hold and exchange essential cations like Calcium and Magnesium. For heavy feeders, the initial soil amendment should follow a **10-10-10 NPK ratio** to provide a balanced start. High nitrogen is necessary for the initial vegetative surge, while phosphorus supports the root architecture required to anchor a climbing plant. Maintain a **soil pH between 6.2 and 6.8** to ensure nutrient bioavailability.
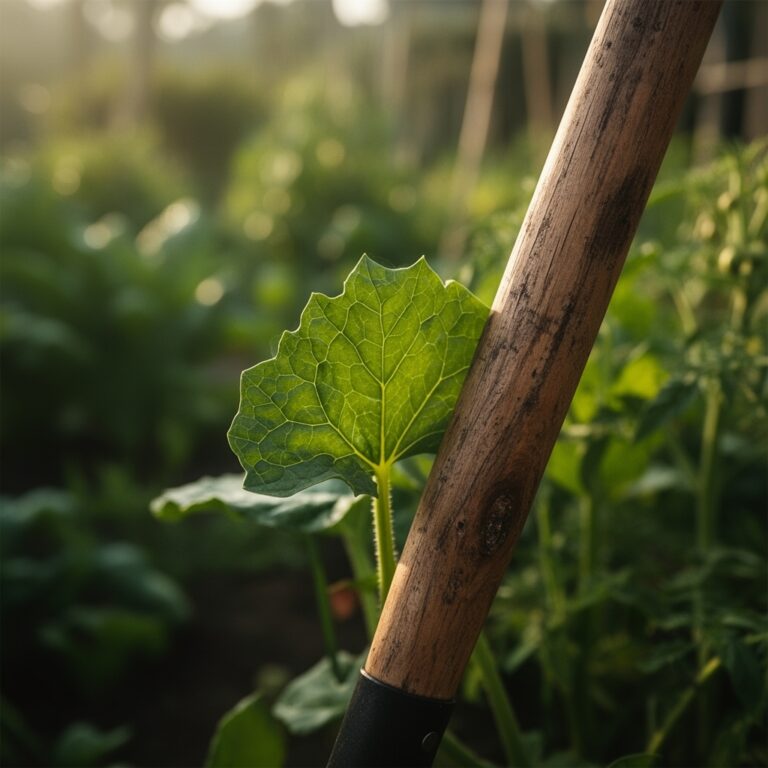
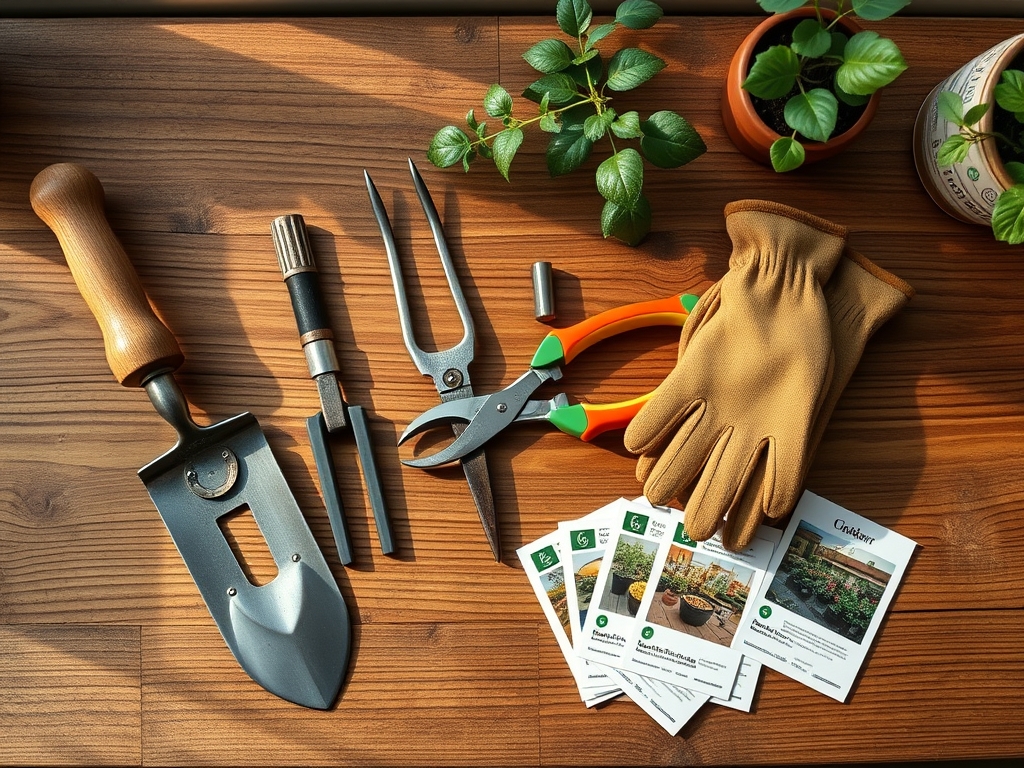
Physical materials must include rot-resistant cedar or pressure-treated lumber, 14-gauge galvanized wire, and heavy-duty eye bolts. Avoid thin twine; it degrades under UV exposure and snaps when the plant reaches peak biomass. For the substrate, mix 40 percent compost, 40 percent topsoil, and 20 percent perlite to ensure adequate aeration and drainage.
Timing:
Success is dictated by the frost-free window in your specific USDA Hardiness Zone. In Zones 5 through 7, construction must be completed by late March. The "Biological Clock" of a vine is triggered by the photoperiod; as days lengthen, the plant moves from a dormant state into a rapid vegetative stage. You must have the trellis in place before the plant reaches six inches in height. Once the plant initiates the transition from vegetative to reproductive stages, its energy shifts from stem elongation to flower and fruit production. Installing a trellis late risks damaging the established root zone and interrupting the flow of auxins.
Phases:

Sowing and Site Prep
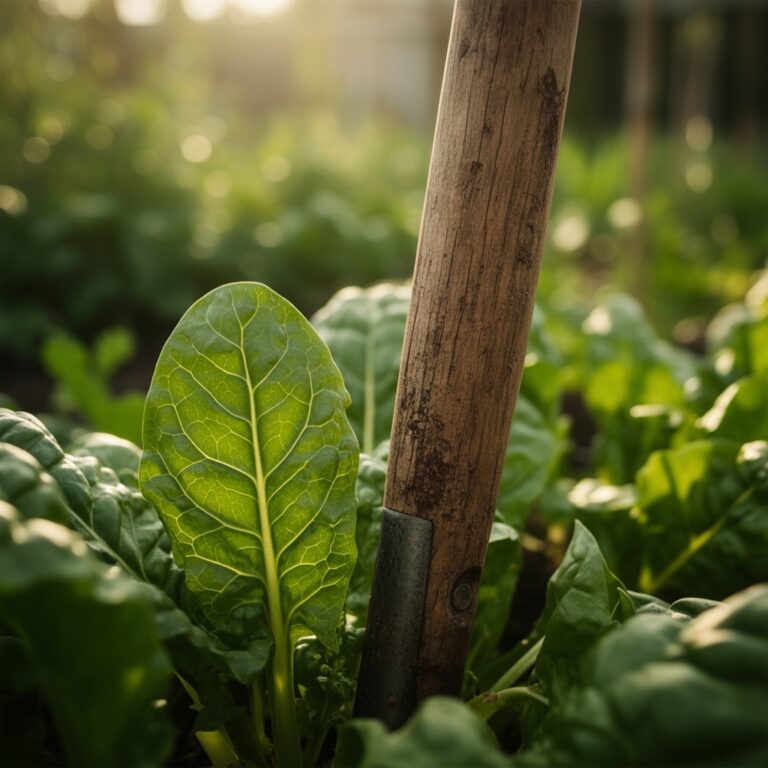
Clear a two foot radius around the base of the trellis. Ensure the soil is loosened to a depth of 12 inches. When sowing seeds, plant them at a depth of three times the seed diameter. Maintain a soil temperature of at least 65 degrees Fahrenheit for optimal germination.
Pro-Tip: Utilize mycorrhizal inoculants during sowing. This biological symbiosis extends the root system's reach, allowing the plant to absorb phosphorus and water more efficiently from the surrounding soil matrix.
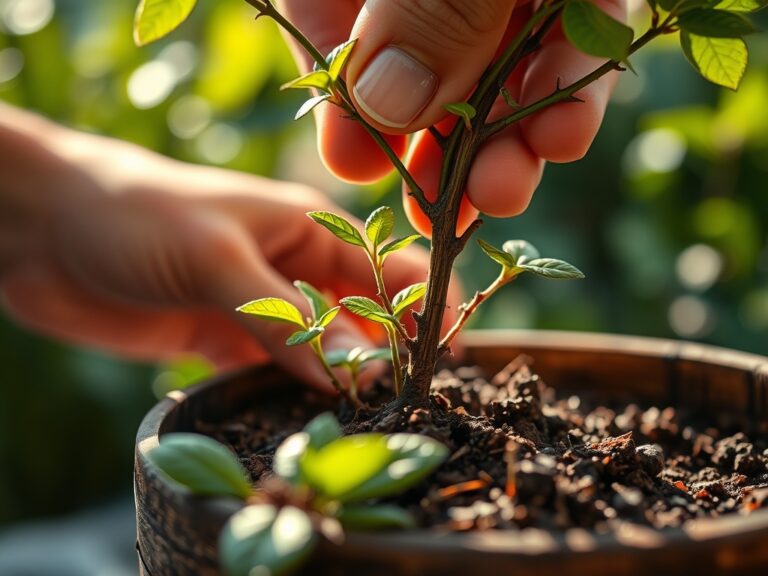
Transplanting
When moving seedlings from a nursery tray to the trellis base, avoid touching the "root neck." Dig a hole twice the width of the root ball. Position the plant so the soil line matches its previous container level. Firm the soil to remove air pockets that cause root desiccation.
Pro-Tip: Apply a high-phosphorus "starter" fertilizer with a 5-15-5 NPK ratio. Phosphorus is immobile in soil; placing it directly in the transplant hole ensures the developing roots have immediate access to the energy needed for cellular division.
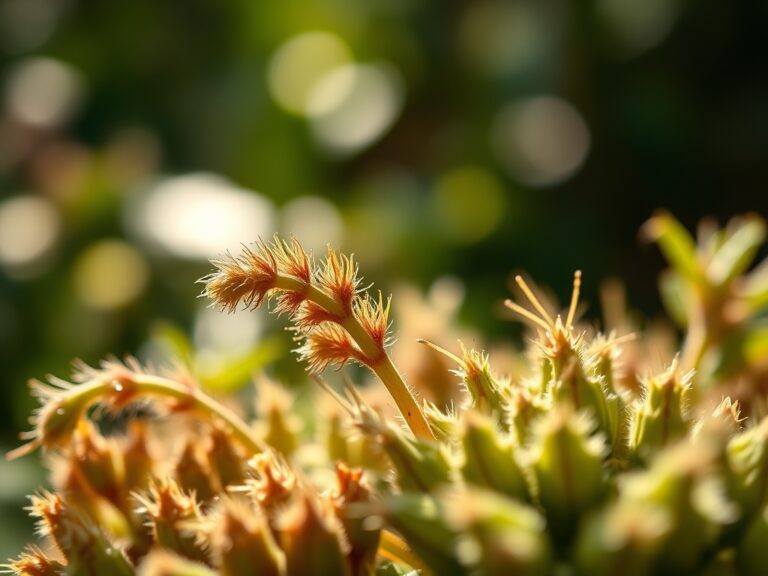
Establishing and Training
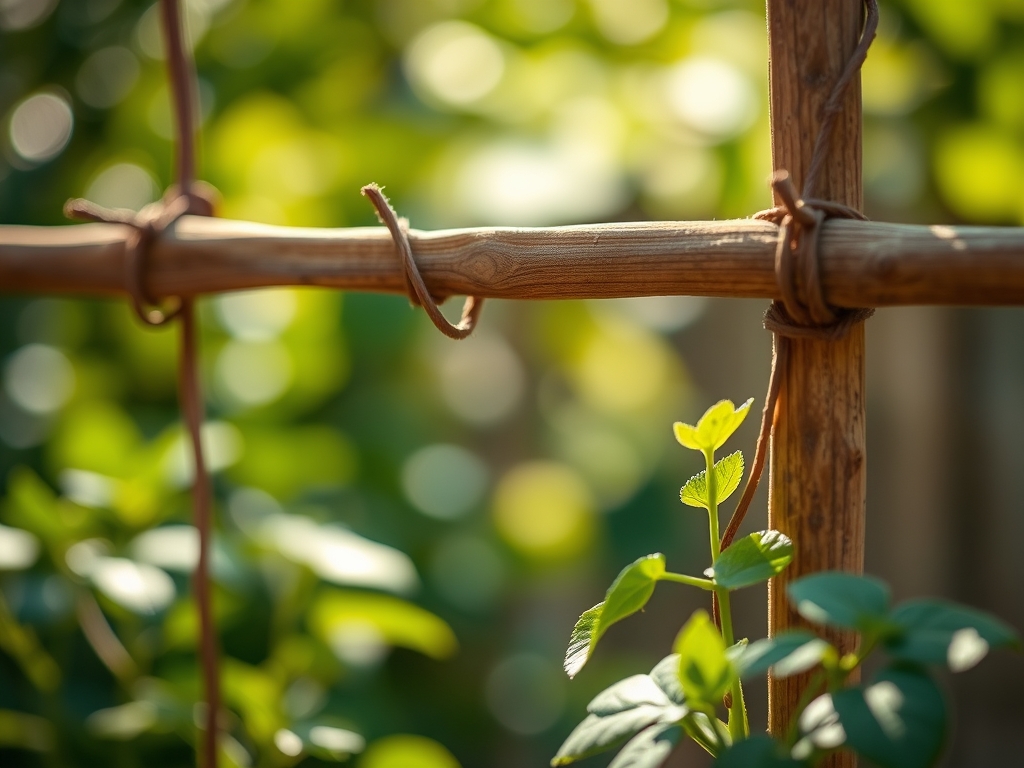
As the first tendrils emerge, they seek support through thigmotropism, a directional growth movement in response to touch. Use soft plant ties to loosely secure the main lead to the trellis. Do not tie them tightly; the stem will thicken and needs room for vascular expansion.
Pro-Tip: Practice auxin suppression by pinching off the terminal bud if you want a bushier plant. This redirects the flow of auxins to lateral buds, encouraging the vine to fill out the width of the trellis rather than just racing toward the top.
The Clinic:
Physiological disorders often mimic disease but are usually environmental or nutritional.
Symptom: Interveinal chlorosis (yellowing between leaf veins) on older leaves.
Solution: This indicates a Magnesium deficiency. Apply Epsom salts (Magnesium Sulfate) at a rate of 1 tablespoon per gallon of water to restore chlorophyll production.
Symptom: Necrosis at the leaf tips and margins.
Solution: This is often Potassium deficiency. Potassium regulates stomatal opening and water use. Amend the soil with sulfate of potash to increase the K in your NPK balance.
Symptom: Sudden wilting despite moist soil.
Solution: Check for root rot (Phytophthora). This occurs in soils with low oxygen levels. Increase drainage by incorporating coarse organic matter or perlite into the rhizosphere.
Fix-It for Nitrogen Chlorosis: If the entire plant is pale green or yellow, it lacks Nitrogen. Apply a quick-release liquid fertilizer with a 20-0-0 ratio to provide an immediate boost to vegetative growth.
Maintenance:
Precision is mandatory for high-performance vines. Deliver 1.5 inches of water per week directly at the drip line. Avoid overhead irrigation to prevent fungal spores from colonizing the foliage. Use a soil moisture meter daily to ensure the root zone stays between 40 and 60 percent capacity.
Pruning is a surgical requirement. Use bypass pruners for clean cuts that heal quickly; anvil pruners crush the vascular tissue and invite pathogens. Use a hori-hori knife to remove deep-rooted weeds that compete for nutrients within the top 6 inches of soil. Monitor the trellis tension monthly. Fast growing vines can exert hundreds of pounds of force; tighten galvanized wires as needed to prevent sagging.
The Yield:
For flowering or fruiting vines, harvest when the plant reaches peak senescence for the specific crop. For flowers, harvest in the early morning when turgor pressure is highest. This ensures the stems are turgid and the blooms last longer. Use sharp snips to make a 45 degree angle cut, which increases the surface area for water uptake.
Post-harvest handling is critical. Immediately submerge the cut ends in 110 degree Fahrenheit water to remove air bubbles from the xylem. Store in a cool, dark location to slow the metabolic rate and preserve "day-one" freshness. For edible crops, harvest frequently to prevent the plant from "setting seed," which signals the end of its life cycle and stops new growth.
FAQ:
What is the best NPK ratio for climbing vines?
For early growth, use a 10-10-10 balanced fertilizer. Switch to a 5-10-15 ratio once the plant begins to flower. High potassium supports the structural integrity of the stems and improves water regulation within the plant tissues.
How deep should trellis posts be buried?
Posts should be buried at least 24 inches deep, or one third of the total height of the post. For vines with high biomass, use concrete to anchor the base. This prevents the structure from leaning under the weight of the plant.
How do I stop my vine from outgrowing the trellis?
Prune the terminal leaders regularly to encourage lateral branching. This manages the height while increasing the density of the foliage. Always use bypass pruners to ensure clean cuts that minimize the risk of infection or pest entry.
Why are my vine leaves turning yellow at the bottom?
This is usually Nitrogen chlorosis. The plant is mobile with Nitrogen, so it pulls the nutrient from older, bottom leaves to support new growth at the top. Apply a nitrogen-rich fertilizer to the soil to correct this deficiency immediately.
Can I use metal for a DIY trellis?
Yes, galvanized steel is excellent for longevity. However, in high-heat climates, metal can reach temperatures that scorch sensitive tendrils. If using metal in Zone 9 or higher, ensure the vine has sufficient foliage to shade the structure and prevent thermal damage.