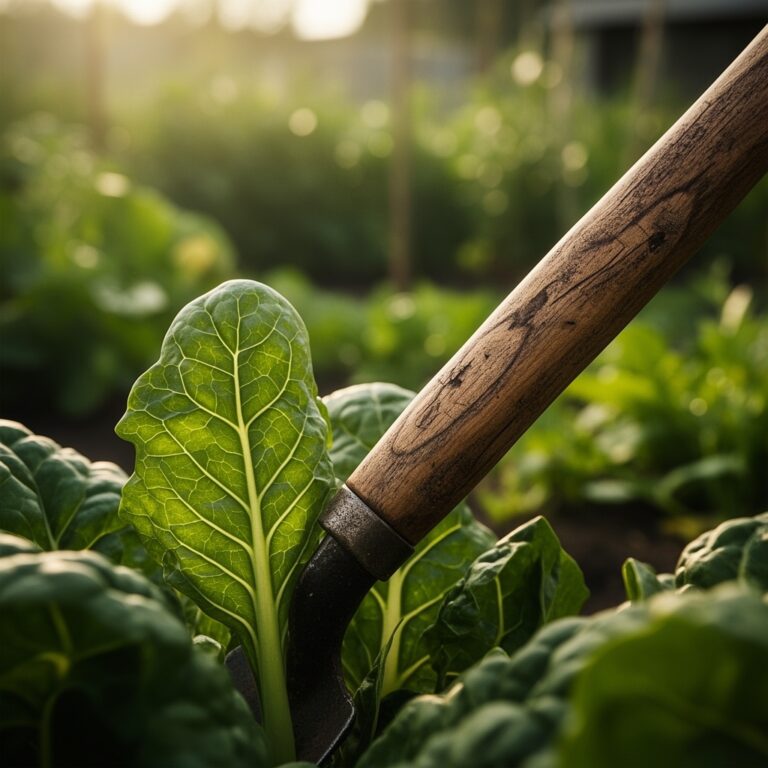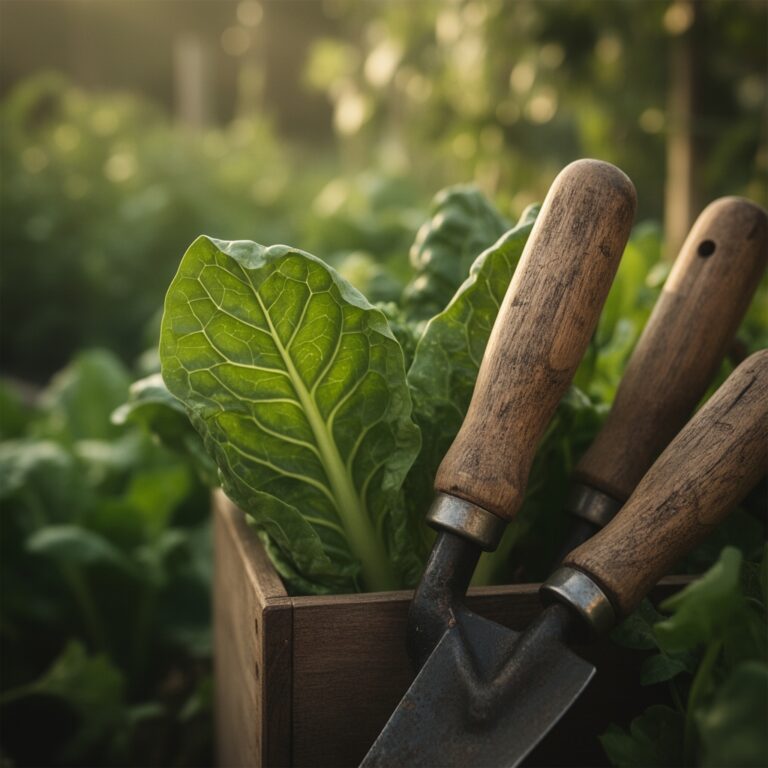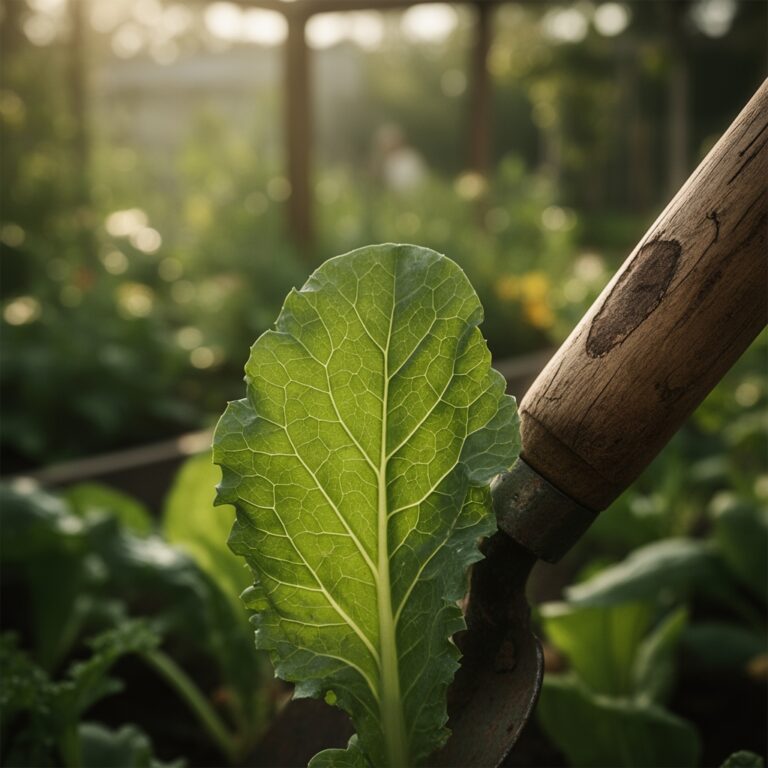
8 Steps to Prepare a DIY Plant Tray for Organized Watering
Learning how to prepare a DIY plant tray transforms chaotic watering routines into methodical hydration systems that prevent root rot and eliminate countertop puddles. A well-designed tray captures runoff, maintains humidity gradients, and consolidates drainage management for seedlings, houseplants, or propagation stations. The scent of moistened perlite and the visual order of aligned containers signal a grower's commitment to precision. This guide outlines eight concrete steps to build a functional plant tray using materials that regulate pH, enhance cation exchange capacity, and support auxin distribution during critical growth phases.
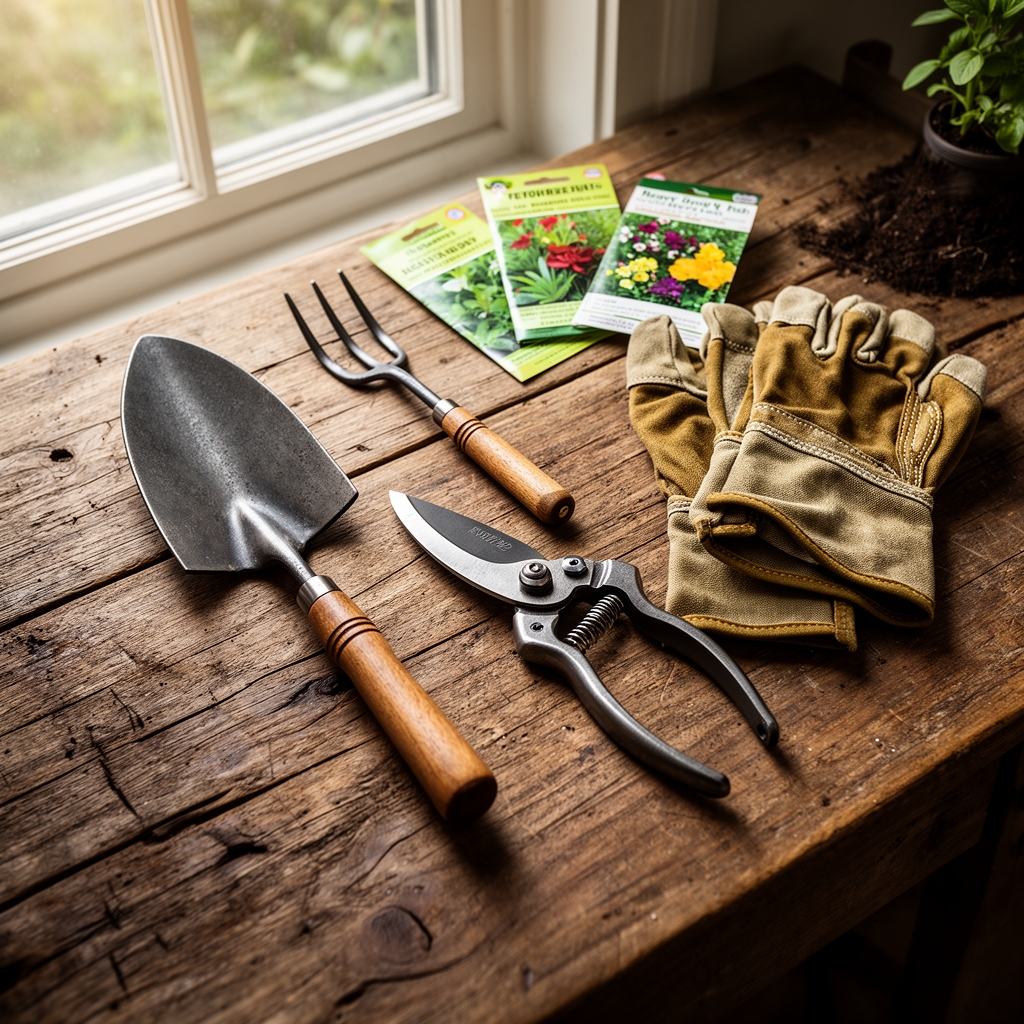
Materials
Select a base tray measuring 18 x 12 inches with 2-inch sidewalls, constructed from food-grade polypropylene resistant to UV degradation. Avoid galvanized steel unless pH remains above 6.5, as zinc leaching accelerates below that threshold.
Acquire expanded clay aggregate (Hydroton) with particle diameter of 8-16 mm for the drainage layer. This medium maintains neutral pH (6.5-7.0) and provides no nutritional value, serving purely structural functions.
Add horticultural charcoal at a 1:4 ratio with clay aggregate. Charcoal adsorbs ethylene gas and volatile organic compounds while buffering pH fluctuations in enclosed tray environments.
Source sphagnum peat moss (pH 3.5-4.5) or coco coir (pH 5.5-6.5) as capillary wicking substrates. Peat moss offers superior water retention (1,500% by weight) but requires limestone amendment at 5 pounds per cubic yard to reach pH 6.0.
Obtain a balanced organic amendment such as kelp meal (1-0.5-2 NPK) or alfalfa pellets (2-1-2 NPK). These slow-release sources feed mycorrhizal fungi networks over 60-90 day cycles.
Prepare a hydrogen peroxide solution (3% concentration) for sanitation. One tablespoon per gallon of water eliminates fungal spores and algae precursors without toxic residues.
Timing
Execute tray preparation 14 days before transplanting seedlings or introducing propagation cuttings. This interval allows substrate pH to stabilize and microbial populations to colonize the media.
For outdoor transplant coordination, align tray use with USDA Hardiness Zones. Zones 3-5 require tray preparation from late March through April 15. Zones 6-7 shift preparation to March 1-30. Zones 8-10 operate on year-round schedules but prioritize tray setup during rainy seasons (November-February in Mediterranean climates).
Indoor growers benefit from tray preparation during low-light months (November-January in northern latitudes) when supplemental lighting and humidity control become critical.
Phases
Sowing Phase (Days 1-3)
Sanitize the tray with hydrogen peroxide solution. Scrub all surfaces and rinse with distilled water to eliminate chlorine residues that inhibit beneficial bacteria.
Spread a 1-inch layer of expanded clay aggregate across the tray bottom. Ensure uniform distribution to prevent pooling at low points.
Add 0.25 inches of horticultural charcoal evenly over the clay layer. This thin stratum prevents stratification while maintaining filtration capacity.
Pro-Tip: Inoculate the charcoal layer with ectomycorrhizal fungi spores (10 grams per square foot) if growing ericaceous plants like blueberries or rhododendrons. The fungi colonize within 72 hours under 65-75°F conditions.
Transplanting Phase (Days 4-7)
Position plant containers atop the drainage layers. Spacing should allow 1 inch of airflow between pots to prevent foliar disease transmission.
Fill tray cavities between containers with moistened coco coir to 0.5-inch depth. This wicking layer draws excess water from drainage holes while maintaining 70-80% relative humidity around pot bases.
Mix 2 tablespoons of kelp meal per gallon of water. Apply this solution to the coir layer at 0.25 cups per square foot to jumpstart microbial activity.
Pro-Tip: Angle containers at 3-5 degrees toward the tray's drainage corner by placing small wedges under rear pot edges. Gravity assists water flow and prevents anaerobic pockets.
Establishing Phase (Days 8-14)
Monitor substrate moisture using a tensiometer. Maintain readings between 10-20 centibars for seedlings, 20-40 centibars for mature tropicals.
Refresh coir wicking layer every 7 days by adding 1 cup of distilled water per square foot. This prevents salt accumulation from evaporated runoff.
Apply alfalfa tea (2 tablespoons pellets steeped in 1 gallon water for 24 hours) at day 10. The triacontanol content stimulates lateral root formation.
Pro-Tip: Introduce predatory mites (Stratiolaelaps scimitus) at 10 individuals per square foot during this phase. They establish populations before fungus gnat larvae emerge.
Troubleshooting
Symptom: White crusty deposits on tray edges and clay aggregate surface.
Solution: Salt accumulation from fertilizer runoff. Flush tray with distilled water at 2x tray volume. Reduce fertilizer concentration by 25% and switch to calcium-free formulations.
Symptom: Green algae film covering coir layer.
Solution: Excess light exposure combined with standing water. Reduce photoperiod by 2 hours or add opaque barriers around tray perimeter. Apply 1 tablespoon hydrogen peroxide per gallon weekly.
Symptom: Foul sulfur odor from drainage layer.
Solution: Anaerobic bacteria proliferation. Remove all substrate and sanitize tray. Rebuild with increased clay aggregate depth (1.5 inches) and reduce wicking layer moisture by 30%.
Symptom: Fungus gnat adults hovering near tray.
Solution: Overwatered wicking layer. Allow top 0.25 inches to dry completely between waterings. Apply Bacillus thuringiensis israelensis (BTI) granules at 1 teaspoon per square foot.
Symptom: Plant roots growing through drainage holes into tray substrate.
Solution: Excessive nutrient availability in wicking layer. Cease kelp meal applications. Trim protruding roots with sterilized pruners at 45-degree angles.
Maintenance
Replenish wicking layer moisture every 5-7 days with 0.5 inches of water per application. Use water with electrical conductivity below 0.5 mS/cm to prevent salt buildup.
Empty accumulated runoff from tray drainage corner every 3 days. Discard this water rather than recycling, as it contains 200-300% higher dissolved solids than input water.
Replace charcoal layer every 6 months or when water pH shifts beyond 0.5 units from baseline. Fresh charcoal restores adsorption capacity.
Rotate tray 180 degrees weekly to compensate for directional light gradients. This prevents auxin accumulation on shaded sides that causes leaning.
Apply granular mycorrhizae (5 grams per square foot) every 90 days to maintain fungal populations depleted by water chemistry fluctuations.
FAQ
How deep should the drainage layer be?
Maintain 1-1.5 inches total depth combining clay aggregate and charcoal. Deeper layers reduce effective tray capacity without improving drainage efficiency.
Can I use gravel instead of expanded clay?
Gravel works but offers no moisture-holding capacity. Clay aggregate absorbs 10-15% by volume, creating a humidity buffer unavailable with inert stone.
How often do I sanitize the tray?
Perform full hydrogen peroxide sanitation every 4 months or immediately after removing diseased plants. Spot-clean algae weekly with 3% solution.
What temperature range works best?
Maintain 65-75°F for tropical species, 55-65°F for temperate plants. Substrate temperatures below 55°F inhibit mycorrhizal colonization and nutrient uptake.
Do I need drainage holes in the tray itself?
Yes. Drill 0.25-inch holes at the lowest corner at a rate of one hole per 24 square inches. This prevents catastrophic overflow during accidental overwatering events.