8 Benefits of Specialized Houseplant Soil for Nutrients
The scent of damp, mineral-rich earth signals a healthy rhizosphere where gas exchange and moisture retention exist in perfect equilibrium. When a leaf reaches full turgor pressure, its cellular walls are rigid and hydrated; this is the direct result of an optimized substrate providing consistent hydraulic conductivity. Using a specialized houseplant soil ensures that the delicate balance of air porosity and water-holding capacity is maintained within the confined environment of a container. Standard garden soil collapses under its own weight when saturated, leading to anaerobic conditions and root senescence. By contrast, a technical blend utilizes coarse aggregates to prevent compaction. This structural integrity allows roots to penetrate the medium without resistance, facilitating the uptake of essential macro and micronutrients. A plant in high-quality substrate displays a deep matte or gloss finish on its foliage, indicating that the vascular system is functioning at peak efficiency. Specialized media act as a chemical buffer, regulating the availability of ions like ammonium and nitrate to prevent toxicity while sustaining steady vegetative growth through every season.
Materials:
The chemical composition of your substrate dictates the bio-availability of nutrients. For most tropical houseplants, a **pH range of 5.8 to 6.5** is the target. This slightly acidic environment maximizes the solubility of phosphorus and iron. Using a specialized houseplant soil typically involves a base of **sphagnum peat moss or coconut coir** to establish a high Cation Exchange Capacity (CEC). This allows the soil to hold onto positively charged ions like potassium (K+) and calcium (Ca2+).
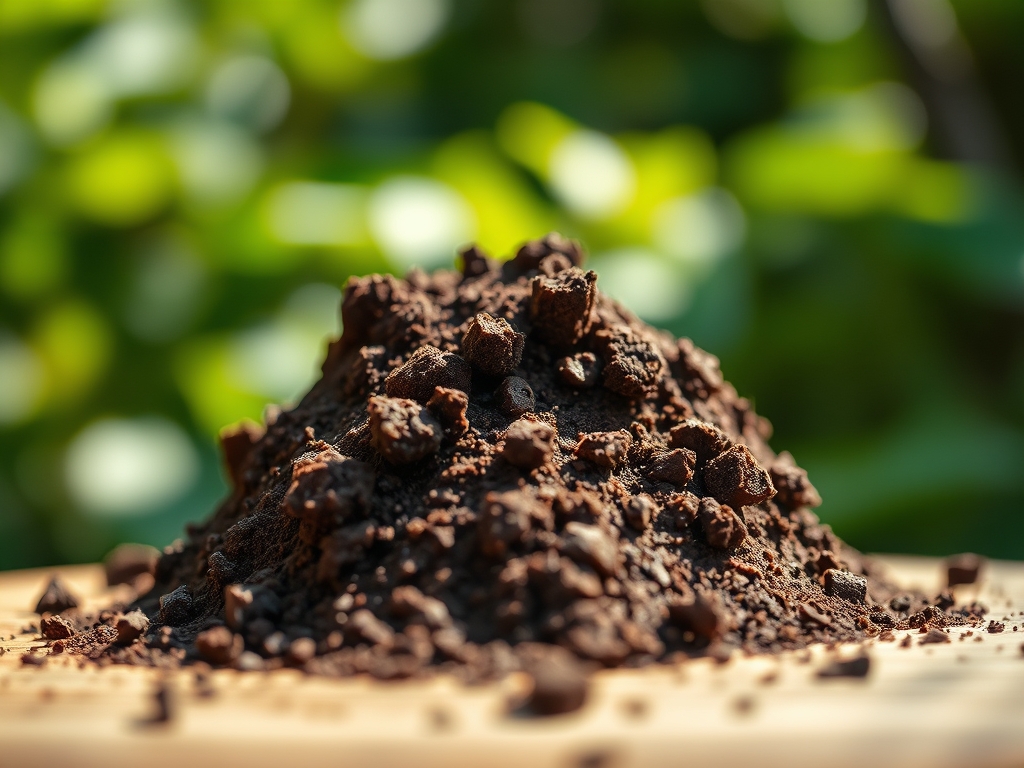
A professional-grade NPK ratio for an initial potting mix is often a low-dose 0.1-0.1-0.1 to prevent osmotic shock in young roots. The physical texture must be a friable loam or a gritty mix. To achieve this, the medium should contain 20 percent perlite or pumice for aeration and 10 percent horticultural charcoal to manage impurities. Observe the gritty texture in the provided photos; the particles should be large enough to prevent the medium from turning into a muddy paste when irrigated.
Timing:
While indoor plants are shielded from the elements, their biological clock remains tethered to the photoperiod. In Hardiness Zones 5 through 7, the transition from winter dormancy to the vegetative stage begins as day length exceeds 12 hours. This usually aligns with the window between March 15 and April 15, well before the last frost date for outdoor specimens.
During this phase, the plant moves from a state of metabolic rest to active cell division. If you are using a specialized houseplant soil, this is the optimal time for repotting. The increase in ambient light triggers the production of auxins, the hormones responsible for root elongation. Attempting to transplant during the low-light months of December or January can lead to "transplant shock" because the plant lacks the photosynthetic energy to repair root hairs damaged during the move. Always monitor the soil temperature; a steady 65 to 75 degrees Fahrenheit is required for microbial activity to convert organic matter into plant-available nitrogen.
Phases:
Sowing and Germination
When starting seeds or propagations, the medium must be sterile and fine-grained. Use a mix with a high percentage of vermiculite to maintain constant moisture around the seed coat.
Pro-Tip: Maintain a consistent 70 percent humidity around the tray. This prevents the desiccation of the radicle (the first root) before it can establish a symbiotic relationship with beneficial fungi in the soil.
Transplanting
When the root system occupies more than 75 percent of the current container, move the plant to a pot two inches larger in diameter. Fill the base with a specialized mix, ensuring no air pockets remain around the root ball.
Pro-Tip: Avoid burying the "root flare" where the stem meets the roots. Deep planting can lead to stem rot due to restricted oxygen access, a phenomenon known as hypoxia.
Establishing
The first six weeks post-transplant are the establishing phase. During this time, the plant focuses on lateral root development rather than vertical foliage growth.
Pro-Tip: Do not apply high-nitrogen fertilizers immediately. Allow the roots to seek out the nutrients already present in the specialized soil to encourage a robust, expansive root architecture through a process called hydrotropism.
The Clinic:
Physiological disorders often stem from a breakdown in the soil-to-root interface.
-
Symptom: Interveinal Chlorosis. The leaves turn yellow while the veins remain green.
Solution: This indicates a Magnesium or Iron deficiency. Check the soil pH; if it rises above 7.0, these micronutrients become "locked" and unavailable. Using a specialized houseplant soil with a sulfur buffer will lower the pH back to the 6.0 range. -
Symptom: Edema. Small blisters or bumps appear on the underside of leaves.
Solution: This is caused by the plant taking up water faster than it can transpire it. Increase airflow and switch to a soil with higher porosity (perlite content) to allow the medium to dry more rapidly between waterings. -
Symptom: Leaf Tip Burn. The edges of the leaves turn brown and crispy.
Solution: This is often a sign of salt accumulation from tap water or over-fertilization. Flush the specialized soil with distilled water equal to three times the volume of the pot to leach out excess sodium and mineral salts. -
Fix-It: Nitrogen Deficiency. If the oldest leaves turn pale green or yellow uniformly, the plant is scavenging nitrogen for new growth. Apply a liquid fertilizer with a 3-1-2 NPK ratio to restore the chlorophyll density.
Maintenance:
Precision is the difference between a surviving plant and a thriving one. Use a soil moisture meter to verify that the root zone is at a "4" or "5" on a ten-point scale before adding water. For most tropicals, aim for the equivalent of 1.5 inches of water per week, delivered slowly to ensure the entire soil column is saturated.
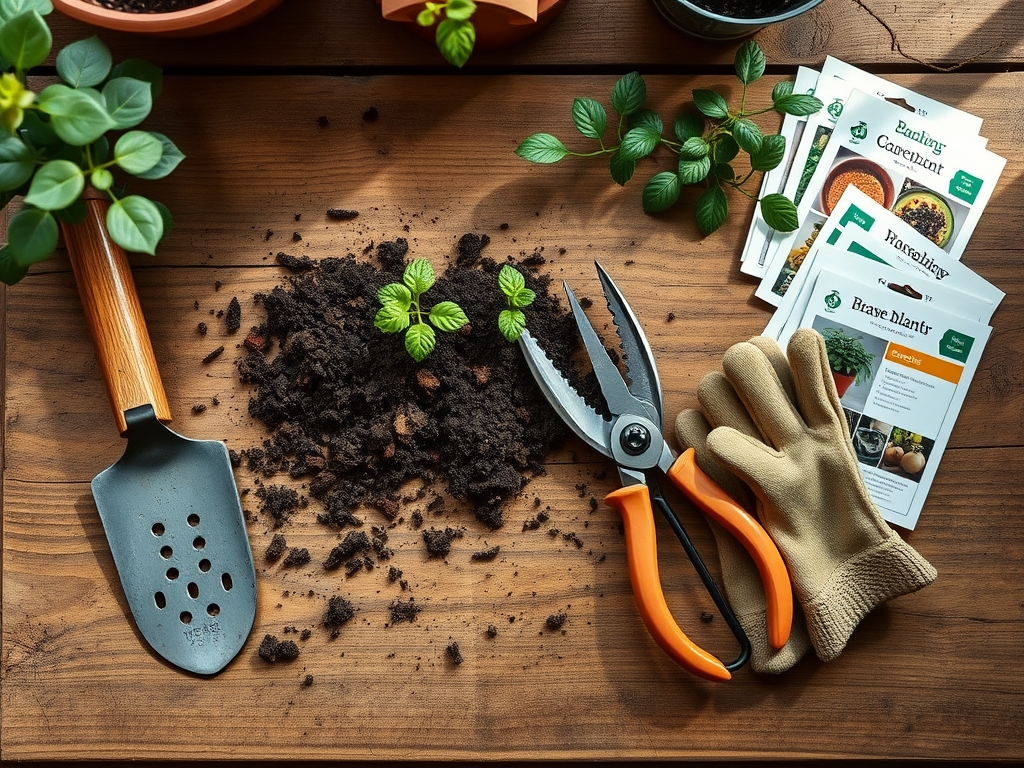
When pruning dead tissue or taking cuttings, use bypass pruners for a clean, scissor-like cut that minimizes tissue crushing. For repotting, a hori-hori knife is the superior tool for loosening root-bound specimens from their ceramic or plastic housings. Always sanitize your tools with 70 percent isopropyl alcohol between plants to prevent the transfer of pathogens. Monitor the soil surface for "crusting," which indicates mineral buildup; if found, use a small rake to break the top half-inch of soil to restore gas exchange.
The Yield:
For flowering houseplants like Hoya or Saintpaulia, the "yield" is the duration and intensity of the bloom cycle. To maximize this, transition to a soil amendment high in phosphorus as the photoperiod shifts. When harvesting cuttings for propagation, use a sterile blade to cut just below a node. Place the cutting in a high-humidity environment immediately to maintain cell turgor. For edible indoor herbs, harvest in the early morning when the essential oil concentration is at its highest. This ensures "day-one" freshness and a higher concentration of aromatic compounds.
FAQ:
Why is specialized soil better than topsoil?
Topsoil is too dense for containers and lacks the porosity required for gas exchange. Specialized soil uses aggregates like perlite to prevent compaction, ensuring oxygen reaches the rhizosphere even when the medium is fully saturated with water.
How often should I replace houseplant soil?
Most specialized mixes should be replaced every 12 to 24 months. Over time, organic components like peat moss decompose and lose their structure, which leads to reduced drainage and a decrease in the Cation Exchange Capacity.
Can I reuse specialized soil for new plants?
It is not recommended. Reusing soil can spread pathogens and soil-borne larvae. Furthermore, the initial nutrient charge and pH buffering capabilities are usually exhausted after one growing season, requiring a fresh medium for optimal plant health.
What does "well-draining" actually mean?
Well-draining soil allows excess water to pass through the macropores within seconds while retaining enough moisture in the micropores to hydrate the roots. This prevents the anaerobic conditions that lead to root rot and fungal infections.