7 Steps to Prepare a Level Garden Shed Site
Damp earth releases a sharp, metallic scent of geosmin when the spade first breaks the surface; this indicates a healthy microbial population within the topsoil. Understanding how to prepare a site for a garden shed requires more than a level eye. It demands an appreciation for soil mechanics and structural integrity. A shed resting on uneven ground will suffer from frame racking, causing doors to bind and moisture to pool against the foundation. This moisture accelerates the senescence of wooden components through fungal decay. Proper site preparation ensures the subsoil can withstand the static load of the structure without shifting during freeze-thaw cycles. By excavating to the correct depth and managing the rhizosphere below the footprint, you prevent invasive root systems from lifting the slab. A stable base is the primary defense against structural failure.
Materials:
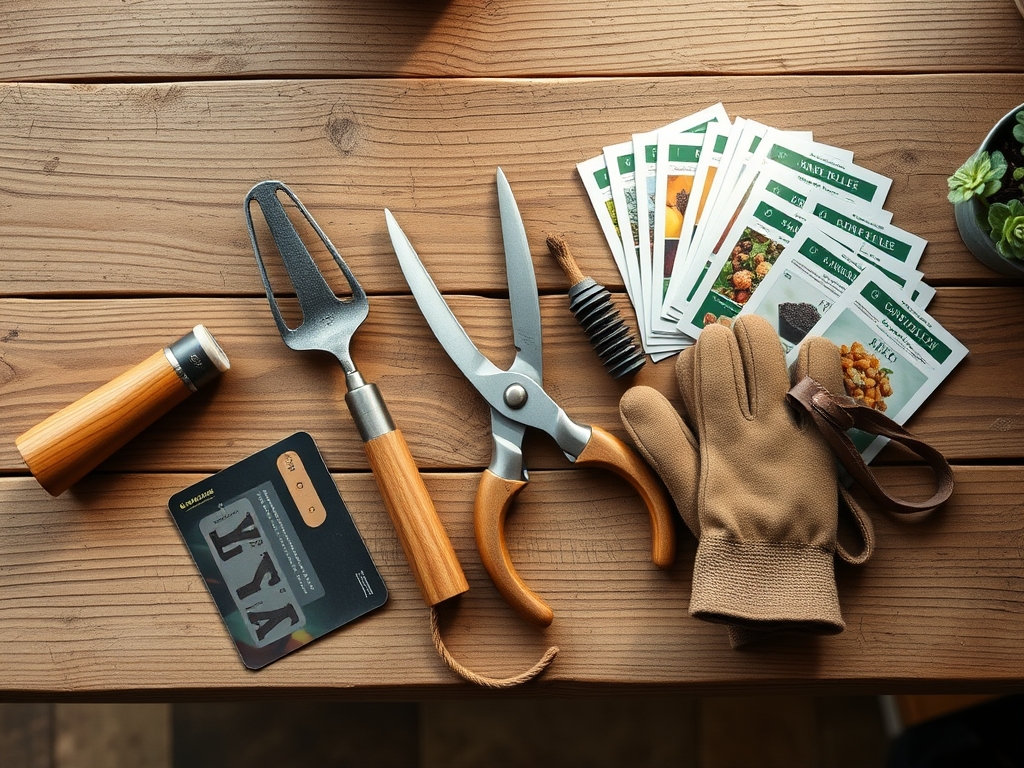
The ideal substrate for a shed perimeter is a **friable loam** with a high sand content to facilitate drainage. Before construction, test the soil pH; a range of **6.0 to 7.0** is ideal for preventing the corrosion of galvanized fasteners in contact with the earth. If the site currently hosts vegetation, analyze the **Cation Exchange Capacity (CEC)**. A high CEC indicates heavy clay, which retains water and expands, while a low CEC suggests sandy soil that may shift under weight. For the surrounding landscaping, utilize a balanced fertilizer with an **NPK ratio of 10-10-10** to stabilize the disturbed soil with quick-growing groundcover. You will need **three-quarter inch crushed angular stone**, **pressure-treated 4×4 runners**, and **landscaping fabric** with a flow rate of at least **90 gallons per minute per square foot**.
Timing:
In Hardiness Zones 4 through 7, site preparation must occur after the final spring frost but before the summer solstice. This window ensures the soil has shed its excess hygroscopic water, preventing compaction. Avoid excavation when the soil is saturated; compressing wet soil destroys the macropores necessary for gas exchange. Monitor the biological clock of local flora. When deciduous trees reach full leaf expansion, the transpiration rates are highest, which naturally draws moisture out of the subgrade. Aim for a period when the soil temperature is consistently above 50 degrees Fahrenheit to allow any relocated turf to re-establish its root system before the heat of the reproductive stage.
Phases:

Sowing the Perimeter
Clear all vegetation in a footprint 24 inches wider than the shed on all sides. This prevents the "edge effect" where weeds migrate under the floorboards. Use a hori-hori knife to sever the taproots of persistent perennials.
Pro-Tip: Removing all organic matter is essential because decomposing carbon-rich material creates voids. This prevents mycorrhizal symbiosis from occurring directly under the shed, which is desirable as you want a sterile, inert base to prevent fungal spores from reaching the wood.
Transplanting the Grade
Excavate the area to a depth of 6 inches. Level the subsoil using a string level and stakes. Fill the cavity with 4 inches of compacted gravel.
Pro-Tip: Compact the gravel in 2-inch lifts. This utilizes the principle of granular friction; the angular edges of the stones lock together under pressure to create a non-shifting plate that distributes the shed's weight evenly across the soil profile.
Establishing the Foundation
Lay the pressure-treated skids perpendicular to the direction of the floor joists. Ensure the skids are perfectly level using a 4-foot spirit level.
Pro-Tip: Leave a gap of at least 12 inches between the shed base and any nearby shrubs. This prevents auxin suppression in the plants caused by physical crowding and ensures adequate airflow to prevent the buildup of ambient humidity, which triggers wood rot.
The Clinic:
Physiological Disorders and Structural Failures
- Symptom: Door binding or frame racking.
Solution: Differential settlement. The soil on one side of the site has a higher moisture content or lower compaction density.
Fix-It: Jack the low corner and inject additional crushed stone to equalize the load-bearing capacity. - Symptom: Efflorescence on concrete blocks or mold on floor joists.
Solution: Capillary rise. Ground moisture is traveling upward through porous materials.
Fix-It: Install a 6-mil polyethylene vapor barrier between the gravel and the shed frame. - Symptom: Nitrogen chlorosis in surrounding turf.
Solution: Leaching. Heavy rains during site prep have washed nitrates out of the root zone.
Fix-It: Apply a fast-release high-nitrogen fertilizer (N-ratio of 20 or higher) to the disturbed edges to restore turgor and color.
Maintenance:
Post-construction maintenance requires managing the hydrology of the site. Direct roof runoff away from the base using gutters or a French drain. The surrounding vegetation requires 1.5 inches of water per week at the drip line to prevent the soil from shrinking away from the foundation during droughts. Use a soil moisture meter to verify that the area directly under the shed remains at 0% moisture. Use bypass pruners to maintain a 12-inch clearance for all foliage; this prevents the transfer of wood-boring insects from the canopy to the structure. Inspect the level of the skids annually using a laser level to catch settling before it exceeds a 0.25-inch tolerance.
The Yield:
While a shed site does not produce a crop, the "yield" is measured in the longevity of the structure. A properly prepared site extends the life of a wooden shed by 15 to 20 years. To maintain "day-one" freshness of the site, treat the surrounding soil with a pre-emergent herbicide in early spring. This inhibits the germination of seeds blown into the gravel bed. If the shed is used for curing herbs or storing bulbs, ensure the internal humidity remains below 50% to prevent premature senescence or rot of the stored botanical materials.
FAQ:
How deep should I dig for a shed base?
Excavate to a depth of 6 inches. Remove all sod and organic topsoil to reach the stable mineral subsoil. This prevents the base from shifting as organic matter decomposes and creates air pockets beneath the gravel.
What is the best material for a shed foundation?
Use three-quarter inch crushed angular stone. Unlike rounded pea gravel, angular stone locks together when compacted. This creates a stable, permeable surface that allows for drainage while supporting the heavy static load of the structure.
Do I need a vapor barrier under my shed?
Yes. A 6-mil polyethylene barrier prevents moisture from the soil from rising into the wooden floor joists via capillary action. This is critical for preventing fungal growth and maintaining the structural integrity of the lumber over time.
Can I build a shed on a slope?
You must level the site by either cutting into the slope or building a retaining wall. Never use loose fill dirt to level a site; it will settle unevenly. Always excavate down to a level, undisturbed subsoil base.