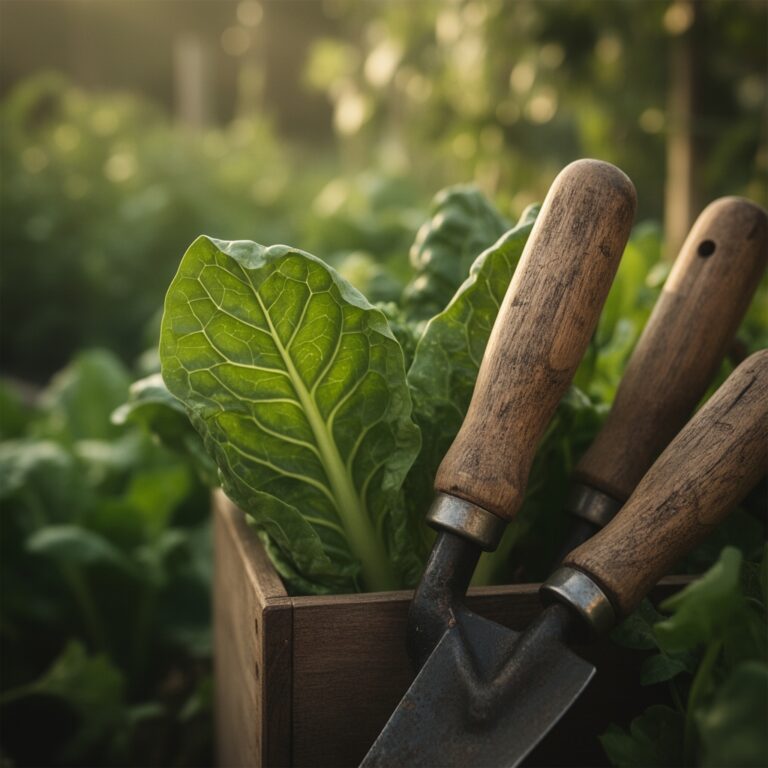
7 Steps to Prepare a Dedicated Kitchen Herb Shelf
Learning how to prepare a plant shelf for herbs transforms a mundane kitchen corner into a production zone for culinary aromatics. The scent of bruised basil leaves, the resinous perfume of rosemary needles, and the sharp brightness of fresh oregano all depend on a foundation built with precision. A dedicated herb shelf requires more than enthusiasm. It demands structured planning around light spectra, root-zone chemistry, and microclimate management.
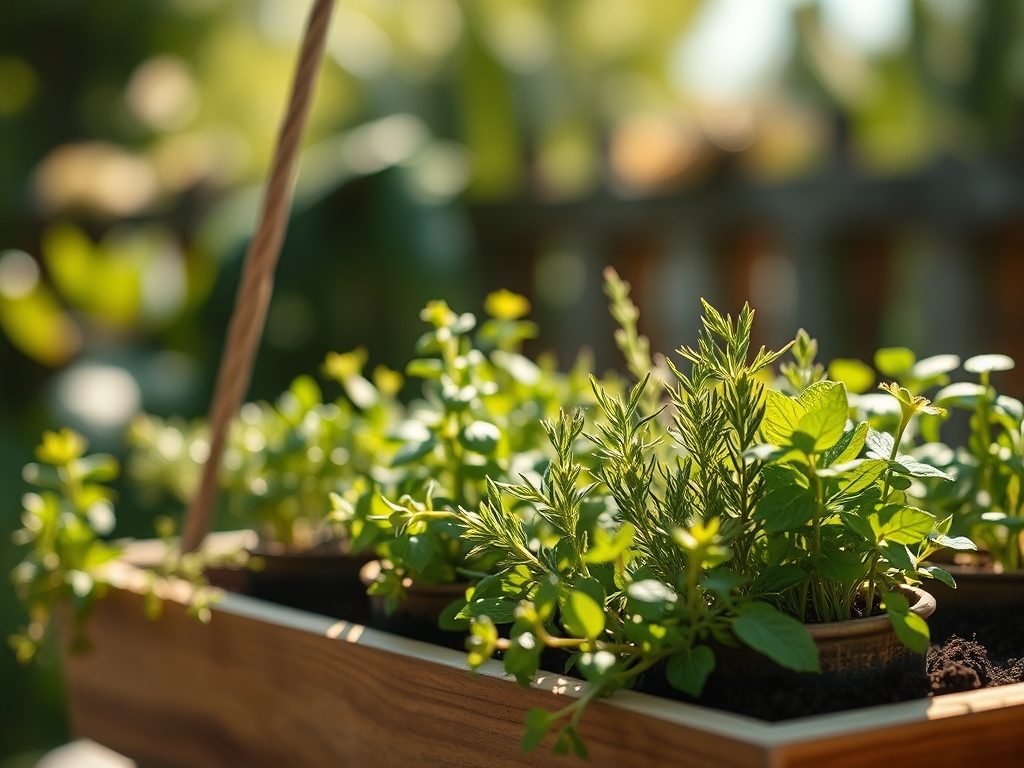
Materials
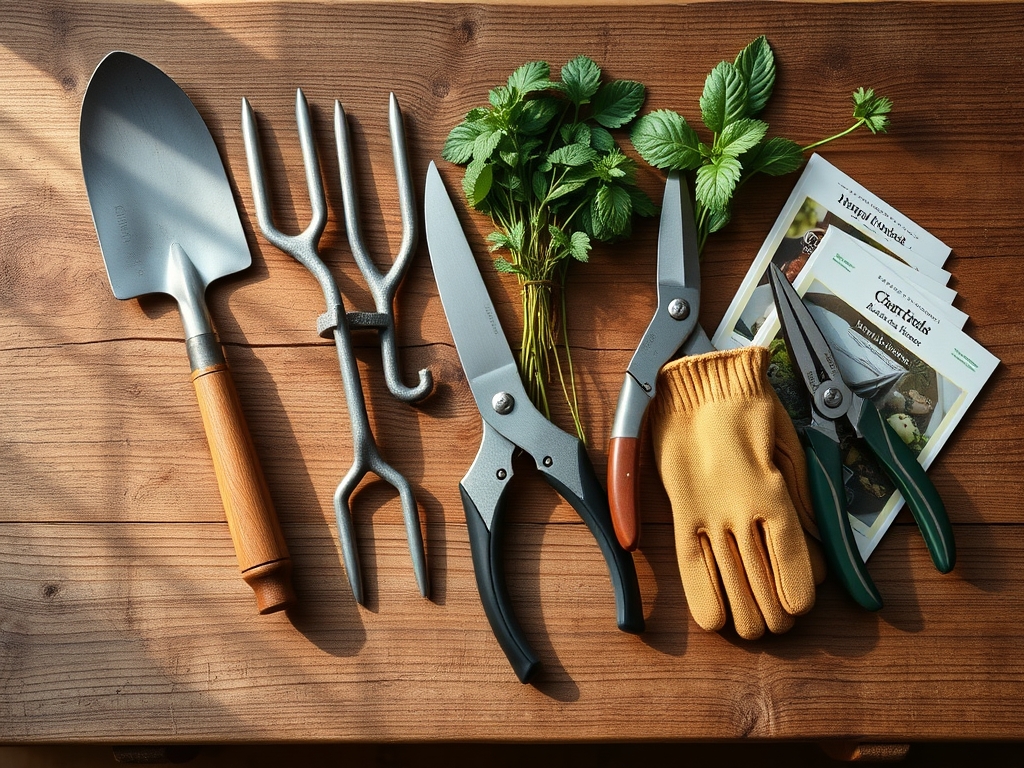
Begin with a structural framework capable of supporting 40 pounds per linear foot. Metal wire shelving with adjustable height allows for seasonal repositioning as plant canopies expand. Install full-spectrum LED grow lights rated at 400–600 micromoles per square meter per second. This intensity mimics spring Mediterranean sunlight, the ancestral home of most culinary herbs.
Select containers with drainage holes and a minimum depth of 6 inches. Terracotta remains superior for herbs preferring drier conditions due to its porous nature and high evapotranspiration rate. For substrate, mix 40% peat moss or coir, 30% perlite, 20% compost, and 10% coarse sand. This blend achieves a cation exchange capacity of 12–18 meq/100g, optimal for nutrient retention without waterlogging.
Amend the growing medium with a 4-4-4 organic fertilizer blend at 2 tablespoons per gallon of substrate. This balanced NPK ratio supports vegetative growth without promoting excessive soft tissue susceptible to aphid colonization. Incorporate mycorrhizal fungi inoculant at the root zone during transplanting. Arbuscular mycorrhizae extend nutrient absorption surface area by 700% and enhance phosphorus uptake in low-availability conditions.
Install a humidity tray beneath containers. Fill it with pebbles and maintain 0.5 inches of standing water to buffer ambient humidity between 40–50%, preventing desiccation without encouraging fungal pathogens.
Timing
Initiate shelf preparation 4–6 weeks before the last expected frost date in your hardiness zone. This schedule allows seedlings to reach transplant maturity when outdoor market availability peaks. In USDA Zones 3–5, target mid-April. Zones 6–7 can begin in late March. Zones 8–10 maintain year-round production capacity with no frost constraints.
Perennial herbs like rosemary, thyme, and oregano establish best when night temperatures stabilize above 50°F. Annual basil requires sustained temperatures above 60°F to prevent cold-induced chlorosis. Stagger plantings at 3-week intervals to ensure continuous harvest windows rather than boom-and-bust cycles.
Phases
Sowing Phase
Fill 2-inch cell trays with pre-moistened seed-starting mix. Surface-sow basil, dill, and parsley seeds. Cover with 1/8 inch of vermiculite to maintain contact moisture while permitting light penetration for germination triggers. Maintain substrate temperature at 70–75°F using a heating mat. Germination occurs within 5–14 days depending on species.
Pro-Tip: Scarify parsley seeds by soaking in 110°F water for 24 hours before sowing. This breaks down germination inhibitors and accelerates emergence by 40%.
Transplanting Phase
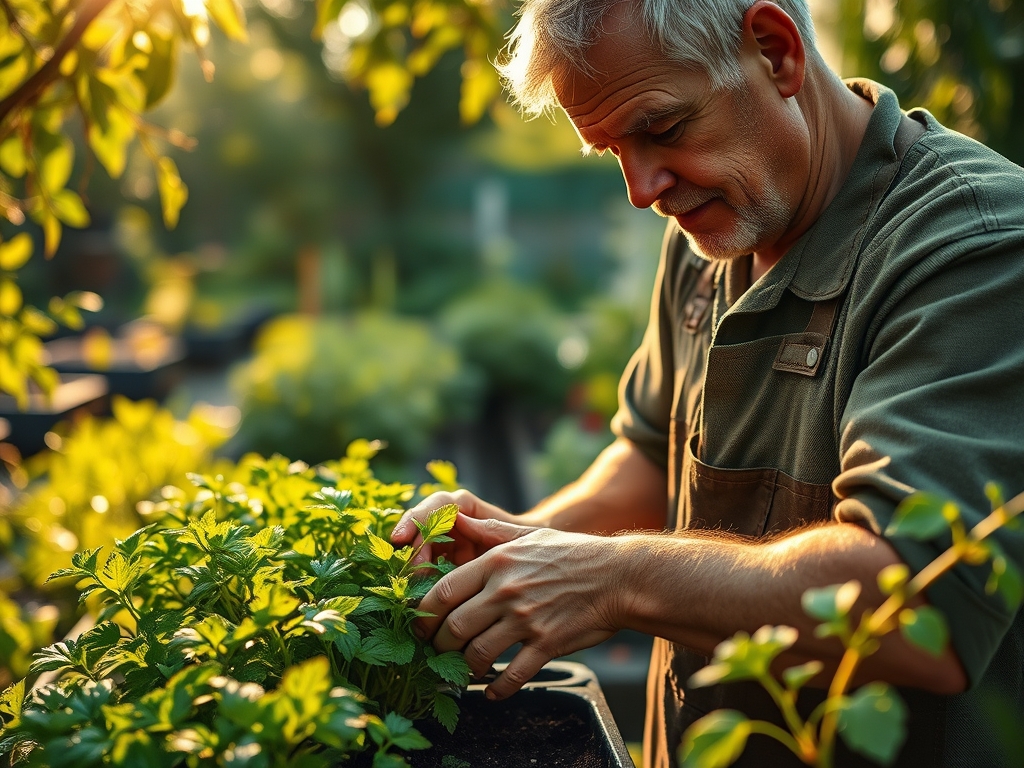
Move seedlings to final containers when true leaves fully develop and root systems colonize cell boundaries. Handle only by cotyledons to avoid stem bruising, which creates entry points for bacterial wilt pathogens. Plant at the same depth as the seedling grew previously. Basil is the exception; bury stems 1 inch deeper to encourage adventitious root formation along buried nodes.
Water immediately with a solution containing 150 ppm nitrogen from fish emulsion. This bridges transplant shock by providing immediately available nutrients while root hairs regenerate.
Pro-Tip: Prune the apical meristem of basil seedlings at the 4-leaf stage using sterilized scissors at a 45-degree angle. This pruning redirects auxin distribution laterally, producing bushier plants with 60% greater harvestable biomass.
Establishing Phase
Maintain light exposure at 14–16 hours daily. Position lights 6–12 inches above canopy tops, adjusting weekly as plants elongate. Monitor substrate pH weekly using a digital meter. Most culinary herbs thrive between 6.0–7.0 pH. If drift occurs above 7.2, amend with elemental sulfur at 1 teaspoon per gallon of substrate.
Begin foliar feeding with kelp extract at 1 tablespoon per gallon every 10 days. The cytokinin content enhances lateral shoot development and increases essential oil concentration in aromatic tissues by 15–25%.
Pro-Tip: Introduce controlled water stress 72 hours before harvest. Reduce watering to the point of slight wilting. This triggers secondary metabolite production, intensifying flavor compounds like linalool in basil and carvacrol in oregano.
Troubleshooting
Symptom: Yellowing lower leaves with green veins (interveinal chlorosis).
Solution: Iron deficiency caused by high substrate pH. Apply chelated iron at 1 teaspoon per gallon and reduce pH to 6.5 using sulfur amendments.
Symptom: Cottony white masses on stem nodes.
Solution: Mealybug infestation. Dab individual insects with 70% isopropyl alcohol using cotton swabs. Spray entire plant with insecticidal soap at 2% concentration every 5 days for 3 applications.
Symptom: Brown, crispy leaf margins.
Solution: Salt accumulation from over-fertilization or fluoridated water. Leach containers with distilled water at 3 times pot volume. Reduce fertilizer frequency by 50%.
Symptom: Leggy, pale growth with elongated internodes.
Solution: Insufficient light intensity. Increase photoperiod to 16 hours or reduce light-to-canopy distance to 4 inches.
Symptom: Sudden wilting despite moist substrate.
Solution: Pythium root rot. Remove affected plants immediately. Drench remaining containers with hydrogen peroxide solution (1 part 3% peroxide to 4 parts water) to oxygenate root zones.
Maintenance
Water when the top 1 inch of substrate feels dry to touch. Most herbs require 0.5–0.75 inches of water weekly, delivered in 2–3 separate irrigation events. Avoid overhead watering after the establishment phase. Bottom-watering through tray absorption prevents foliar diseases like powdery mildew and basil downy mildew.
Fertilize every 14 days during active growth with liquid fertilizer diluted to half-strength (5-5-5 NPK). Perennial woody herbs like rosemary require less nitrogen; shift to a 3-6-6 ratio to promote oil production over leafy growth.
Rotate containers 90 degrees weekly to ensure even light distribution and prevent phototropic leaning. Prune herbs to maintain 6–8 inches of height, removing no more than one-third of total biomass per harvest event. This preserves sufficient photosynthetic capacity for rapid regeneration.
FAQ
How often should I harvest herbs from my shelf?
Harvest every 2–3 weeks once plants reach 6 inches tall, removing only outer stems and leaving central growing points intact.
Can I grow basil and rosemary on the same shelf?
Yes, but in separate containers. Basil requires consistently moist substrate while rosemary prefers dry-down periods between watering.
What causes white powdery coating on leaves?
Powdery mildew thrives in stagnant air and high humidity. Increase air circulation with a small fan and reduce ambient moisture below 50%.
Do herbs need dormancy periods indoors?
Perennial woody herbs like oregano and thyme benefit from 6–8 weeks of cooler temperatures (45–55°F) and reduced watering annually to reset growth cycles.
Why do my herb leaves taste bitter?
Harvest in early morning after dew evaporates but before heat stress triggers defensive compound production. Overmature leaves accumulate bitter alkaloids.