7 Steps to Install a Traditional Garden Arbor for Roses
The scent of damp, mineral-rich earth signals the beginning of a structural transformation in the landscape. Successful rose cultivation requires more than aesthetic intent; it demands a rigid support system to manage the massive weight of canes and the high turgor pressure of blooming floribunda or climbers. Mastery of the steps for installing a garden arbor ensures that your roses transition from sprawling shrubs to vertical architectural elements. This process begins with understanding the physical load of the plant and the soil's load-bearing capacity.
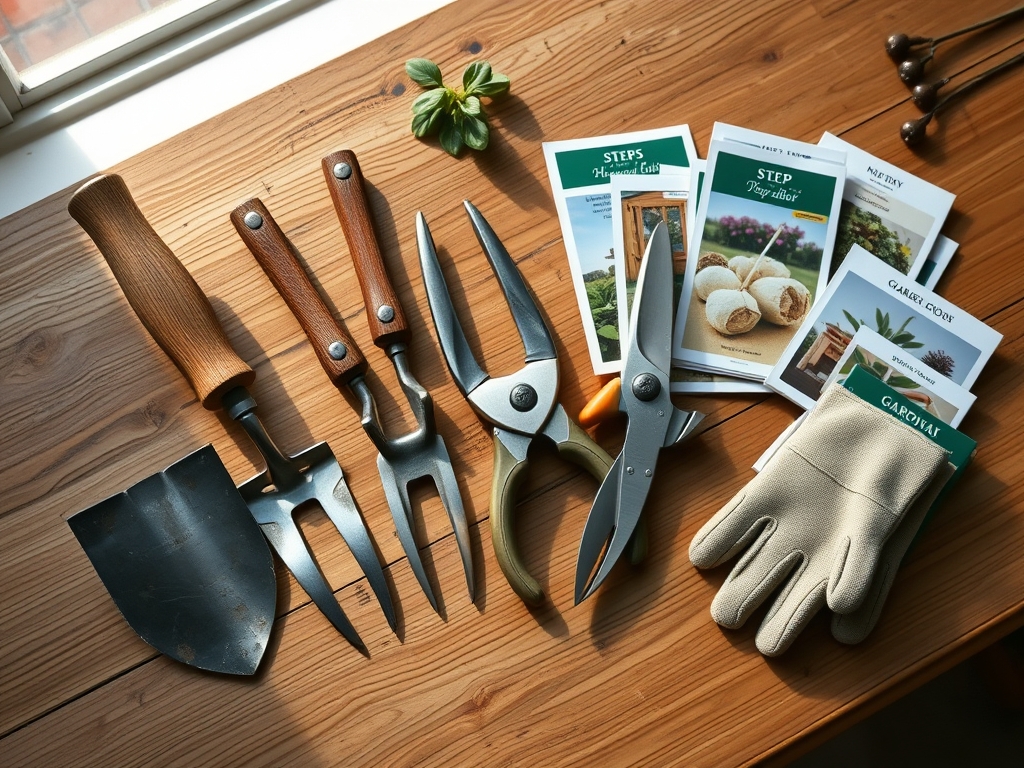
Materials:
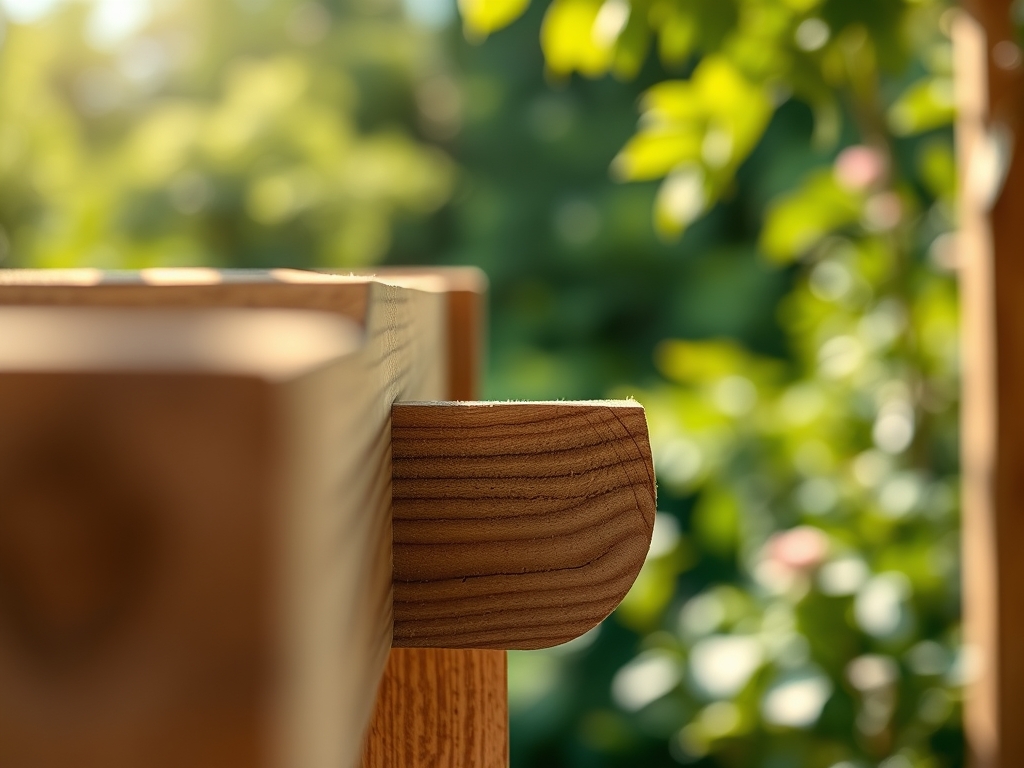
A stable arbor requires a foundation in **friable loam** with a **pH range of 6.0 to 6.8**. This acidity level optimizes the **cation exchange capacity (CEC)**, allowing the rose to uptake essential minerals through the rhizosphere. You must prepare the planting site with a specific nutrient profile. Incorporate a slow-release fertilizer with an **NPK ratio of 5-10-5** to prioritize root development over rapid foliage extension. The physical substrate should consist of 40 percent sand, 40 percent silt, and 20 percent clay. This ratio prevents anaerobic conditions by ensuring oxygen reaches the root hairs. Use 4×4 pressure-treated lumber or powder-coated steel to resist the high humidity levels found within the dense canopy of a mature rose.
Timing:
The installation must occur during the dormant season to minimize disruption to the soil's microbial life. For gardeners in Hardiness Zones 5 through 8, the ideal window is late winter or early spring, at least six weeks before the last predicted frost. This timing aligns with the plant's biological clock as it moves from senescence to the early vegetative stage. Monitoring the soil temperature is critical; wait until the ground consistently reaches 45 degrees Fahrenheit (7 Celsius). Installing the arbor before the spring flush prevents damage to emerging buds and ensures that the canes can be trained as soon as the photoperiod increases, triggering the production of auxins for upward growth.
Phases:
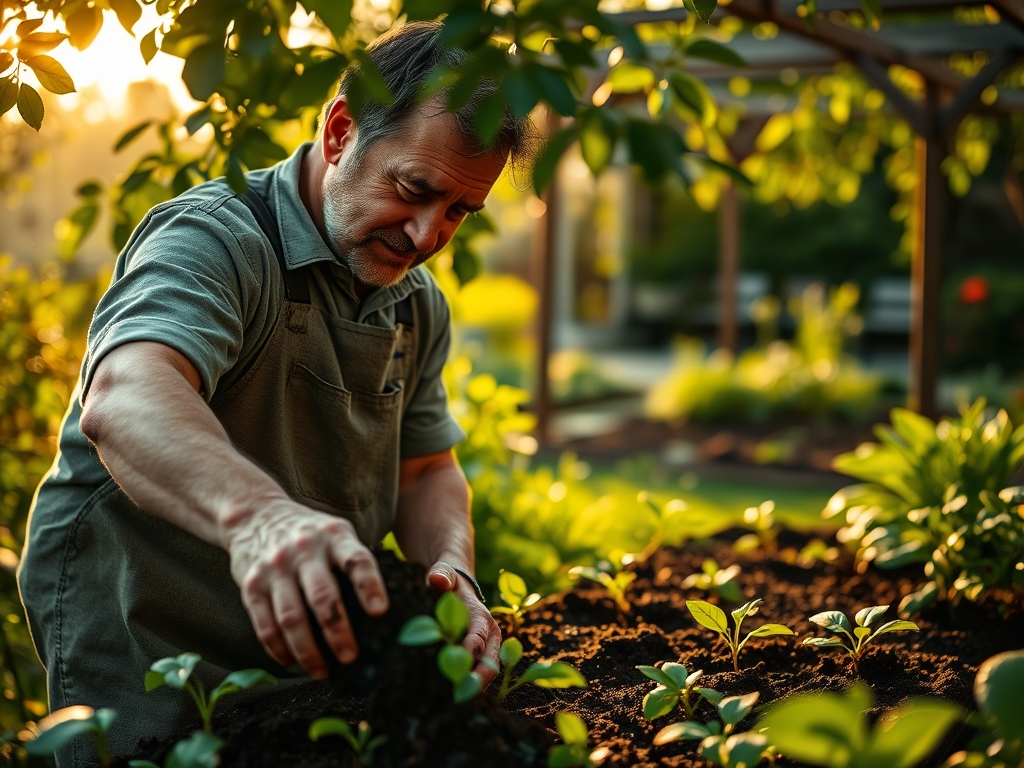
Sowing and Site Preparation
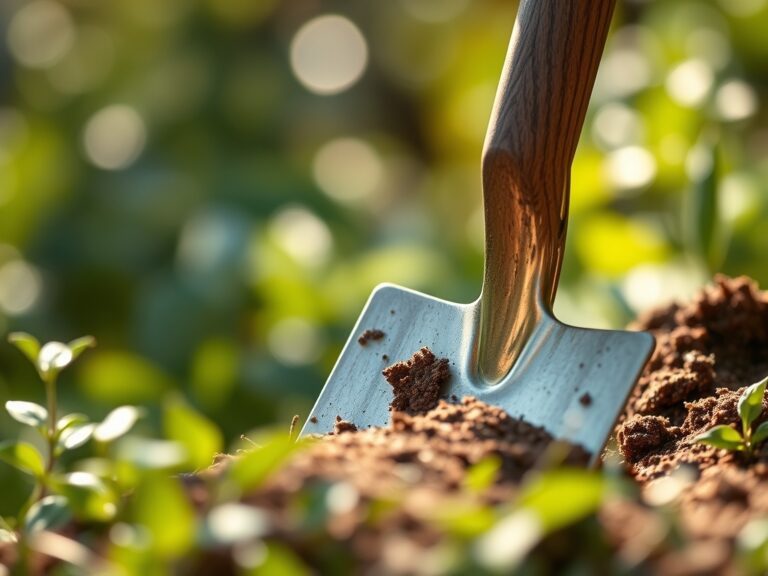
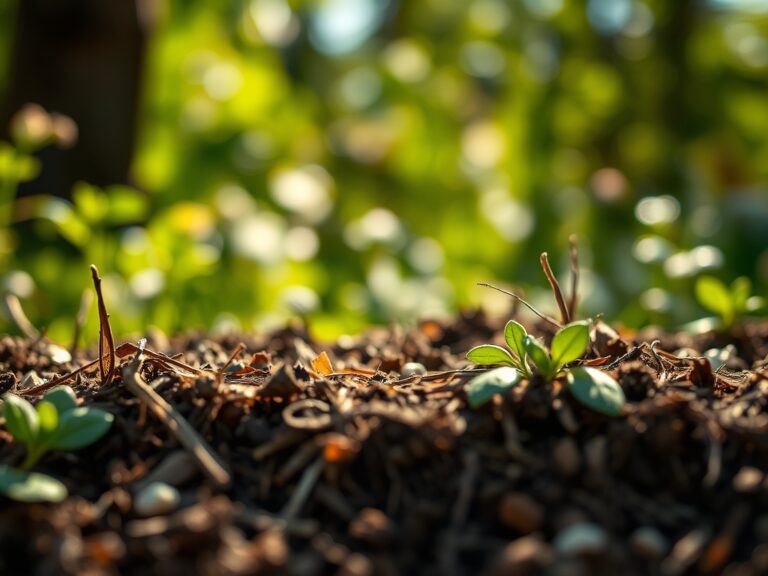
Excavate post holes to a depth of 24 to 36 inches, depending on your local frost line. The diameter should be three times the width of the post. Remove any large rocks or debris that could impede root penetration. Mix the excavated soil with organic compost to improve the water-holding capacity.
Pro-Tip: Ensure the hole walls are "scored" with a hori-hori knife. Smooth, glazed walls in clay-heavy soil can lead to "pot-bound" root behavior where the roots fail to penetrate the surrounding native soil, limiting the plant's access to deep-water reserves.
Transplanting and Anchoring
Set the arbor posts in a bed of 6 inches of crushed gravel to facilitate drainage and prevent fungal rot at the base. Once the structure is level and braced, backfill with a concrete mix or tightly packed soil. Position the rose bushes 12 to 18 inches from the base of the arbor. This distance prevents the root ball from competing with the structural foundation while allowing the canes to reach the trellis.
Pro-Tip: Apply a mycorrhizal inoculant to the root zone during transplanting. This establishes a symbiotic relationship between the fungi and the rose roots, effectively increasing the surface area for nutrient absorption and improving drought resistance through enhanced water uptake.
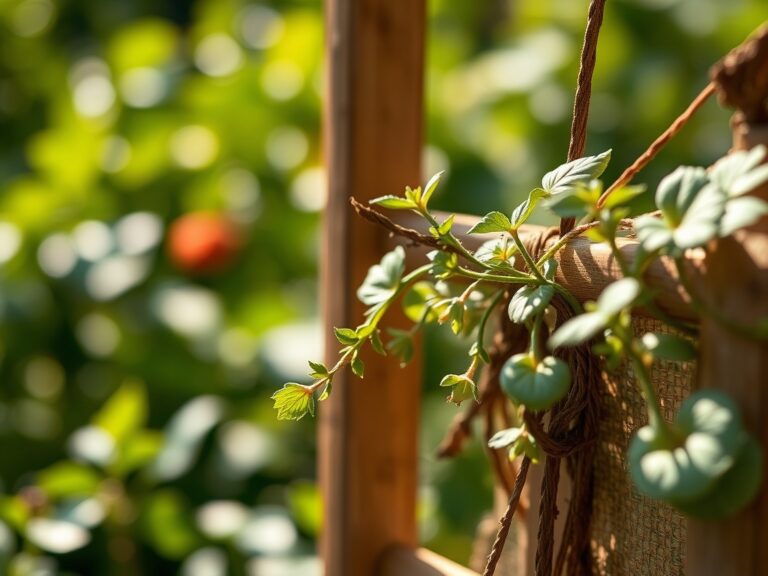
Establishing and Training
As the rose enters its active growth phase, use soft ties to secure the primary canes to the arbor. Avoid tight wire that can constrict the phloem and xylem, which would restrict the flow of carbohydrates and water. Aim for a horizontal orientation of the canes where possible.
Pro-Tip: Training canes horizontally suppresses apical dominance. This biological process redirects auxins to the lateral buds, resulting in a higher density of flower-bearing shoots along the entire length of the arbor rather than just at the top.
The Clinic:
Physiological disorders often manifest when the arbor environment is poorly managed.
- Symptom: Interveinal chlorosis (yellow leaves with green veins) on new growth.
Solution: This indicates an Iron deficiency, often caused by a pH above 7.0. Apply chelated iron and adjust soil pH with elemental sulfur. - Symptom: Powdery white residue on leaves and stunted growth.
Solution: This is Powdery Mildew, caused by poor airflow. Thin the rose canopy using bypass pruners to increase light penetration and reduce humidity. - Symptom: Small, pale leaves and weak cane development.
Solution: Nitrogen chlorosis. The plant lacks the nitrogen required for chlorophyll synthesis. Apply a high-nitrogen organic fertilizer to restore turgor pressure and leaf color.
Fix-It: For general nutrient deficiencies, perform a professional soil test to determine the exact CEC. If the soil is too sandy, add organic matter to increase the site's ability to hold onto positively charged ions like Calcium and Magnesium.
Maintenance:
Precision in hydration and pruning is non-negotiable. Deliver 1.5 inches of water per week directly to the drip line. Use a soil moisture meter to ensure the root zone at a 6-inch depth remains moist but not saturated. Over-watering leads to root hypoxia. Annually, use bypass pruners to remove "The Three Ds": dead, damaged, or diseased wood. Clean your tools with 70 percent isopropyl alcohol between every plant to prevent the mechanical transmission of pathogens. Every three years, remove one or two of the oldest canes at the base to stimulate the growth of vigorous new wood.
The Yield:
When harvesting roses for display, timing is dictated by the sepals. Cut the stems when the sepals have turned downward but the petals are still tightly furled in a "pencil stage." Use a sharp knife to make a 45-degree angle cut to maximize the surface area of the xylem for water uptake. To ensure "day-one" freshness, immediately submerge the stems in 100-degree Fahrenheit (38 Celsius) water and move them to a cool, dark location for two hours. This process, known as hardening off, stabilizes the plant's internal pressure and extends the vase life by preventing premature senescence.
FAQ:
How deep should arbor posts be buried?
Posts should reach 24 to 36 inches deep or below the local frost line. This depth provides the structural leverage needed to support the weight of mature climbing roses and prevents the structure from heaving during freeze-thaw cycles.
What is the best NPK ratio for arbor-grown roses?
Use a 5-10-5 or 10-20-10 ratio. High phosphorus (the middle number) is essential for robust root development and flower production, while moderate nitrogen levels prevent excessive, weak vegetative growth that can overwhelm the arbor structure.
Can I install an arbor in heavy clay soil?
Yes, but you must improve drainage. Dig a wider hole and backfill with a mix of native soil and 30 percent organic matter. Ensure the base sits on a 6-inch gravel bed to prevent water from pooling around the wood.
How do I stop my arbor from leaning over time?
Ensure the posts are perfectly vertical using a level during installation. Use concrete footings in sandy soils with low stability. Regularly prune the roses to balance the weight distribution across the top of the structure.