7 Early Starts to Prepare Your Garden for Spring Planting
The dormant soil beneath winter's last frost holds latent potential measured in cation exchange capacity and waiting organic matter. Learning how to prepare a garden for a spring vegetable garden begins in late winter when soil temperatures hover at 40°F and biological activity awakens. Root systems need friable soil structure, balanced mineral ratios, and microbial networks established before transplant shock can stunt early growth. This preparation determines whether May harvests arrive two weeks early or lag into June.
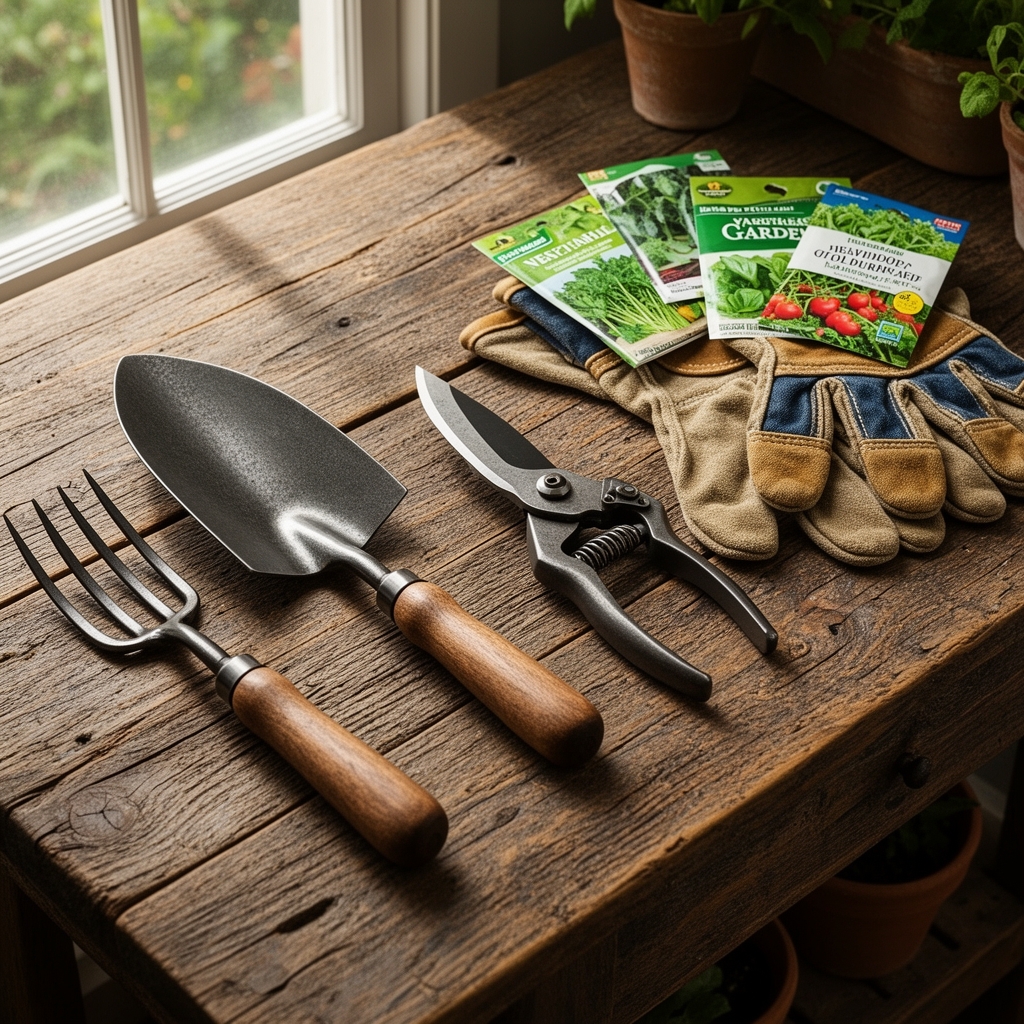
Materials
Soil amendment selection depends on baseline pH and existing nutrient profiles. Test kits measuring pH, nitrogen, phosphorus, and potassium levels guide precise corrections rather than blanket applications.
For acidic soils (pH 5.5-6.2), apply dolomitic limestone at 5 pounds per 100 square feet to raise pH by 0.5 units. Incorporate a balanced 4-4-4 organic meal containing feather meal, bone meal, and kelp at 2 pounds per 100 square feet. This ratio supports leafy brassicas and establishes steady nitrogen release over 8-10 weeks.
For neutral to alkaline soils (pH 6.5-7.2), sulfur amendments at 1 pound per 100 square feet lower pH gradually. Use a 5-3-3 formulation with blood meal and rock phosphate for heavy feeders like tomatoes and peppers. The elevated nitrogen supports vegetative growth while phosphorus activates root auxin distribution.
Mycorrhizal inoculants containing Glomus intraradices colonize root zones and extend nutrient uptake by 10-fold surface area. Apply 1 tablespoon per transplant hole. Compost aged 6-12 months provides 1.5% nitrogen by weight and improves cation exchange capacity by binding mineral nutrients to organic colloids.
Timing
Hardiness zones determine preparation windows. Zone 5 gardeners begin soil work when ground thaws in mid-March, targeting April 15-30 frost-free dates. Zone 6 advances to early March with April 1-15 planting windows. Zone 7 starts late February for March 15-30 transplants.
Soil workability arrives when a handful compressed into a ball crumbles under thumb pressure rather than remaining plastic and sticky. This indicates 50-60% field capacity, ideal for tillage without compaction. Working wet soil destroys aggregate structure and creates hardpan layers that restrict root penetration for entire growing seasons.
Cold-hardy crops tolerate soil temperatures of 40-45°F. Peas, spinach, and lettuce germinate at these thresholds. Warm-season crops require 55-60°F soil temperatures. Tomatoes, peppers, and cucurbits sulk below this range, experiencing transplant shock and delayed fruiting by 3-4 weeks.
Phases
Preparation divides into distinct phases aligned with physiological crop requirements. Each phase builds on previous soil conditioning.
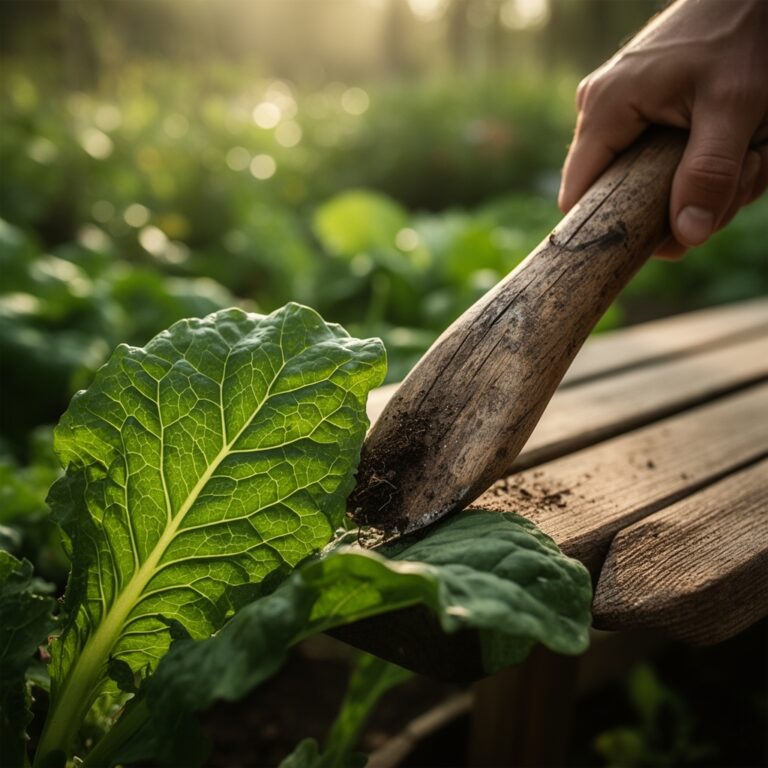
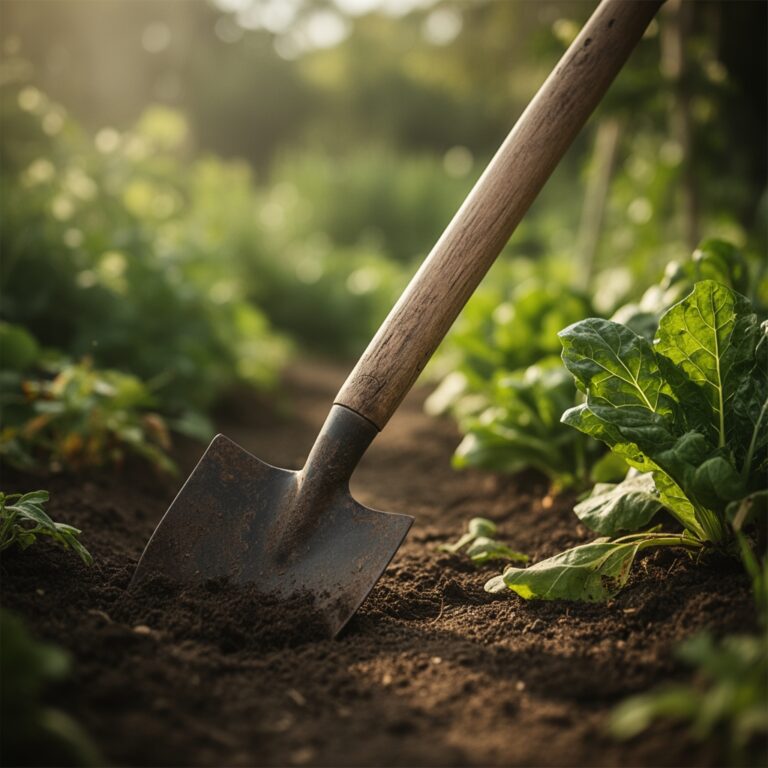
Sowing Phase: Direct seed cold-hardy crops 4-6 weeks before last frost. Till soil to 6-inch depth, breaking clods to pea-sized aggregates. Rake beds level to prevent water pooling. Mark rows with tight string to maintain straight lines for efficient cultivation. Seed depth follows the three-times-diameter rule: 1/4-inch for lettuce, 1 inch for peas, 2 inches for fava beans.
Pro-Tip: Coat pea and bean seeds with Rhizobium inoculant powder before sowing. This nitrogen-fixing bacteria forms nodules on roots and converts atmospheric nitrogen into plant-available ammonium, reducing fertilizer needs by 40%.
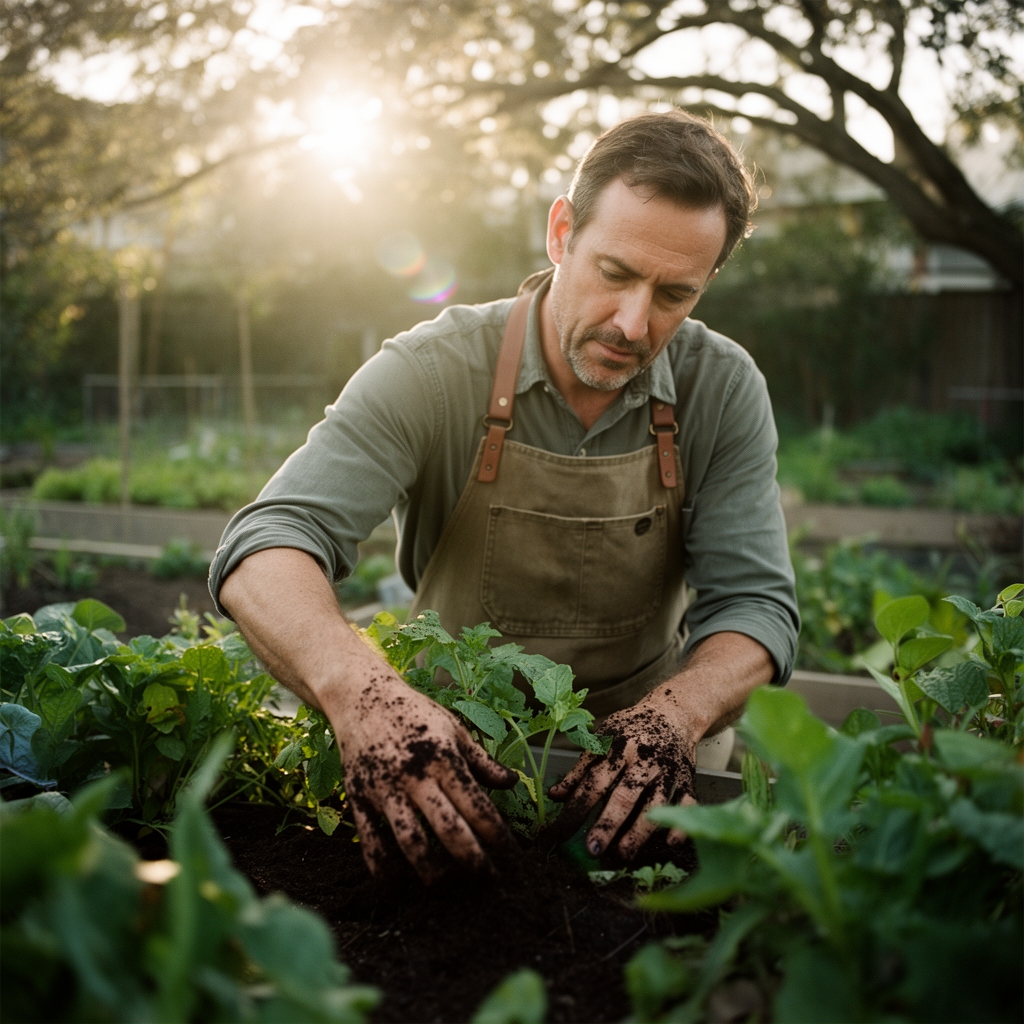
Transplanting Phase: Harden off greenhouse-started seedlings by exposing them to outdoor conditions for 7-10 days before transplanting. Reduce watering frequency by half and increase sun exposure incrementally. This thickens cuticle layers and reduces water loss post-transplant.
Dig holes 2 inches deeper than root balls. Place transplants at soil line or slightly deeper for tomatoes, which form adventitious roots along buried stems. Firm soil around roots to eliminate air pockets that desiccate fine root hairs.
Pro-Tip: Transplant during overcast afternoons or early evenings. This reduces transpiration stress and allows 12-16 hours of root establishment before full sun exposure resumes.
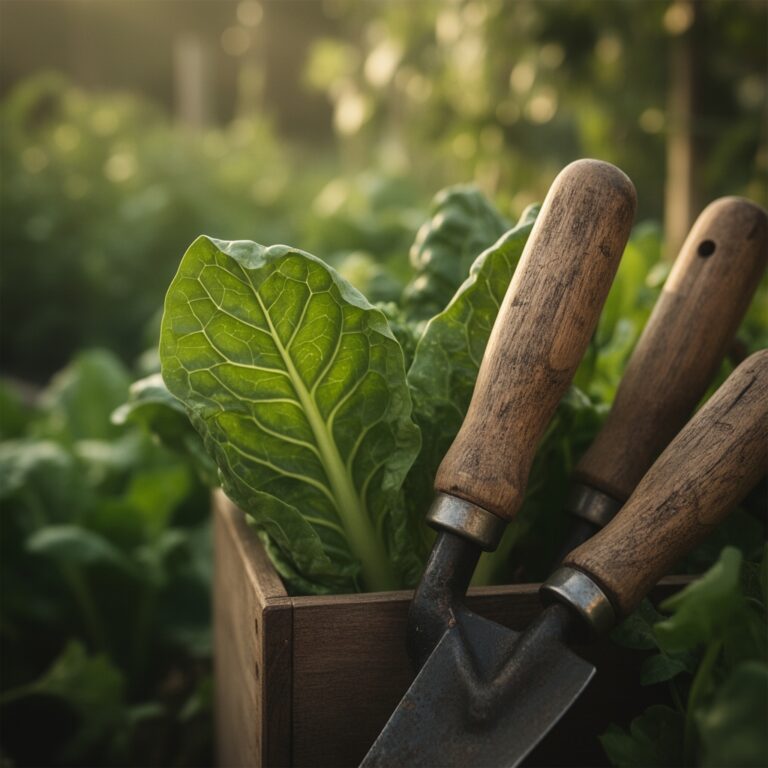
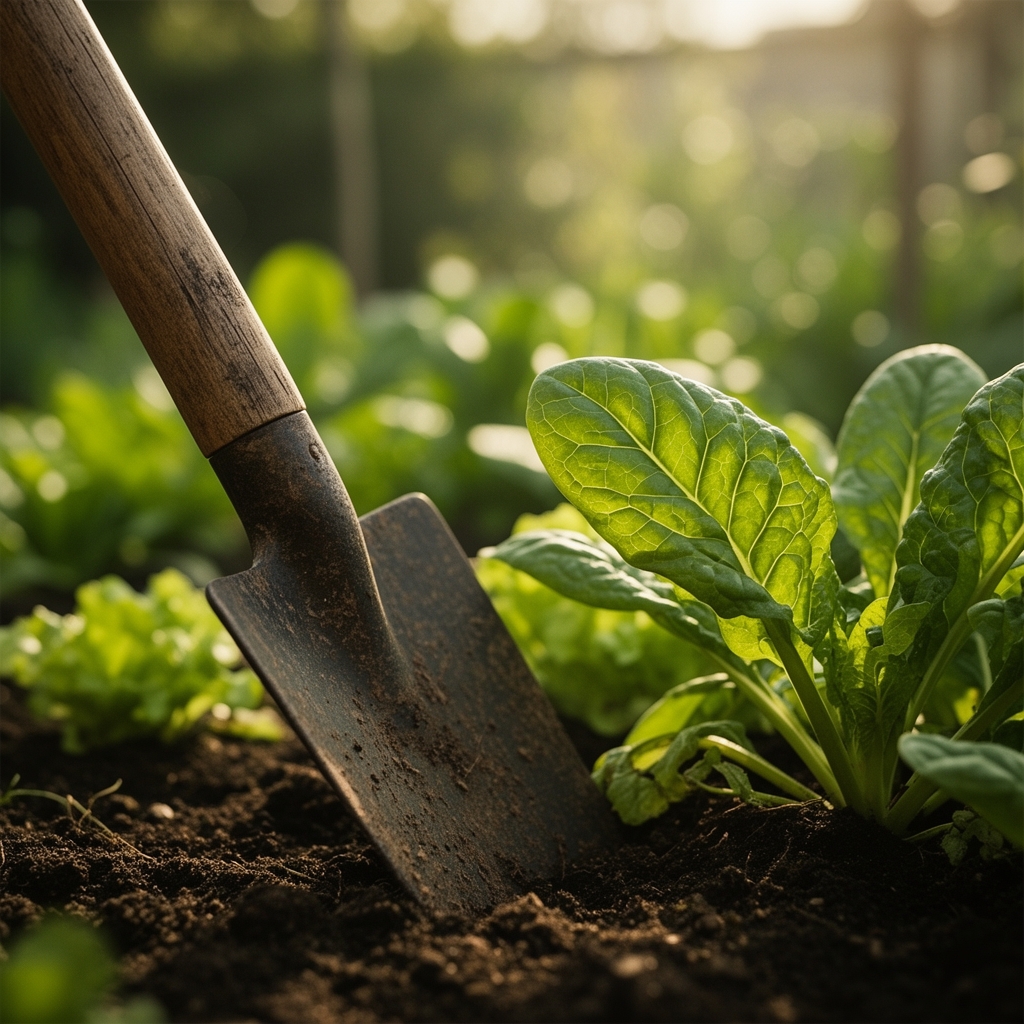
Establishing Phase: Apply 2-3 inches of aged compost mulch around transplants, keeping material 2 inches from stems to prevent collar rot. Mulch moderates soil temperature swings by 10-15°F and suppresses germinating weed seeds by blocking light.
Pro-Tip: Install drip irrigation lines beneath mulch layers. This delivers water directly to root zones, reducing foliar moisture that encourages fungal pathogens like Septoria leaf spot and early blight.
Troubleshooting
Symptom: Purple-tinged leaves on tomato and brassica seedlings. Solution: Phosphorus deficiency triggered by cold soil below 55°F. Apply liquid fish emulsion (5-1-1) as foliar spray at 1 tablespoon per gallon weekly until leaves return to green.
Symptom: Damping-off in seedling trays, characterized by pinched stems at soil line. Solution: Pythium and Rhizoctonia fungi thrive in oversaturated media. Reduce watering frequency, improve air circulation, and drench soil with chamomile tea (natural antifungal) at transplanting.
Symptom: Yellowing between leaf veins (interveinal chlorosis). Solution: Iron deficiency in alkaline soils above pH 7.2. Apply chelated iron (Fe-EDDHA) at 1 ounce per 100 square feet or foliar spray at 1 teaspoon per gallon every 10 days.
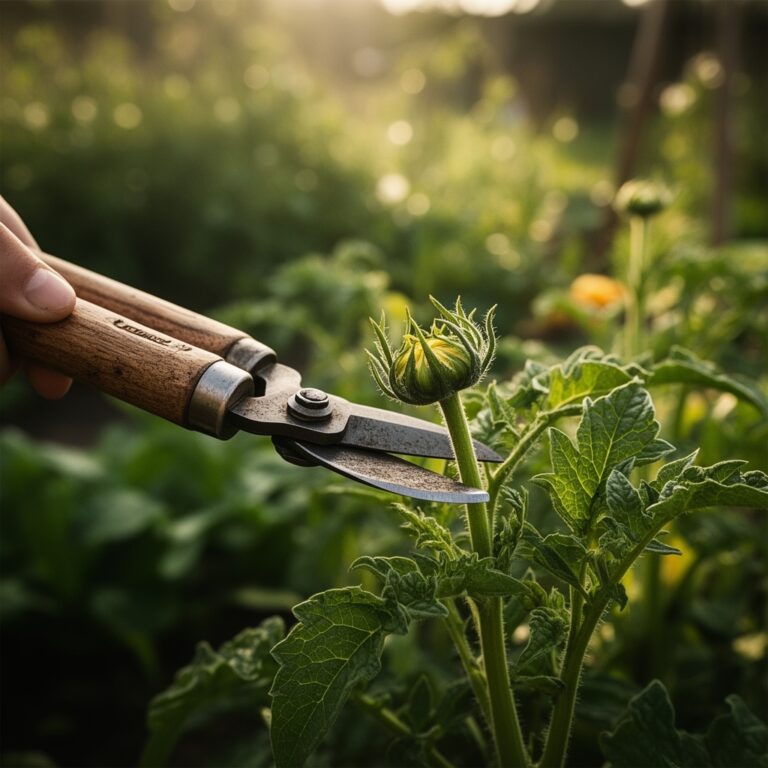
Symptom: Cutworm damage with seedlings severed at soil line. Solution: Place 3-inch cardboard collars around transplants, sinking 1 inch into soil. Hand-pick cutworms during evening inspections.
Maintenance
Water deeply to 6-8 inches twice weekly rather than shallow daily applications. This encourages deep root growth and drought tolerance. Deliver 1 inch of water per week, measured with rain gauges or tuna cans placed in beds.
Side-dress heavy feeders with additional 4-4-4 organic fertilizer at 1/2 pound per 10 feet of row when transplants reach 6-8 inches height. Scratch into top 2 inches of soil and water in thoroughly.
Cultivate shallowly between rows weekly to sever germinating weed seedlings at the white thread stage before they establish. Hoe at 30-degree angles to slice roots cleanly without disturbing crop roots.
FAQ
When should I start preparing garden beds for spring vegetables?
Begin 6-8 weeks before your last expected frost date when soil reaches 40°F and is workable.
What soil temperature do spring vegetables need?
Cold-hardy crops germinate at 40-45°F. Warm-season crops require 55-60°F minimum soil temperature.
How much compost should I add to garden beds?
Incorporate 2-3 inches of aged compost tilled to 6-inch depth, approximately 1 cubic yard per 100 square feet.
Should I fertilize before or after planting?
Apply balanced organic fertilizer 2 weeks before planting to allow nutrient integration. Side-dress transplants at 3-4 week intervals.
How do I prevent early season pests?
Use floating row covers over transplants, install cutworm collars, and encourage beneficial insects with diverse plantings.