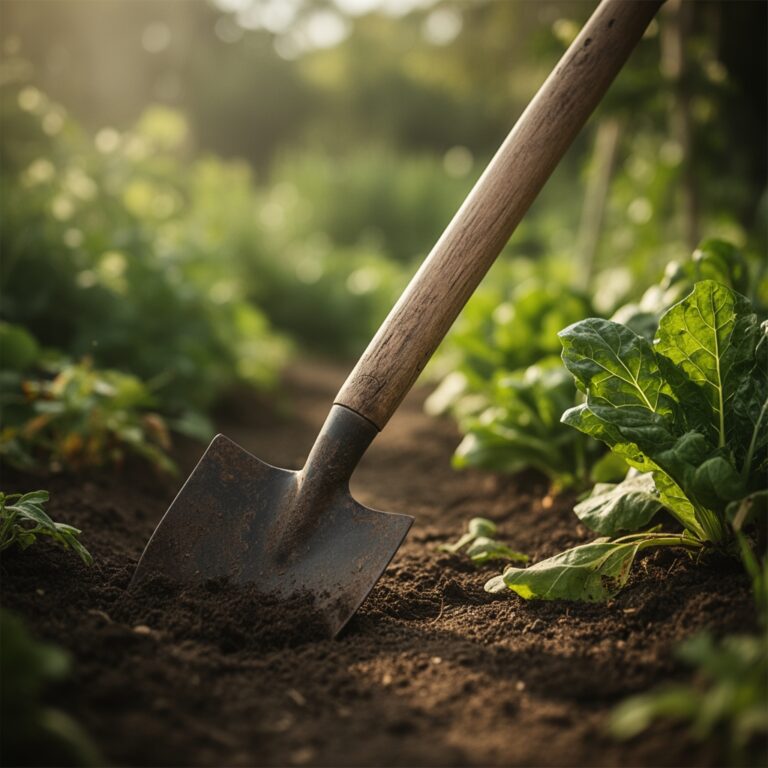
6 Steps to Prepare a Dedicated Climbing Ivy Shelf
Crushing a dried leaf between your fingers reveals the brittle reality of poor hydration; conversely, the snap of a turgid Hedera helix stem confirms optimal cellular water pressure. Success in indoor viticulture begins with structural integrity and chemical balance. Learning how to prepare a plant shelf for ivy requires more than aesthetic placement. It demands an understanding of the rhizosphere and the mechanical requirements of aerial rootlets. You must calibrate the environment to support a high rate of transpiration while maintaining a stable root zone temperature between 60 and 75 degrees Fahrenheit. Ivy is a vigorous colonizer, but its initial establishment on a dedicated shelf depends on the interplay between light intensity and substrate density. A poorly prepared shelf leads to leggy internodes and salt accumulation. A professional setup ensures the plant maintains a high leaf area index and robust photosynthetic efficiency. By focusing on the structural load of saturated soil and the precise delivery of micronutrients, you create a biological machine capable of vertical expansion and long term health.
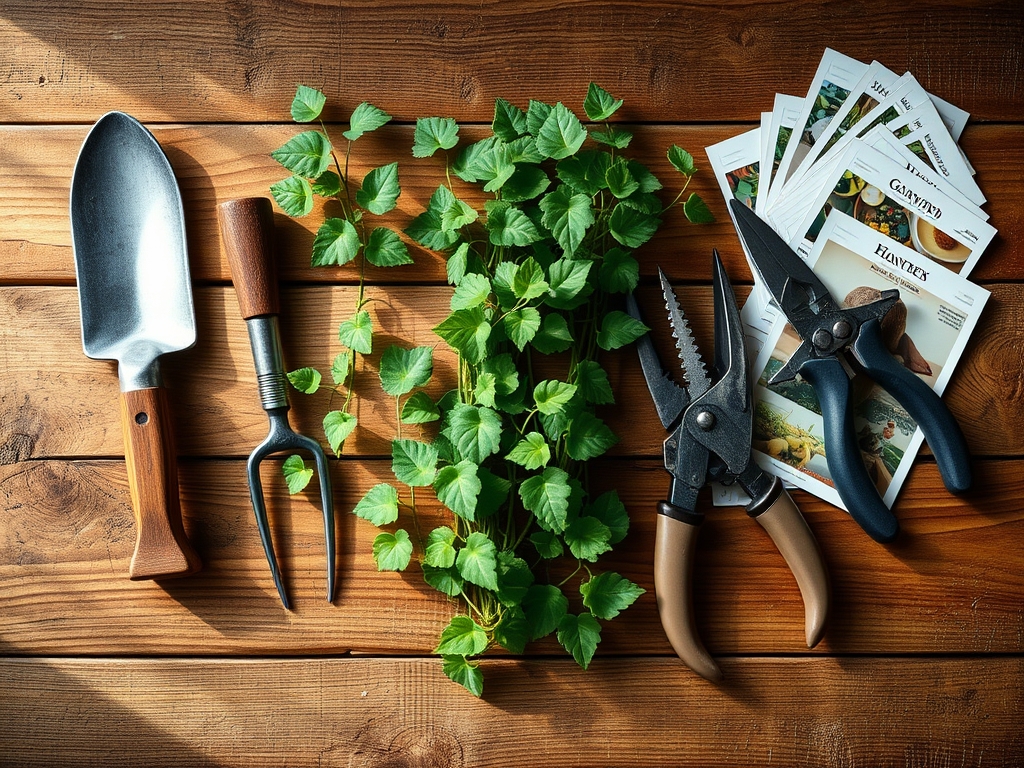
Materials:
The substrate is the foundation of the shelf system. You require a friable loam with a high **Cation Exchange Capacity (CEC)** to ensure nutrient availability. Ivy prefers a slightly acidic to neutral environment; aim for a **pH range of 6.0 to 7.0**. The physical texture must allow for 20 percent macropore space to facilitate oxygen diffusion to the roots.
For the initial planting, use a controlled-release fertilizer with an NPK ratio of 2-1-1. High nitrogen levels are essential for vegetative biomass, but excessive phosphorus can inhibit the uptake of iron and zinc in containerized environments. Incorporate perlite or coarse sand to prevent compaction. The shelf itself must support a minimum of 15 pounds per square foot to account for the weight of water-saturated ceramic or terracotta pots. Ensure the surface is non-porous or sealed with a polyurethane coating to prevent fungal colonization from runoff.
Timing:
The biological clock of the ivy plant is dictated by the photoperiod and ambient temperature. In Hardiness Zones 4 through 9, the ideal window for shelf establishment is early spring, approximately two weeks after the last frost date. This coincides with the plant's natural transition from semi-dormancy to active vegetative growth.
During this phase, the plant increases its production of auxins, the hormones responsible for cell elongation and apical dominance. If you are transitioning ivy from an outdoor environment to an indoor shelf, you must account for the reduction in light intensity. Start the process when indoor temperatures remain a steady 65 to 70 degrees Fahrenheit during the day. Avoid setup during the winter solstice when low light levels trigger senescence or leaf drop in several Hedera species.
Phases:

Sowing and Propagation
While most shelf ivy begins as a transplant, starting from cuttings requires a sterile medium like vermiculite. Take a 4 to 6 inch cutting just below a node. Ensure the cutting has at least three mature leaves to maintain turgor pressure through photosynthesis while the adventitious roots develop.
Pro-Tip: Dip the basal end in a rooting hormone containing Indole-3-butyric acid. This mimics the plant's internal auxin signaling, forcing the undifferentiated cells at the node to specialize into root tissue rather than continuing vegetative extension.
Transplanting to the Shelf
Move the rooted cuttings or nursery starts into pots that provide a 2-inch buffer between the root ball and the container wall. Position the pots on the shelf with a minimum of 12 inches of vertical clearance for upward-climbing varieties. Use a hori-hori knife to loosen any circling roots, which prevents the plant from becoming root-bound and suffering from nutrient lockout.
Pro-Tip: Inoculate the soil with mycorrhizal fungi. This symbiotic relationship expands the surface area of the root system by up to 100 times, significantly increasing the plant's ability to absorb phosphorus and water in a confined shelf environment.
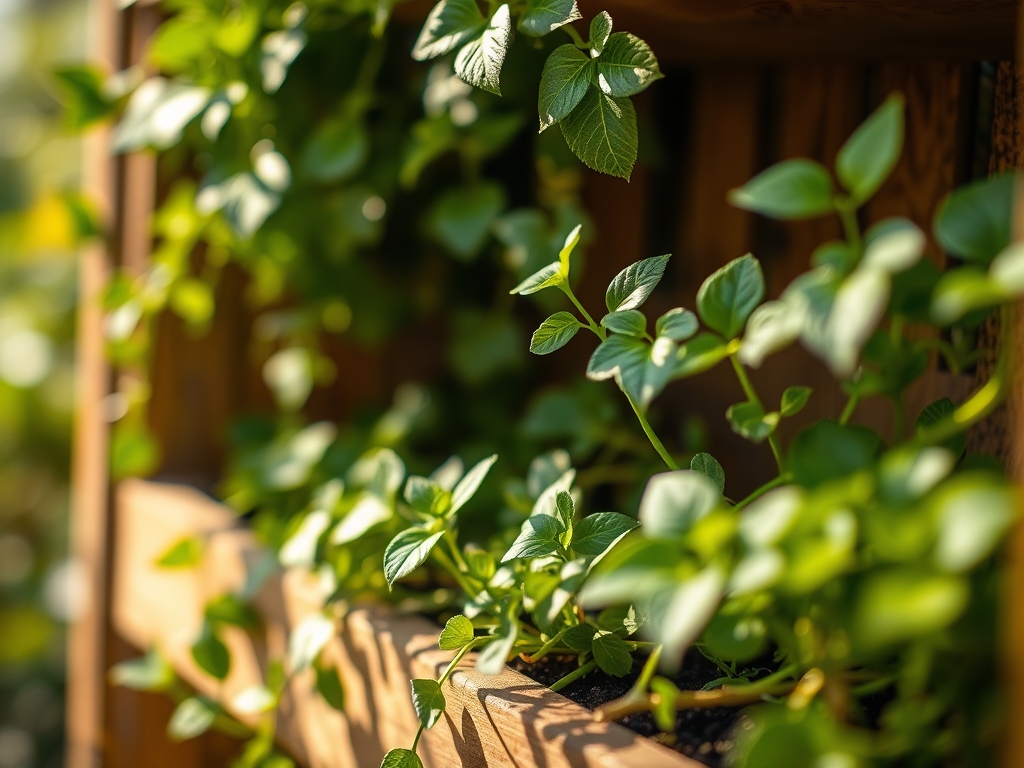
Establishing the Vertical Path
Once the ivy reaches 8 inches in length, it requires mechanical guidance. Secure a trellis or a series of micro-hooks to the wall behind the shelf. Use soft garden twine to loosely anchor the stems. Do not constrict the vascular tissue; the goal is to encourage the development of aerial roots that will eventually provide self-supported stability.
Pro-Tip: Utilize negative phototropism for root establishment. By keeping the climbing surface slightly moist and shaded, you encourage the aerial roots to grow toward the dark crevices of the support structure, creating a stronger mechanical bond than light-exposed stems.
The Clinic:
Monitoring the physiological state of the ivy is a daily requirement. Use a soil moisture meter to verify the volumetric water content before intervention.
- Symptom: Interveinal chlorosis (yellowing between leaf veins).
- Solution: This typically indicates a Magnesium deficiency. Apply a solution of 1 tablespoon of Epsom salts per gallon of water to restore chlorophyll production.
- Symptom: Marginal leaf burn or brown tips.
- Solution: This is a sign of salt accumulation from tap water or over-fertilization. Leach the soil by running distilled water through the pot until the drainage runs clear.
- Symptom: Abnormally long distances between leaves (legginess).
- Solution: The plant is experiencing etiolation due to low light. Increase the light intensity to at least 200 foot-candles or install a full-spectrum LED grow light 18 inches above the shelf.
Fix-It: For general Nitrogen chlorosis (entire leaf turning pale yellow), apply a liquid kelp emulsion. Nitrogen is a mobile nutrient; the plant will prioritize new growth, so expect the oldest leaves to recover last.
Maintenance:
Precision is the difference between a thriving vine and a dying one. Deliver 1.5 inches of water per week directly to the soil surface; avoid wetting the foliage to prevent the spread of fungal spores. Use bypass pruners to remove any necrotic tissue or to head back stems that have outgrown the shelf dimensions.
Check the soil compaction every three months. If the water beads on the surface, use a thin dowel to aerate the root zone. During the peak growing season (May through August), apply a balanced water-soluble fertilizer every 14 days. In the dormant season, reduce watering frequency and cease fertilization entirely to prevent chemical burn of the root hairs. Clean the leaves with a damp cloth once a month to remove dust that blocks the stomata and reduces gas exchange.
The Yield:
While ivy is not an edible crop, the "yield" is measured in biomass and air filtration capacity. For those using ivy for floral arrangements, harvest stems in the early morning when turgor pressure is at its highest. Use a sharp blade to make a 45-degree angle cut.
Immediately submerge the cut end in 110-degree Fahrenheit water for thirty minutes to clear any air embolisms in the xylem. This technique, known as pulsing, ensures the ivy remains turgid for up to two weeks in a vase. For long term shelf health, never remove more than 20 percent of the total leaf area at one time to avoid stalling the plant's metabolic rate.
FAQ:
How often should I water ivy on a high shelf?
Water when the top 1 inch of soil feels dry. This usually equates to once every 5 to 7 days depending on humidity. Use a soil moisture meter to ensure the root ball at the bottom remains hydrated but not anaerobic.
What is the best light for a climbing ivy shelf?
Ivy thrives in bright, indirect light. Aim for a North or East-facing window. If using artificial lights, provide 12 to 14 hours of light daily using a 5000K color temperature bulb to mimic natural daylight.
Can I use regular garden soil for my ivy shelf?
No. Garden soil is too dense for containers and lacks the necessary porosity. It often contains pathogens. Use a professional-grade soilless potting mix containing peat moss, perlite, and pine bark for optimal drainage and aeration.
Why are my ivy leaves falling off?
Sudden leaf drop is usually caused by temperature shock or extreme soil moisture fluctuations. Ensure the shelf is away from air conditioning vents or heaters. Maintain a consistent environment to prevent the plant from entering a stress-induced state of senescence.