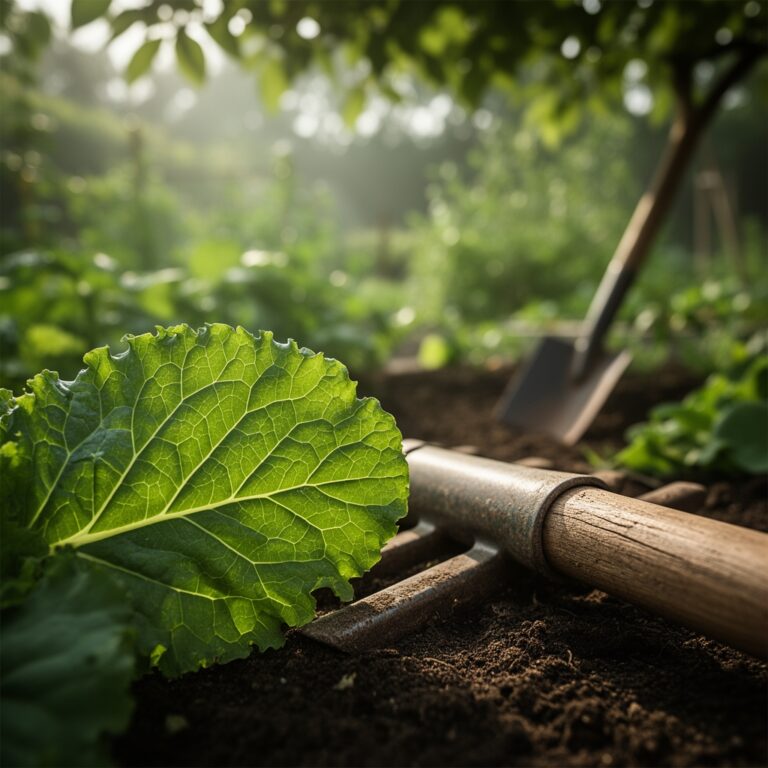
6 Moisture Steps for Repotting a Calathea
Damp earth smells of geosmin and fungal activity; it is the scent of a functioning rhizosphere. When you grasp a Calathea leaf, you should feel high turgor pressure; the blade must be firm and responsive to light. If the foliage droops or the margins crisp, the plant is likely root-bound or suffering from salt accumulation. Mastering the steps for repotting a calathea requires precision and an understanding of tropical hydrology. You are not merely moving a plant; you are recalibrating its access to moisture and nutrients. Failure to maintain the specific humidity and soil structure during this transition leads to immediate leaf senescence. Success depends on maintaining a delicate balance between water retention and oxygen availability within the root zone. Calathea species, particularly those from the Marantaceae family, do not tolerate the mechanical stress of root disturbance well. Every movement must be calculated to preserve the fine root hairs responsible for water uptake.
Materials:
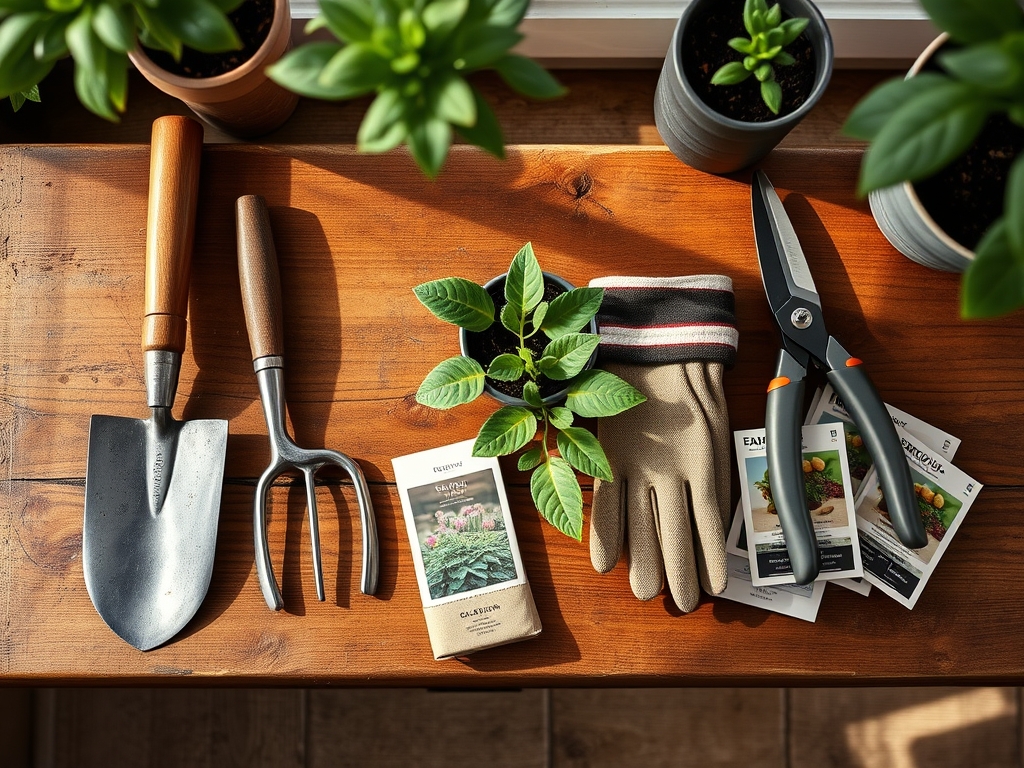
The substrate must be a friable loam with a high Cation Exchange Capacity (CEC) to hold nutrients while allowing gas exchange. Use a mix consisting of 40 percent peat moss or coconut coir, 30 percent perlite, and 30 percent orchid bark. The target soil pH must remain between 5.5 and 6.5. Calatheas are sensitive to boron and fluoride; avoid using perlite if it has been pre-treated with fertilizers containing these elements.
For nutrition, integrate a slow-release fertilizer with an NPK ratio of 3-1-2. This specific ratio supports leaf development without forcing excessive reproductive growth that can exhaust the plant. Nitrogen levels should be maintained at a steady state to prevent chlorosis. Ensure the new container is only 1 to 2 inches wider than the current root ball. A pot that is too large increases the risk of anaerobic conditions at the base of the soil column.
Timing:
Calatheas are typically grown indoors in Hardiness Zones 10 through 12, where temperatures remain above 60 degrees Fahrenheit. The ideal window for repotting is during the spring or early summer, specifically between March and June. This coincides with the plant's transition from a semi-dormant winter state to its active vegetative stage.
The biological clock of the Calathea is governed by the photoperiod. As daylight hours increase, the plant increases its metabolic rate and auxin production. Repotting during this surge in growth ensures that the root system can rapidly colonize the new substrate. Avoid repotting during the late autumn or winter months; the reduced light levels lead to slower transpiration rates, which makes the plant highly susceptible to root rot in fresh, moist soil.
Phases:
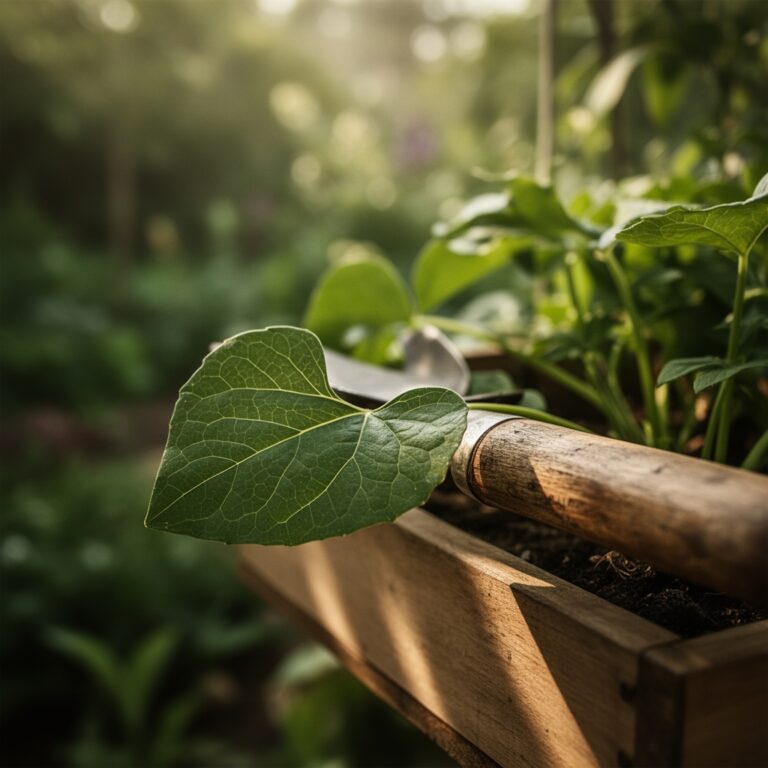
Sowing and Preparation
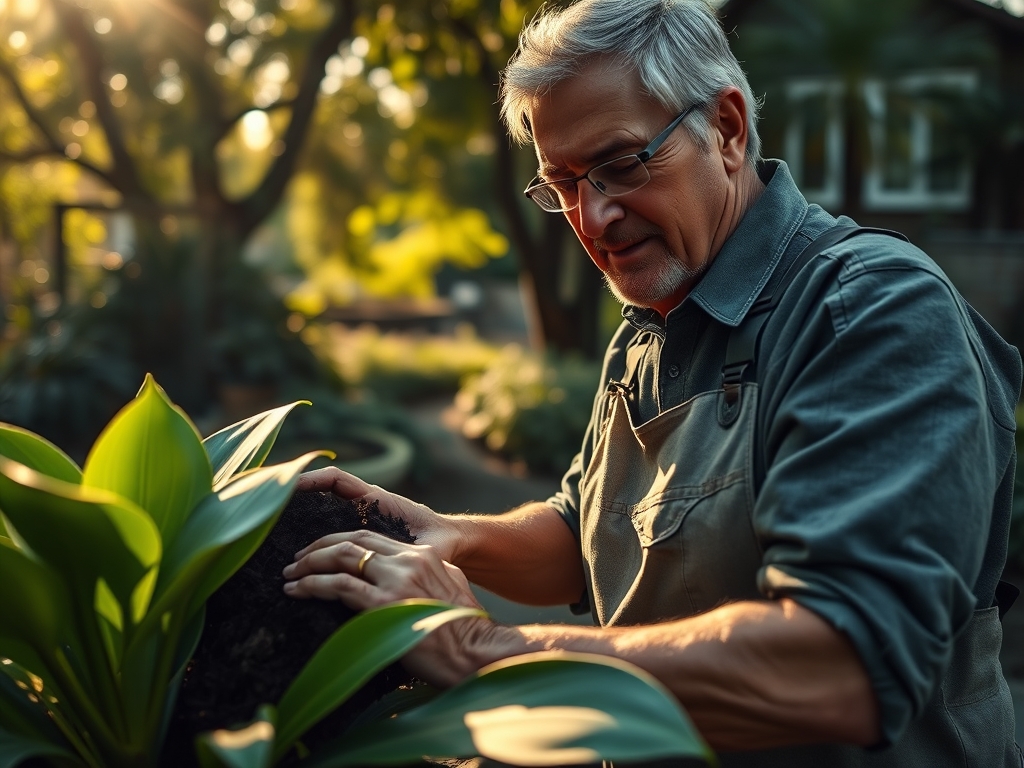
Twenty-four hours before the procedure, saturate the plant with distilled water. This ensures the cells are at maximum turgor and the root tissue is flexible. Prepare your workstation by sterilizing all tools with 70 percent isopropyl alcohol to prevent the transfer of pathogens. Lay out the friable loam and ensure it is slightly pre-moistened to a consistency where it holds its shape when squeezed but does not drip.
Pro-Tip: Pre-moistening the substrate prevents the "wicking effect," where dry peat moss pulls moisture away from the sensitive root hairs immediately after transplanting. This protects the mycorrhizal symbiosis required for nutrient uptake.
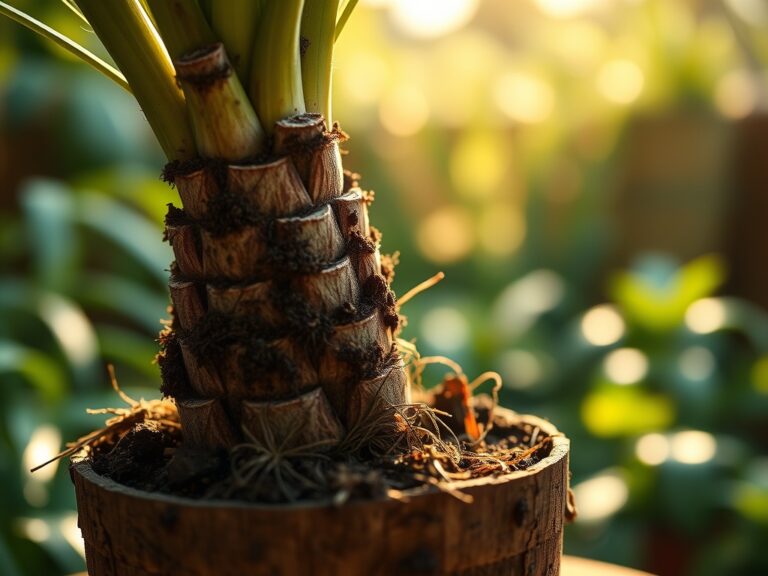
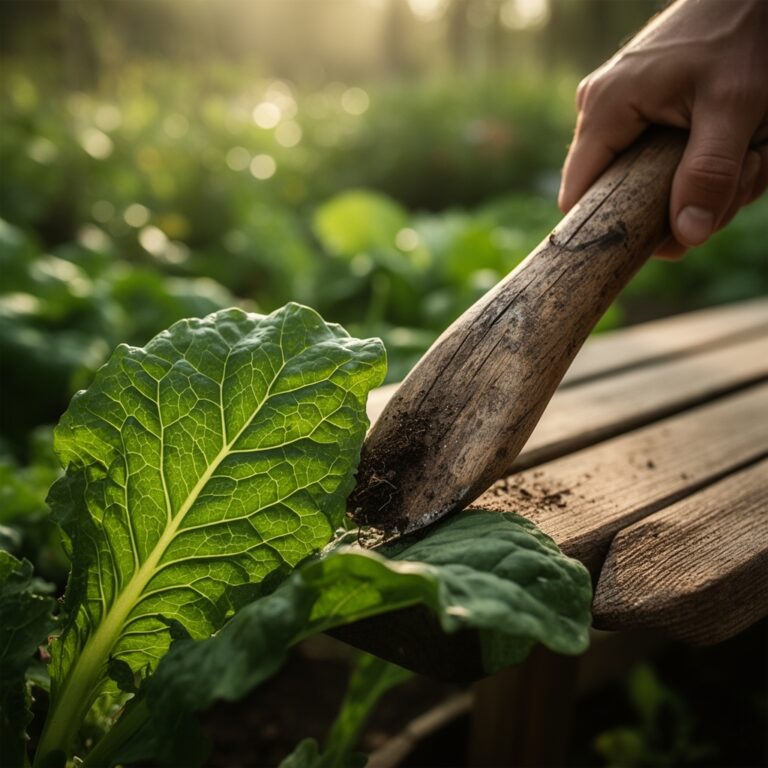
Transplanting
Invert the pot and support the base of the plant with your palm. If the plant is stuck, use a hori-hori knife to slice along the inner perimeter of the container. Once removed, inspect the rhizosphere. If the roots are circling the base, gently tease them outward. Do not prune the roots unless you observe necrotic, mushy tissue. Place the plant in the new container, ensuring the top of the root ball sits 1 inch below the rim to allow for efficient watering.
Pro-Tip: Minimal root disturbance is vital because Calatheas rely on high hydraulic conductivity. Damaging the fine root tips triggers the release of abscisic acid, which causes the stomata to close and leads to immediate leaf curling.
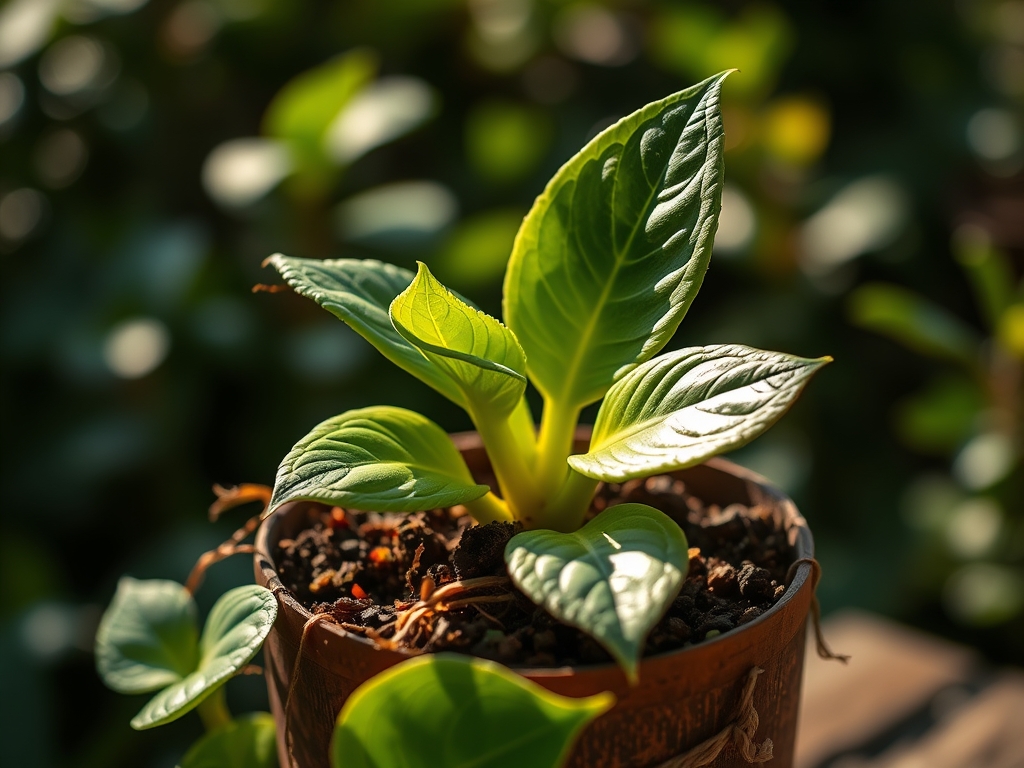
Establishing
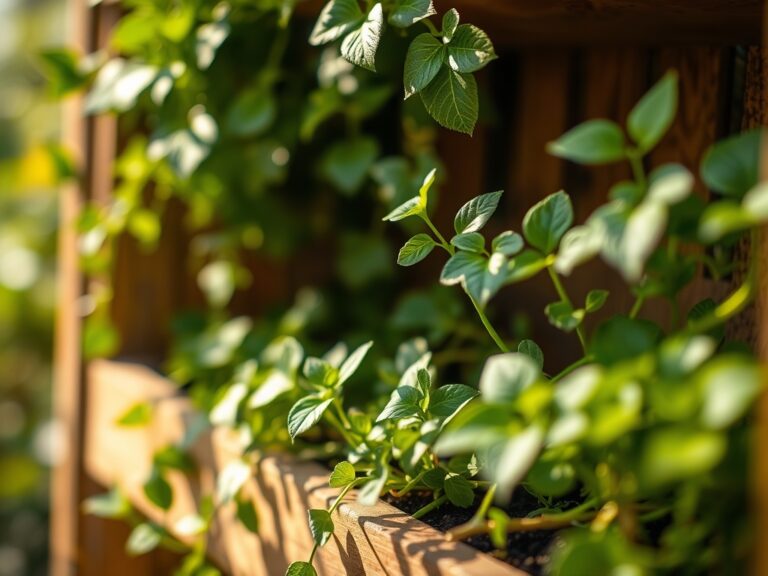
Fill the gaps with the 3-1-2 NPK substrate, tapping the sides of the pot to settle the soil rather than pressing down with your fingers. Pressing too hard collapses the macropores, reducing oxygen availability to the roots. Water the plant until liquid flows freely from the drainage holes. Place the plant in a location with 60 to 70 percent humidity and indirect light.
Pro-Tip: Maintain high humidity during the first ten days to reduce the vapor pressure deficit. This allows the plant to recover without losing excessive moisture through transpiration while the roots are still settling.
The Clinic:
Symptom: Yellowing of lower leaves (Chlorosis).
Solution: This typically indicates a Nitrogen deficiency or overwatering. Check the soil moisture with a soil moisture meter. If the meter reads in the "Wet" zone for more than three days, the roots are likely suffocating.
Symptom: Brown, crispy leaf margins.
Solution: This is a sign of low humidity or salt accumulation from tap water. Flush the soil with distilled water and increase ambient humidity to at least 50 percent.
Symptom: Sudden leaf drooping despite moist soil.
Solution: This is often a sign of transplant shock or temperature fluctuations. Ensure the ambient temperature is between 65 and 80 degrees Fahrenheit and avoid placing the plant near HVAC vents.
Fix-It: Nitrogen Chlorosis: If the veins remain green but the leaf tissue turns pale, apply a liquid fertilizer with a 10-10-10 ratio diluted to 25 percent strength to provide an immediate nutrient boost.
Maintenance:
Consistency is the primary requirement for Calathea longevity. Provide approximately 1.5 inches of water per week, distributed evenly across the soil surface rather than at a single point. Use a soil moisture meter to ensure the top inch of soil has dried before re-watering, but never allow the entire root ball to desiccate.
Use bypass pruners to remove any leaves that show more than 50 percent senescence; this redirects the plant's energy toward new growth. Every three months, use a damp cloth to wipe dust from the leaves. Dust accumulation blocks the stomata and reduces the efficiency of photosynthesis. Monitor the soil for white crusting, which indicates mineral buildup, and leach the soil with distilled water annually.
The Yield:
While Calatheas are primarily grown for foliage, their "yield" is measured in the production of new, healthy leaves and the successful expansion of the rhizome. A healthy plant will produce 2 to 4 new leaves per month during the peak growing season. To maintain "day-one" freshness of the foliage, ensure the plant is never exposed to direct afternoon sun, which can bleach the pigments in the leaves. If you intend to propagate, wait until the plant has at least 10 healthy stems before dividing the rhizome with a sharp hori-hori knife.
FAQ:
How do I know when to repot a Calathea?
Repot when roots emerge from drainage holes or growth stalls despite proper care. This usually occurs every 12 to 18 months. Check for a dense, circling root mass by gently lifting the plant from its container to inspect the rhizosphere.
What is the best soil for Calathea?
Use a well-draining, peat-based mix with a pH of 5.5 to 6.5. A ratio of 40% peat, 30% perlite, and 30% orchid bark provides the necessary Cation Exchange Capacity and aeration to prevent anaerobic conditions and root rot.
Why are my Calathea leaves curling after repotting?
Curling is a defensive response to low turgor pressure or root stress. It often indicates the plant is losing water faster than the disturbed roots can absorb it. Increase humidity and ensure the soil is consistently moist but not saturated.
Can I use tap water for my Calathea?
Tap water often contains chlorine, fluoride, and salts that cause marginal leaf necrosis. Use distilled, rainwater, or filtered water. If using tap water, let it sit for 24 hours to allow chlorine to dissipate before application to the soil.