6 Educational Steps to Prepare a School Vegetable Garden
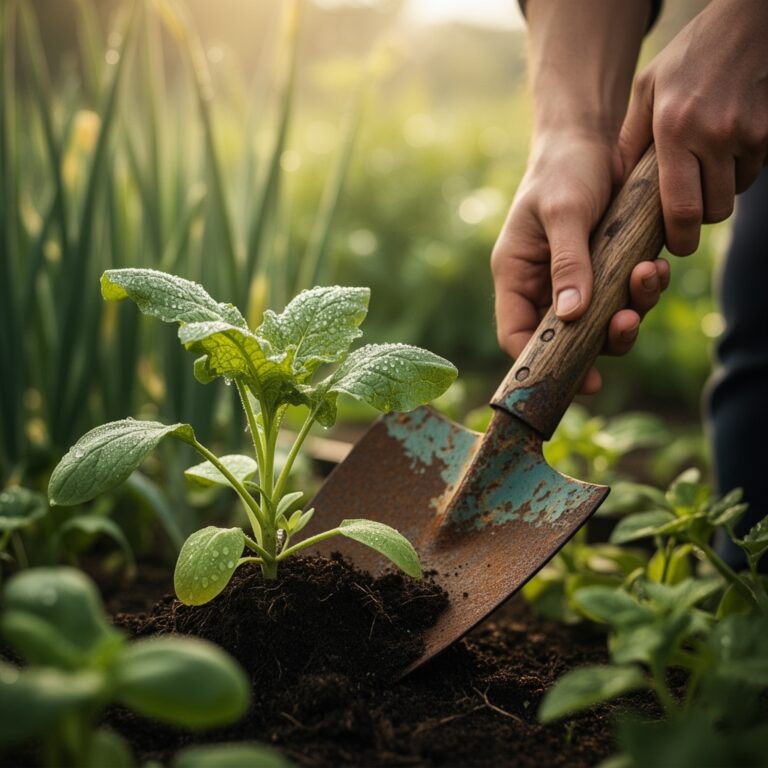
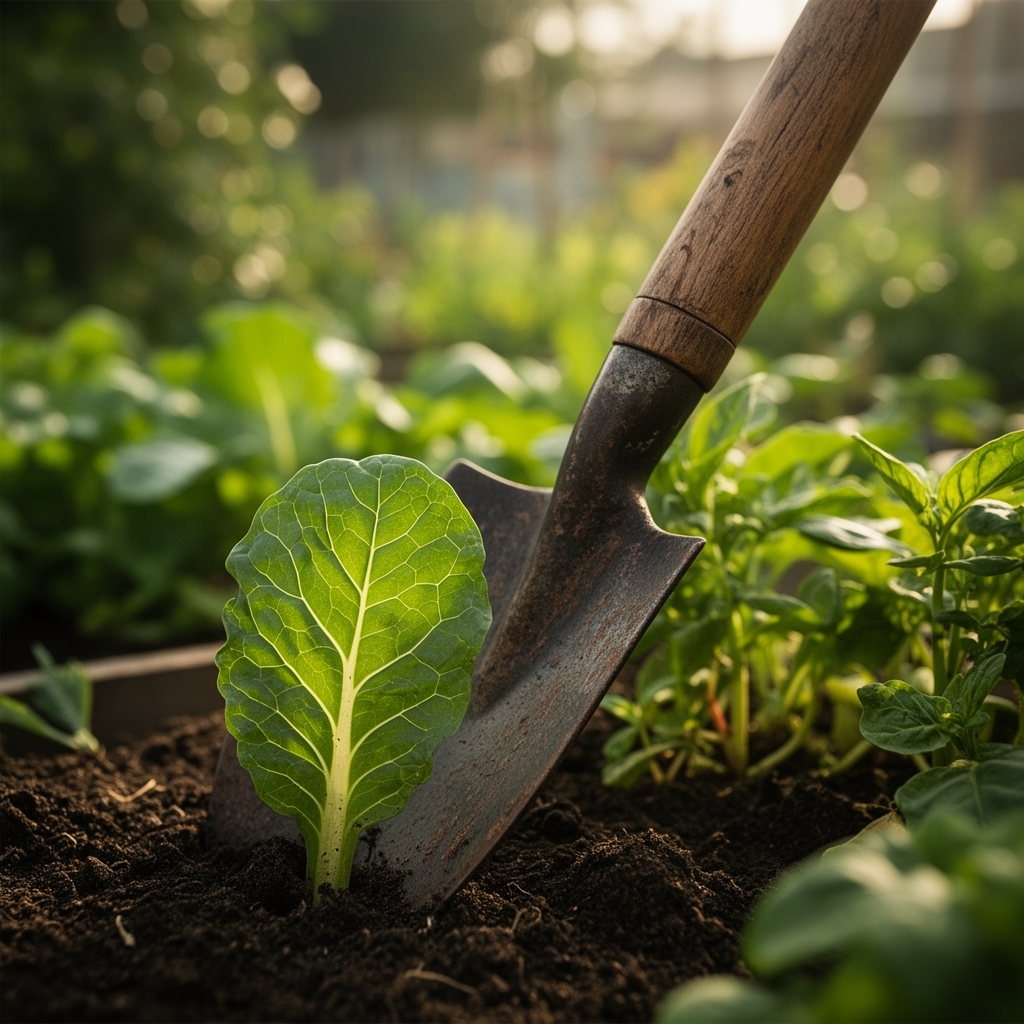
The first spade cut into compacted soil tells you everything about the work ahead. Establishing a school vegetable garden begins months before seeds touch earth, and understanding how to prepare a garden for a school vegetable garden determines whether students harvest abundance or watch wilted stems droop in July heat. Proper site assessment, soil amendment ratios, and infrastructure planning separate thriving educational plots from abandoned patches of bindweed.
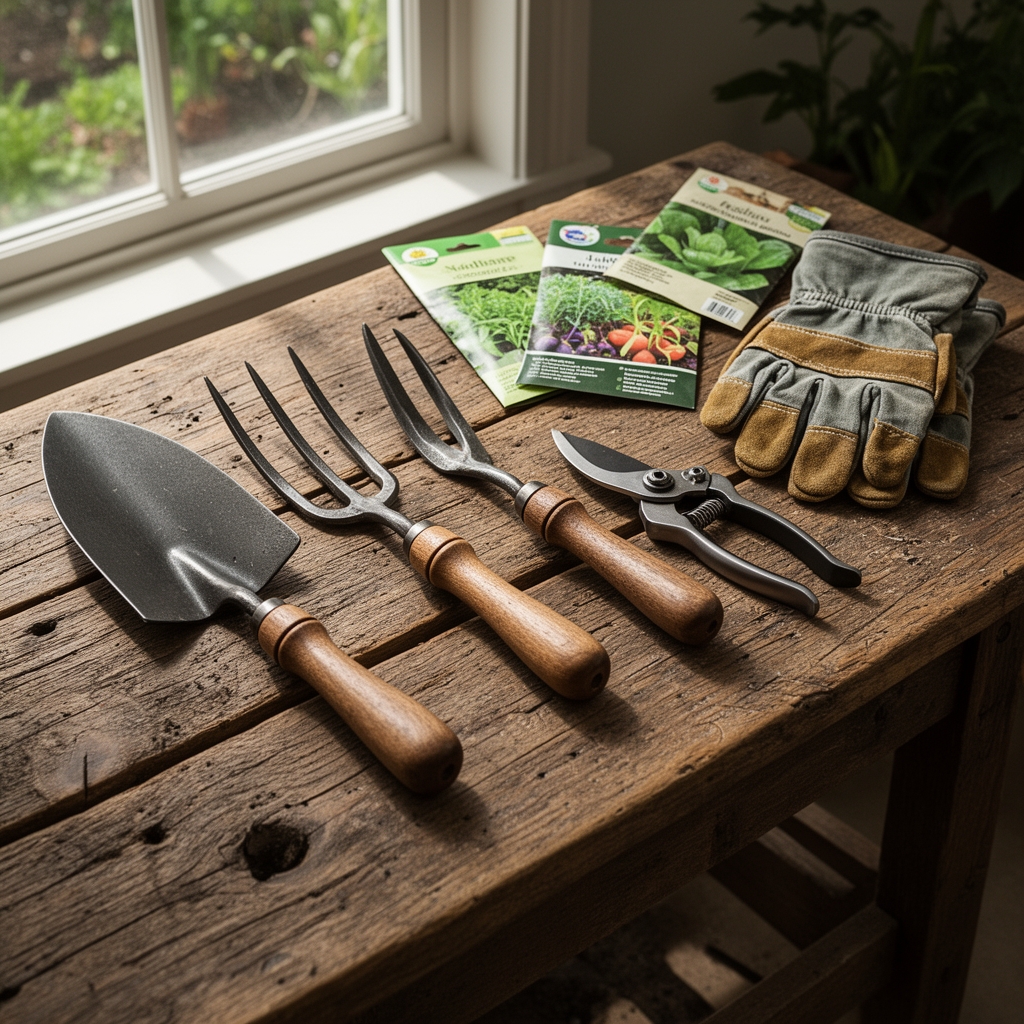
Materials
Begin with a soil test kit calibrated for both macro and micronutrients. Target a pH range of 6.2 to 6.8 for broadest crop compatibility. Lime raises pH at approximately 5 pounds per 100 square feet to shift one full point in loam soils. Sulfur lowers pH at 1 to 2 pounds per 100 square feet for the same shift.
Organic matter forms the foundation. Compost with a cation exchange capacity above 60 meq/100g improves nutrient retention in sandy soils. Apply at 2 to 3 cubic yards per 100 square feet, tilled to 8-inch depth. Supplement with a balanced organic fertilizer at 4-4-4 or 5-5-5 NPK ratio, broadcasting 3 pounds per 100 square feet two weeks before planting.
Mycorrhizal inoculant powder containing Glomus intraradices and Rhizophagus irregularis establishes beneficial fungal networks. Use 1 tablespoon per transplant hole. Aged manure (horse or cow, minimum six months composted) adds 20 to 40 pounds of nitrogen per ton while improving soil structure.
Physical infrastructure requires untreated cedar or composite lumber for raised beds measuring 4 feet wide by any length, with 10 to 12 inch walls. Galvanized wire mesh (half-inch hardware cloth) lines bed bottoms against burrowing rodents. Drip irrigation tubing with emitters spaced 12 inches apart delivers water at 0.6 gallons per hour per emitter.
Timing
Frost dates govern the entire planting calendar. Determine your USDA Hardiness Zone and obtain last spring frost and first fall frost dates from local extension offices. Zone 5 gardeners work with a May 15 spring date and September 30 fall date. Zone 8 extends the window from March 15 to November 15.
Cool-season crops (lettuce, peas, brassicas) tolerate soil temperatures of 40°F and air temperatures down to 28°F once hardened. Plant these 4 to 6 weeks before last frost. Warm-season crops (tomatoes, peppers, cucurbits) require soil temperatures above 60°F and no frost risk. Transplant these 1 to 2 weeks after last frost date.
Fall gardens begin with seed sowing 10 to 12 weeks before first frost for crops requiring 50 to 70 days to maturity. Succession planting every 2 weeks maintains continuous harvest windows for fast-maturing greens.
Phases
Sowing
Direct sow large seeds (beans, squash, corn) at depths three times their diameter. Small seeds (carrots, lettuce) need light exposure and press barely beneath soil surface. Maintain consistent moisture in the top 1 inch of soil during germination periods lasting 5 to 14 days depending on species.
Pro-Tip: Mix carrot or lettuce seed with dry sand at 1:10 ratio for even distribution. This prevents overcrowding and reduces thinning labor.
Transplanting
Harden off greenhouse-started seedlings over 7 to 10 days by gradually increasing outdoor exposure. Reduce watering frequency by half during this period to trigger cuticle thickening. Transplant on overcast afternoons to minimize transplant shock from solar radiation.
Dig holes twice the root ball width. Set transplants at the same depth they occupied in containers, except tomatoes, which benefit from burial up to first true leaves. Buried stem nodes develop adventitious roots and strengthen auxin distribution throughout the plant.
Pro-Tip: Apply liquid kelp solution (diluted 2 tablespoons per gallon) immediately after transplanting. Cytokinins in kelp accelerate root establishment and reduce wilting duration.
Establishing
Monitor soil moisture daily for the first two weeks post-transplant. Root systems occupy only the original root ball volume during this period. Water delivers 1 inch total per week, split into two 0.5-inch applications. Mulch with 2 to 3 inches of straw or shredded leaves after soil warms to 65°F, maintaining a 2-inch gap around stems to prevent rot.
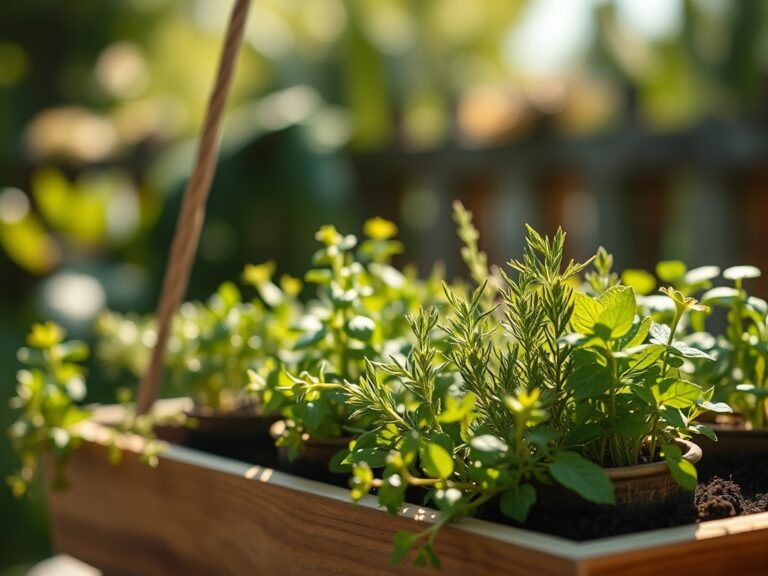
Pro-Tip: Pinch terminal growing points on basil, oregano, and other herbs when plants reach 6 inches. This forces lateral branching and doubles harvestable biomass.
Troubleshooting
Symptom: Interveinal chlorosis on newest leaves, older leaves remain green.
Solution: Iron deficiency induced by high pH. Apply chelated iron at 1 tablespoon per gallon as foliar spray. Retest and adjust soil pH with sulfur.
Symptom: Blossom end rot, dark sunken lesions on tomato, pepper, or squash fruit bottoms.
Solution: Calcium deficiency caused by inconsistent watering. Maintain even soil moisture. Side-dress with gypsum (calcium sulfate) at 2 pounds per 10 feet of row.
Symptom: Powdery white coating on squash, pumpkin, or cucumber leaves.
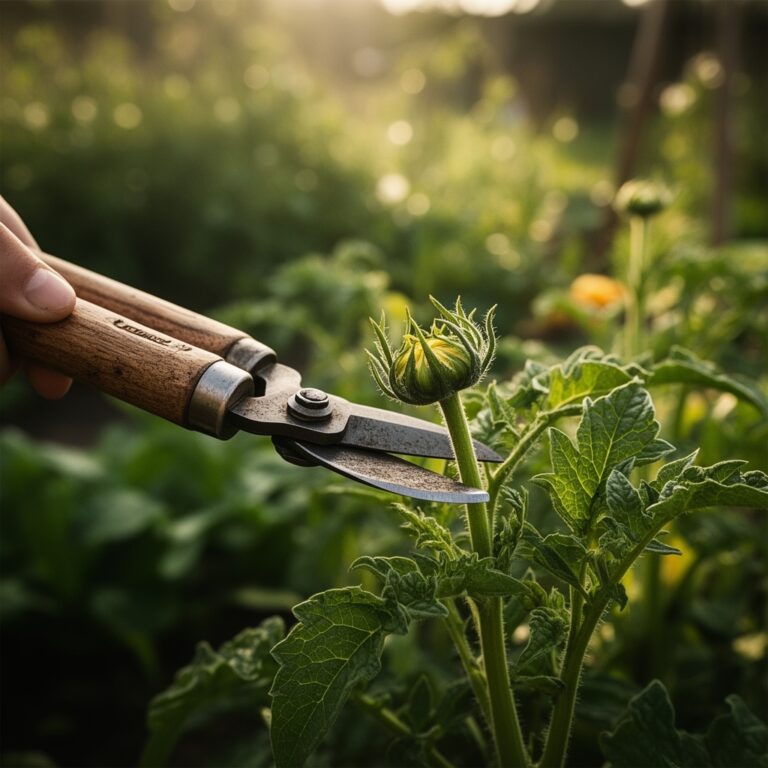
Solution: Powdery mildew fungal infection. Spray potassium bicarbonate solution (1 tablespoon per gallon plus 2 drops dish soap) weekly. Improve air circulation through selective pruning.
Symptom: Small holes in brassica leaves, green caterpillars present.
Solution: Cabbage looper or imported cabbageworm. Apply Bacillus thuringiensis var. kurstaki (Btk) at labeled rates every 7 days until harvest.
Symptom: Yellowing lower leaves progressing upward, stunted growth.
Solution: Nitrogen deficiency. Side-dress with blood meal (12-0-0) at 1 pound per 25 feet of row or apply fish emulsion (5-1-1) at 2 tablespoons per gallon weekly.
Maintenance
Provide 1 to 1.5 inches of water weekly through combined rainfall and irrigation. Water early morning to allow foliage drying before nightfall. Check soil moisture at 3-inch depth using a moisture meter or finger test. Irrigate when moisture drops below 50 percent field capacity.
Weed when seedlings appear, before taproot establishment. Hand-pull within 2 inches of crop stems. Hoe between rows when weeds reach 1 inch height, working soil surface only to avoid root damage.
Side-dress heavy feeders (tomatoes, corn, squash) with compost or balanced organic fertilizer every 3 to 4 weeks. Apply in a 4-inch band, 4 inches from stem bases, at 0.5 pounds per 10 feet of row.
Scout for pests twice weekly. Early detection of aphid colonies, hornworms, or beetle populations allows for mechanical removal before populations explode. Inspect leaf undersides where insects congregate.
FAQ
When should we start planning a school garden?
Begin site assessment and bed construction in fall, 6 months before spring planting. Order seeds by January for April sowing.
How large should the garden be?
Start with 100 to 200 square feet (one 4×8-foot bed per 5 students). Expand only after demonstrating consistent maintenance capacity.
What crops work best for beginners?
Lettuce, radishes, beans, cherry tomatoes, and zucchini mature quickly with minimal intervention. Avoid corn, melons, and eggplant in first-year gardens.
Can we garden year-round?
Zones 7 and warmer support winter greens under row covers. Cold frames extend seasons 4 to 6 weeks in Zones 5 and 6.
How do we fund the project?
Parent-teacher organizations, local hardware stores, and garden clubs often provide grants or materials. Budget $300 to $500 for initial setup per 100 square feet.